Can You Swim With Press-On Nails?
A practical swimming guide for press-on nails: pool and ocean exposure, adhesive choices, pre-swim checks, and what to do if an edge lifts.
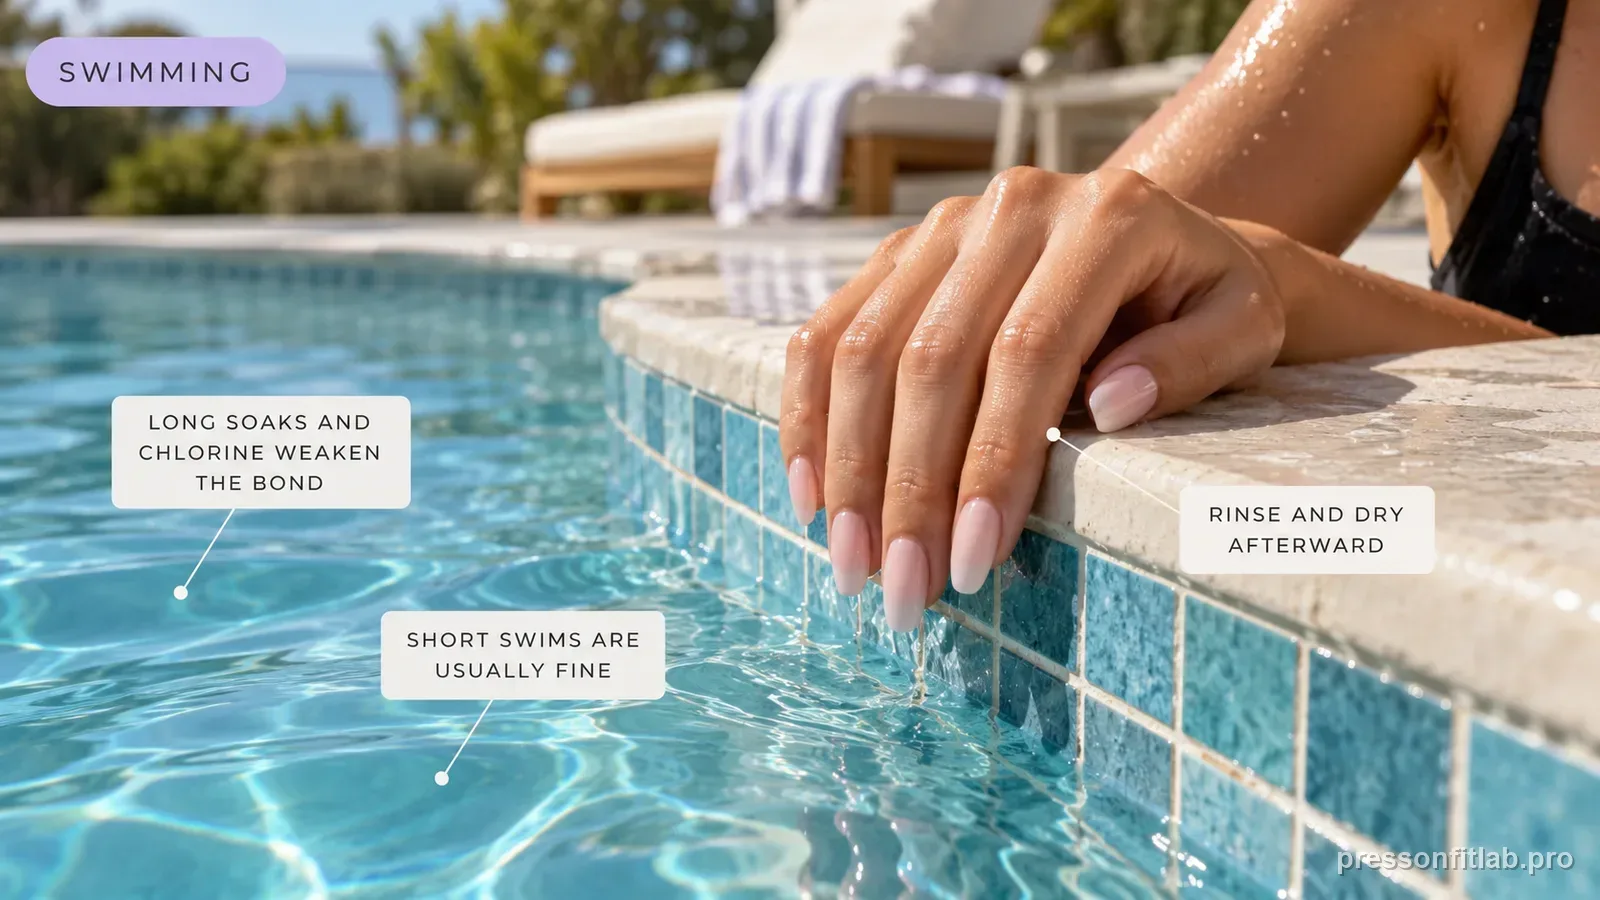
Swimming with press-on nails can be possible, but only after the set has been applied according to its own water-exposure directions and while every edge remains fully bonded. Swimming is a tougher test than a shower because the hands stay submerged longer and pool or ocean activity adds movement and impacts. Favor a practical length, inspect for lifting afterward, and remove a failed nail before swimming and reset it only with the product-supported reuse/reapplication method or a fresh compatible spare rather than trying to seal an open edge from the top.
Check these first
- ✓ Has the adhesive completed the product-specific no-water period after application?
- ✓ Are all edges flush before you enter the water?
- ✓ Are you planning a short casual swim or prolonged repeated immersion?
- ✓ Is the nail length practical for grabbing ladders, goggles, towels, or pool edges?
Swimming is prolonged immersion plus movement
A pool or beach day exposes the bond for much longer than ordinary hand washing. Your fingers also pull through water, grip rails, adjust swimwear, open bags, and push against surfaces. Those movements can turn a tiny fit mismatch into a visible lift. The issue is not that the decorative press-on instantly dissolves; it is that the attachment is being asked to remain sealed during a sustained wet activity.
This is why wear-time promises from a package should not be converted into a guarantee for daily swimmers. Treat the product directions as the baseline and your swim routine as an extra load. If you swim often, compare how the same set behaves on swim days and non-swim days before deciding the adhesive is weak.
Do a dry edge check before getting in
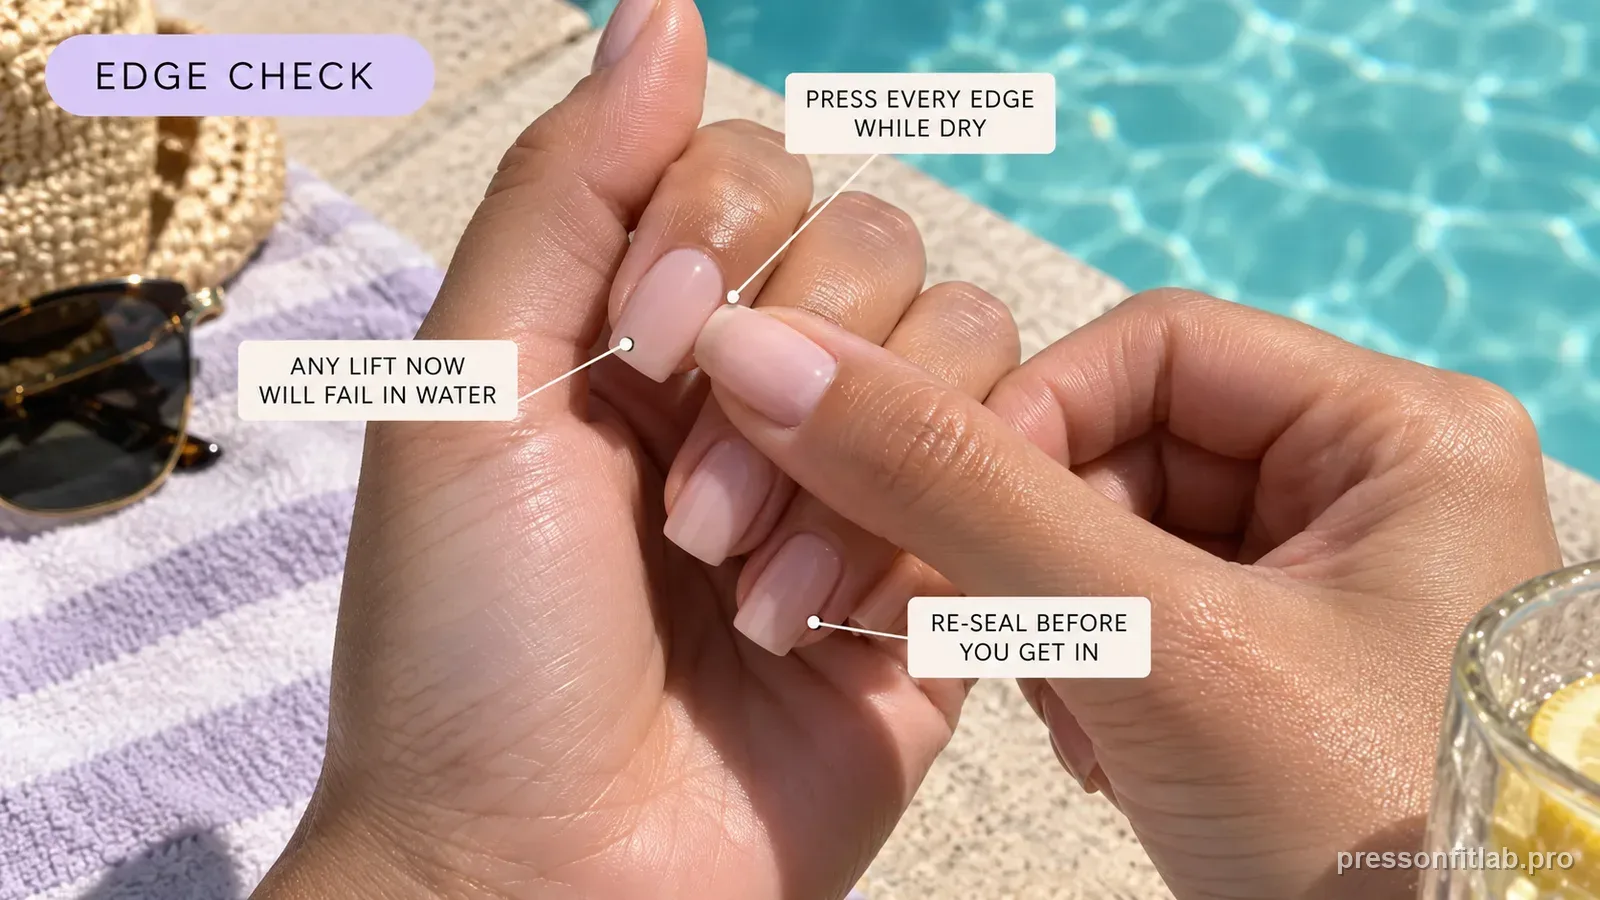
Run a visual check around the cuticle and both sidewalls before you swim. A press-on that moves when lightly touched, catches hair, or shows a shadow line is not a good candidate for immersion. Fix that nail first. Swimming with an already lifted edge makes it difficult to know what is happening underneath during the session.
Also look at the underside curve when a particular nail has failed after previous swims. If the tip rocks on the natural nail or springs upward at the sidewall, water may only be exposing a fit problem that existed from day one.
Choose the attachment method for the trip you actually have
Adhesive systems vary. Some reusable-tab products are marketed for short wear and water resistance, while glue systems are commonly positioned for longer wear. Follow the exact set and adhesive instructions instead of assuming every tab or glue behaves the same. KISS, for example, publishes different reusable tab and glue workflows and gives product-specific water guidance.
If the goal is maximum reusability for one evening by the pool, tabs may still fit your priorities. If the goal is a vacation with repeated swimming, you may value a longer-wear attachment more. The useful decision is not which method is universally best; it is which trade-off matches wear time, removal, and reuse.
Keep length and shape practical around water
Very long nails create more leverage when you grab a pool edge, paddleboard, zipper, or towel. Shorter shapes reduce the distance from impact point to bond line. That does not make them waterproof, but it removes one mechanical reason for a nail to loosen during an active day.
If only thumbs or index fingers fail on swim days, adjust those fingers rather than automatically shortening the entire set. A practical manicure can mix tiny fit adjustments while keeping the overall style consistent.
After swimming, dry and inspect instead of pressing blindly
Rinse and dry your hands normally after swimming, then inspect the edges once your skin is no longer dripping wet. Do not repeatedly mash every press-on downward just because it was in water. Pressure does not restore a failed adhesive layer or remove moisture from a real gap.
If a nail is loose, remove it using the adhesive-appropriate method, clean and dry both surfaces, and decide whether the tip is still reusable. If you see pain, redness, unusual discoloration, or another health concern, leave the nail off and follow appropriate professional guidance rather than covering the area again.
Diagnostic table
| What you see | What it suggests | Next check |
|---|---|---|
| Short swim, all edges stay flush | Current fit and bond handled the activity | Dry and continue normal wear |
| One finger lifts after every swim | Finger-specific fit or leverage | Recheck that nail's size, curve and length |
| Several nails loosen after long sessions | Immersion is shortening current wear | Change attachment strategy or expectations |
| Nail was lifted before entering pool | Existing bond failure | Remove/repair before swimming |
| Tip bends while gripping pool edge | Length leverage | Use a shorter shape for active swim days |
A controlled test plan
- 1
Confirm the set is fully bonded and past the adhesive's stated water-wait period.
- 2
For the first test, keep the swim duration moderate and note which fingers receive the most mechanical stress.
- 3
After drying, inspect edges in the same order on both hands.
- 4
If one nail lifts, change only its fit or length on the next swim day.
- 5
If many nails loosen together, treat swimming frequency as a wear-time variable rather than repeatedly repairing all ten.
What not to do
- Swimming with a nail that already catches hair or visibly moves.
- Calling any press-on system universally waterproof when the product instructions do not say that.
- Sealing a suspicious wet gap with fresh glue immediately after leaving the pool.
- Using long nail tips as the contact point when climbing out, gripping rails, or handling gear.
Worked troubleshooting example
Example: a short almond set is secure for three days before a vacation pool session. After forty minutes, the left thumb lifts at one side while the other nine nails remain flush.
Do not label the whole adhesive system a failure. Remove and dry the thumb, check whether that tip is slightly narrow or highly curved, and compare it with the opposite thumb. Reapply only after the surfaces are clean and dry.
If the same thumb repeats the failure on the next swim while the rest of the set stays stable, solve the thumb fit or length instead of escalating the adhesive on every finger.
Field notes
Swimming queries are high-value because they combine water exposure with activity. A useful answer separates ordinary wetting from sustained immersion and separates bond failure from size or curve mismatch.
For frequent swimmers, the best metric is not whether a set survived one pool day. Track which fingers fail, where they lift, and how many swim sessions occur before the pattern changes.
Frequently asked questions
Can press-on nails survive a pool or ocean swim?
It may be possible when the exact set’s water guidance allows it and every edge is fully bonded, but prolonged immersion can shorten wear and a lifted edge should be addressed first.
Are adhesive tabs or nail glue better for swimming?
Different products are designed for different wear lengths. Follow the exact manufacturer's directions and choose based on your wear-time and reuse priorities rather than assuming every tab or glue performs the same.
What should I do if a press-on lifts after swimming?
Let the area dry, remove the failed nail using the appropriate method, clean both surfaces, and reapply with fresh adhesive only if the press-on remains intact and the natural nail is comfortable.
Sources checked
Sources below are page-specific. We prioritize manufacturer directions for product-specific steps and use medical or dermatology guidance when a safety question requires it. Always follow the instructions for the exact adhesive or set you own.