Adhesive Tabs Not Sticking to Press-Ons? Diagnose the Contact Problem
Troubleshoot press-on adhesive tabs that release early by checking surface prep, tab size, backing removal, pressure, contamination, and tip fit.
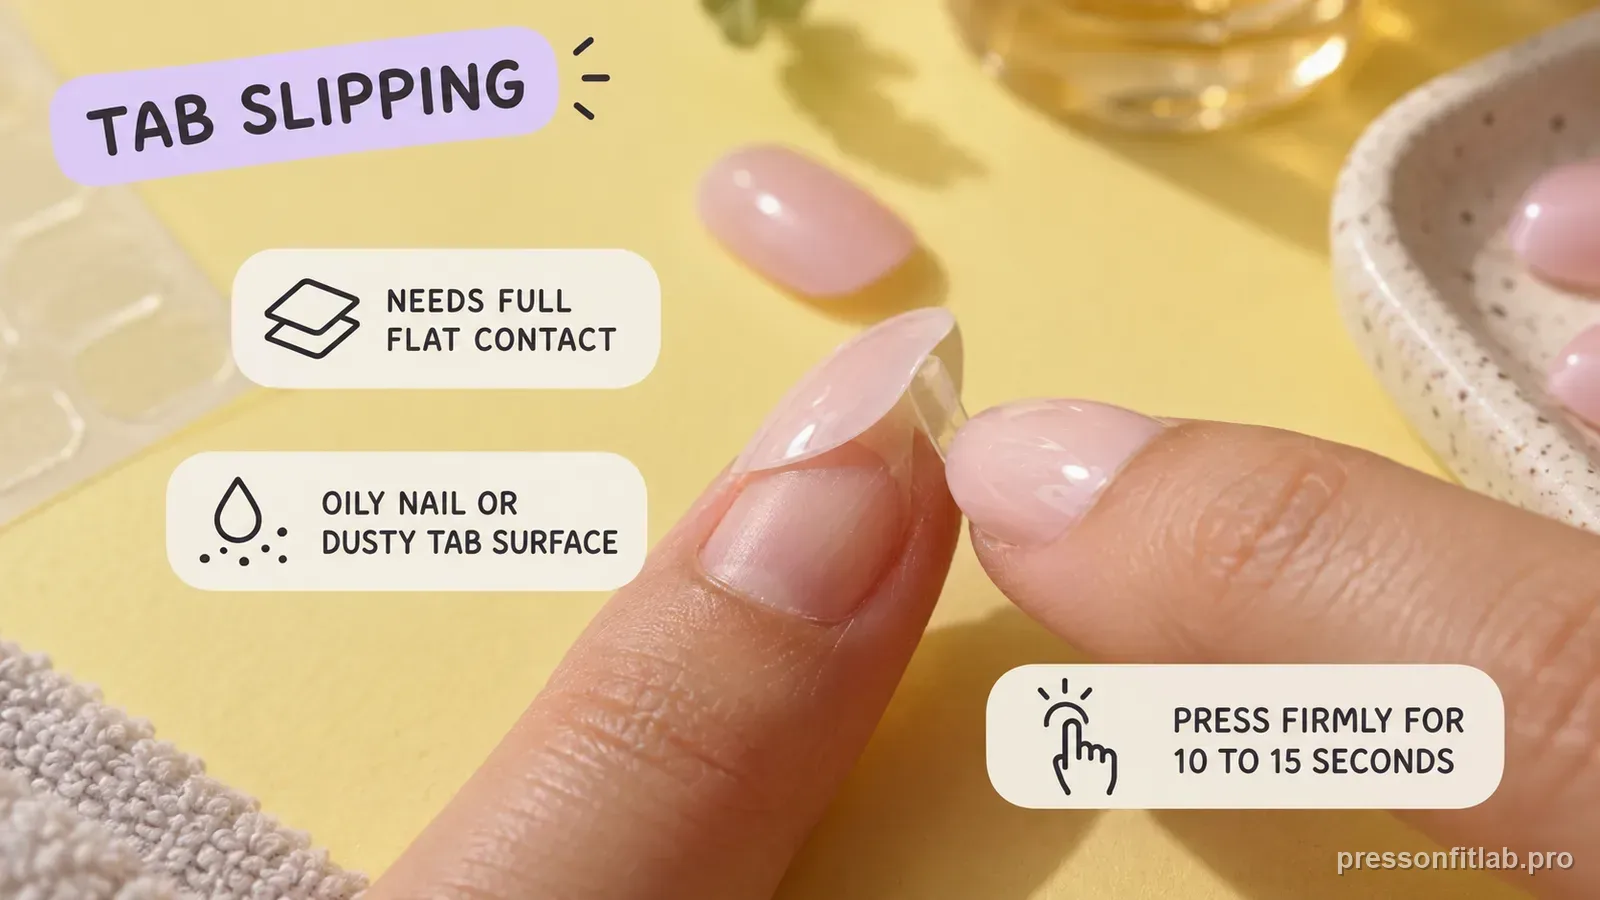
When adhesive tabs will not stay bonded, isolate which interface failed: tab-to-natural-nail or tab-to-press-on. Clean, dry surfaces and correct tab sizing matter, but so does press-on fit. If the tip rocks or has a large curve gap, the tab may have only partial contact. Use a fresh tab for testing instead of repeatedly pressing a contaminated one back into place.
Check these first
- ✓ Did the tab release from your natural nail or from the artificial nail?
- ✓ Were both surfaces clean, dry, and free of lotion?
- ✓ Was the protective film removed without touching the adhesive face?
- ✓ Does the press-on sit flush enough for the tab to contact broadly?
Identify which side released
After a failure, look at where the tab remains. If it stays inside the press-on but lifts from the natural nail, start by checking nail-plate prep, skin overlap, and contamination. If it remains on the natural nail while the press-on releases, start with the artificial-nail underside, pressure, and fit. The residue pattern is evidence about the failed interface, not proof of a single cause.
This observation is more useful than changing every step at once because it narrows which bond interface to inspect first without pretending to identify one cause from residue alone.
This interface check works regardless of application sequence. For example, Glamnetic currently places its tab on the natural nail first, while KISS Majestic/ICON place the tab on the artificial nail first. That brand difference is exactly why troubleshooting should track the two interfaces without prescribing one universal tab-placement order.
Keep the nail plate clean and dry
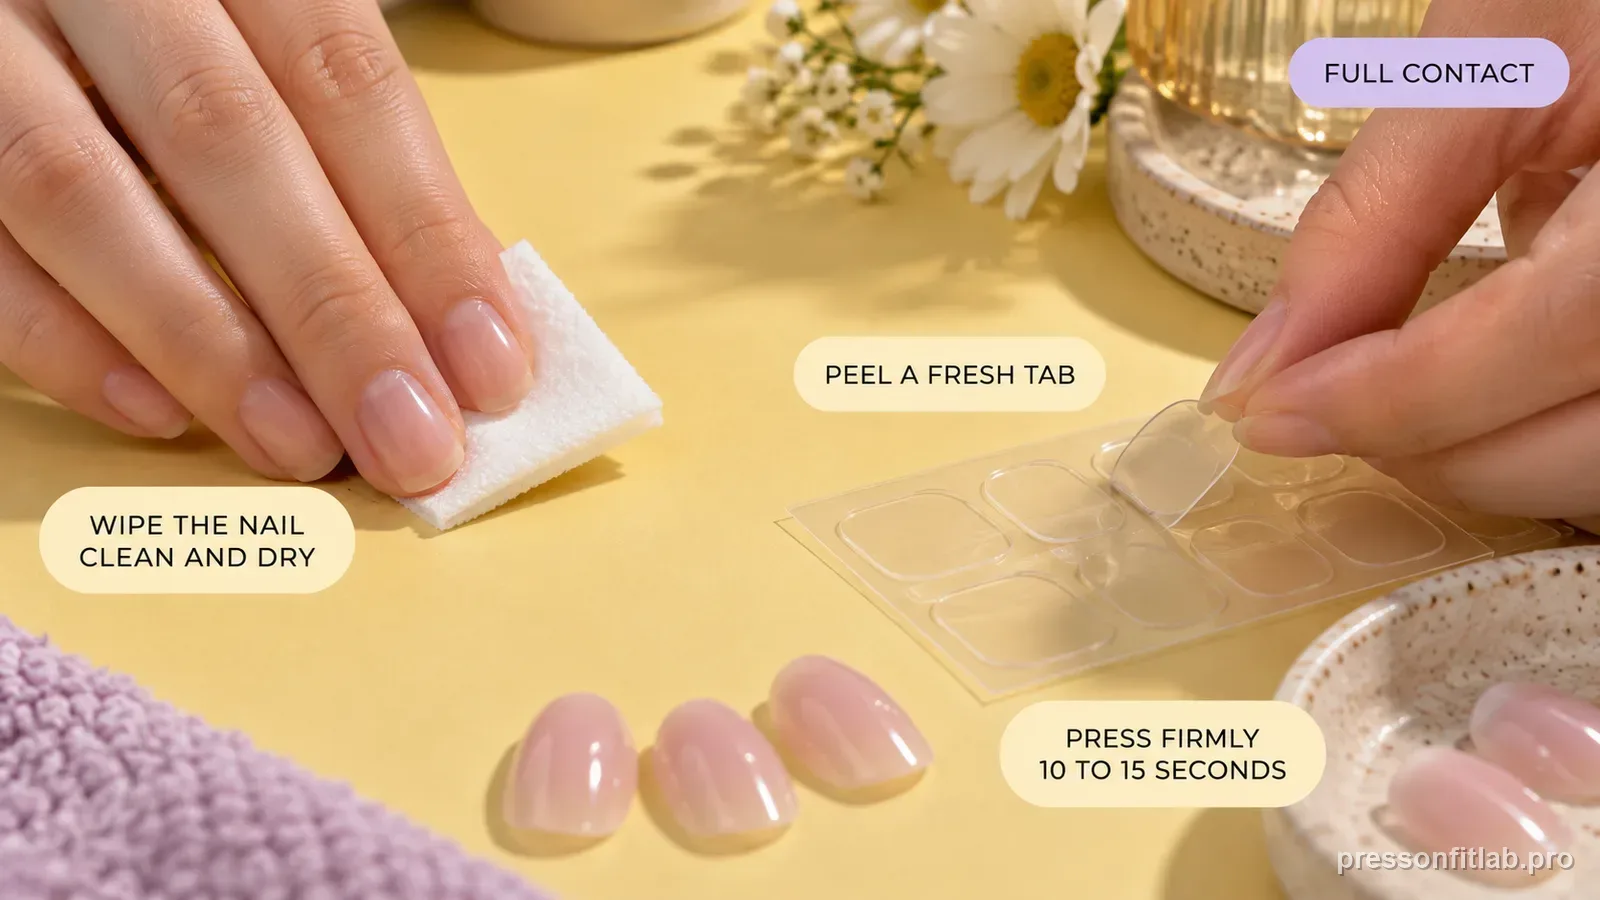
Wash and dry thoroughly, remove old residue, and use the preparation method supplied with your tab system. Avoid lotion or oil immediately before application. Do not repeatedly touch the prepared nail with fingertips.
If you use a prep pad, allow any liquid to evaporate fully before the tab goes on. A damp surface is not the same as a clean, dry surface.
Use a tab that fits without touching skin
A too-large tab can reach surrounding skin or extend beyond the intended bonding footprint, where oils and movement can undermine the edge. A very small tab may leave large unsupported areas. Choose the best-matching size within the manufacturer’s system and center it on whichever bonding surface that system specifies.
Smooth the tab as directed before peeling the backing so you do not lift the adhesive edge as the film comes away.
Check the underside of the press-on
Residual glue, dust, remover, or old tab material can interfere with reuse. Clean the press-on according to the product’s reuse instructions and make sure the underside is ready for a fresh tab.
If the nail is warped after removal, cleaning alone will not restore full contact. A distorted tip can keep peeling away from the tab.
Fit still controls contact
A press-on that rocks has a smaller real contact area than one that sits flush. The tab may stick perfectly where it touches and still fail because much of the surface is suspended. Dry-fit the tip before blaming the adhesive product.
For a repeat offender, compare another size or curve while keeping the same fresh tab and prep routine.
Match tab footprint to the actual bonding area
The useful tab is not simply the biggest piece that fits under the press-on. It should stay on nail plate, avoid skin, and make broad contact with the artificial underside when the nail is seated. A tab that extends beyond the natural nail can collect oils or lift at the perimeter; a tab that is much smaller than the available bonding area may concentrate peel force.
Follow the exact system directions for tab size, surface prep, pressure, and water exposure. If correct tab placement still fails on one finger, return to the dry fit and underside condition before assuming the whole adhesive system is weak.
Use one fresh tab to isolate residue problems
When a reusable tip has been worn before, compare one cleaned reused nail with one fresh press-on from the same set if a spare is available. Apply fresh tabs using the same preparation and pressure. If the fresh tip bonds normally while the reused tip releases at the artificial-nail interface, the underside condition becomes the stronger suspect.
Do not scrape or dissolve residue with an improvised method that could change the plastic. Follow the care directions for the exact set and adhesive. The troubleshooting goal is to preserve the underside profile while restoring a clean bonding surface.
Diagnostic table
| What you see | What it suggests | Next check |
|---|---|---|
| Tab stays in press-on | Natural-nail interface failed | Review dry prep and skin overlap |
| Tab stays on natural nail | Press-on interface failed | Check underside cleanliness, pressure, and fit |
| Tab peels from one side first | Off-center contact or rocking | Re-center and dry-fit profile |
| Old reused tip fails repeatedly | Residue or warping | Clean per product directions or retire distorted tip |
A controlled test plan
- 1
Use a fresh tab and a clean, dry test nail.
- 2
Note which surface the tab releases from after failure.
- 3
Repeat with the same tip but corrected prep/centering.
- 4
If failure repeats, dry-fit a second tip profile on that finger.
- 5
Keep the variable that changes the release pattern and discard changes that do not.
What not to do
- Reusing the same tab after it has been peeled off.
- Touching the adhesive face while positioning.
- Applying tabs over lotion, oil, or damp prep solution.
- Assuming stronger pressure can fix a press-on that visibly rocks.
Worked troubleshooting example
Example: your ring-finger tab is still stuck firmly inside the press-on after the nail comes off. That makes the natural-nail side the first interface to inspect, but it does not prove one specific cause.
On the retry, use a new tab, clean and dry the natural nail, avoid touching it, and keep the same press-on. If the bond now holds, prep or contamination was the likely variable.
If the fresh tab again releases from the natural nail while other fingers succeed, re-check whether the tab overlaps skin or whether that finger’s fit is causing peel force at one edge.
Field notes
Current KISS and Glamnetic instructions both emphasize sizing, surface preparation, tab matching, and firm contact, but they do not use the same tab-placement sequence. Follow the exact product workflow, then use the two-interface release pattern only as a troubleshooting clue.
When troubleshooting a reusable set, add “condition of underside” to your checklist. A press-on can fit well when new and behave differently after old adhesive or warping changes its contact surface.
Frequently asked questions
Can I reuse an adhesive tab after a press-on pops off?
Use a fresh tab for a controlled retry unless the manufacturer specifically states otherwise.
Why does the tab stick to my nail but not the press-on?
Check the press-on underside for residue or warping, and make sure the tip sits flush enough for broad contact.
Do I need to buff before adhesive tabs?
Follow the instructions for your exact tab system. Surface-prep steps vary, so do not add aggressive buffing automatically.
Sources checked
Sources below are page-specific. We prioritize manufacturer directions for product-specific steps and use medical or dermatology guidance when a safety question requires it. Always follow the instructions for the exact adhesive or set you own.