How to Dry-Fit Press-On Nails Before Glue or Tabs
Dry-fit all ten press-ons before adhesive to catch wrong width, curve mismatch, rocking, cuticle gaps, and finger mix-ups while changes are still easy.
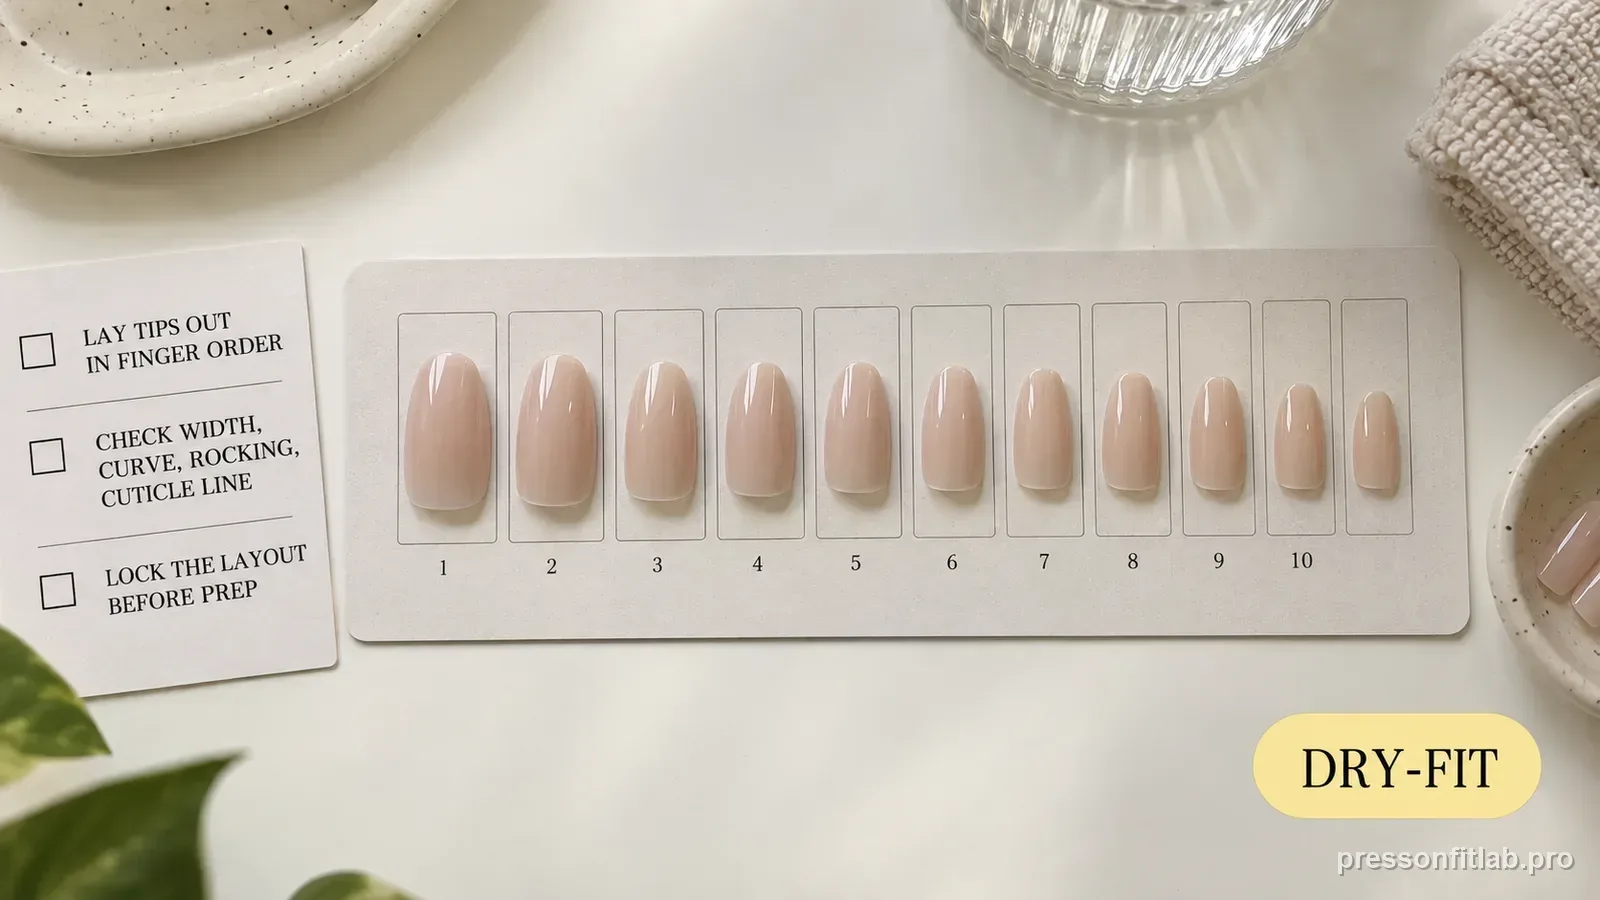
Dry-fitting means testing and organizing every press-on with no adhesive present. For each finger, check sidewall coverage, curve, cuticle alignment, rocking, and comfort, then lay the winning tip in finger order. This gives you a clean baseline so any gap that appears during application can be separated from a gap that existed before adhesive.
Check these first
- ✓ All ten winning tips chosen before prep or adhesive
- ✓ Left and right hands kept in separate finger order
- ✓ Each tip checked from above and from the free edge
- ✓ Questionable nails marked for size/profile comparison
Why dry-fitting saves more time than it adds
Press-on application becomes rushed once glue is open or tab backings are removed. Dry-fitting moves the decisions earlier, when you can compare sizes without stickiness, swap a thumb, or file a permitted edge without worrying about adhesive setting. It also prevents the common mistake of discovering halfway through a hand that the intended ring-finger tip was used on the index finger.
More importantly, a dry fit gives you diagnostic evidence. If the tip already rocks before glue, the adhesive did not create the rocking. If the nail is flush before application but a bubble appears afterward, placement or adhesive spread deserves more attention.
Set up a left-to-right finger layout
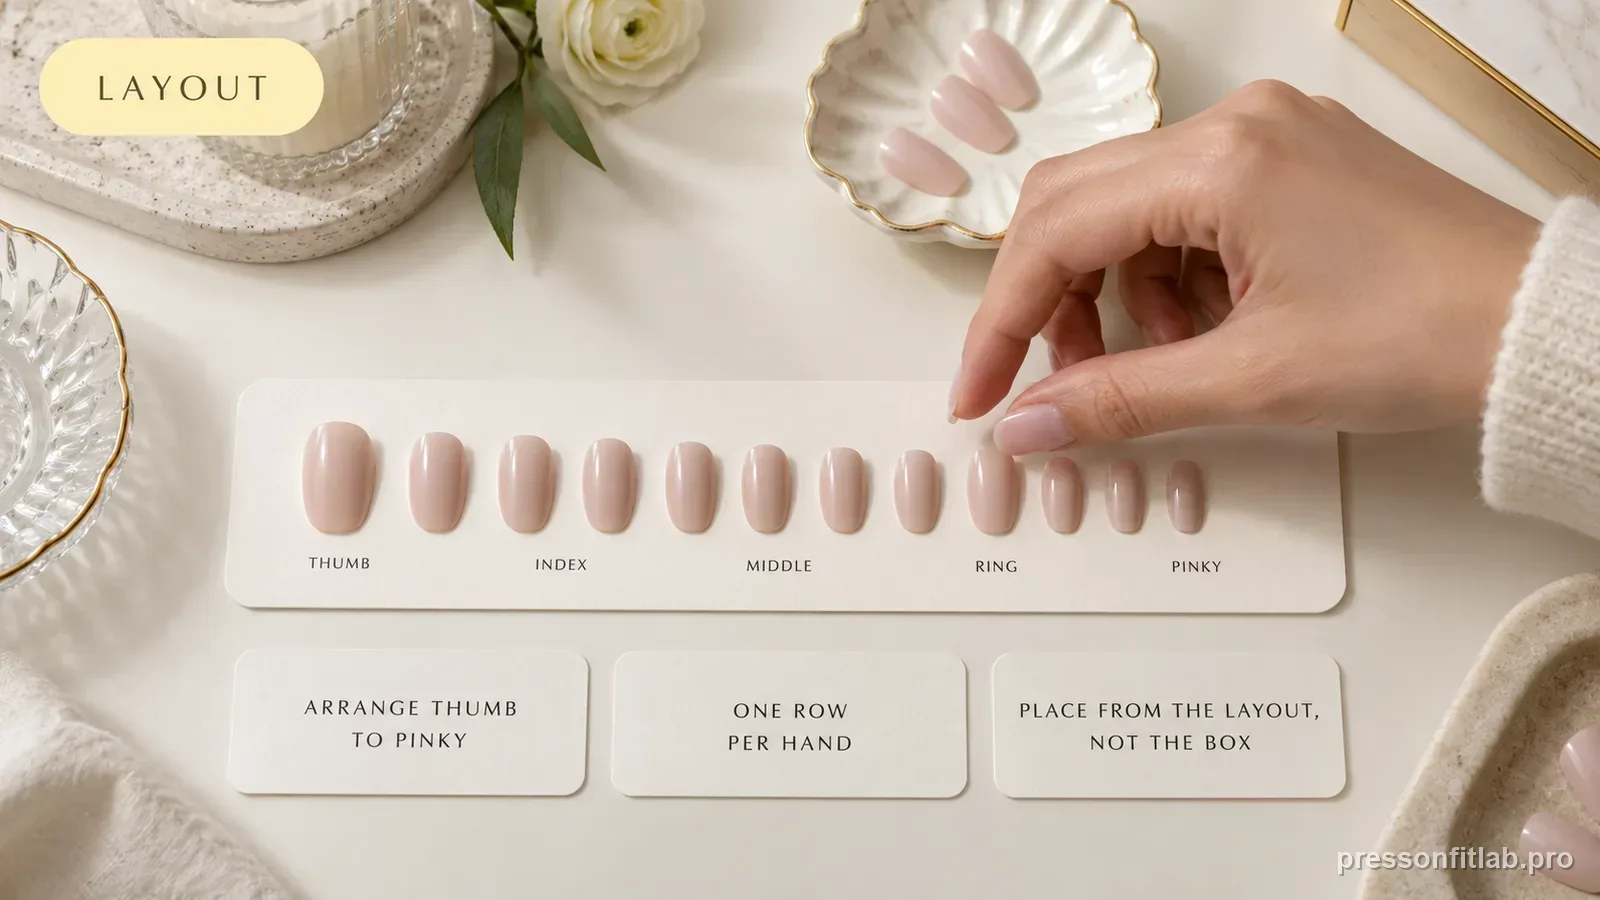
Make two rows labeled left and right, then thumb through pinky. Start with the size you expect and keep the neighboring size nearby. If the set has numbers molded underneath, write those numbers next to your millimeter profile, but do not treat them as universal measurements.
Work in good light and use the same hand position for comparisons. Small side gaps are easier to notice when the finger is relaxed instead of pressed into the table.
- Row 1: left thumb to left pinky.
- Row 2: right thumb to right pinky.
- Keep alternate candidates directly behind the finger they might replace.
Run the width and skin-contact check
Center the press-on over the nail and look straight down. The artificial nail should cover the visible nail plate from one sidewall to the other without resting on side skin. Check the base edge too; a piece that is wide enough higher up can still be too broad near the cuticle.
If you are between sizes, do not decide yet. Mark both candidates and continue to the curve test. A nail that wins on width but loses badly on curve may be a worse fit than the neighboring piece or another shape.
Run the curve and rocking check
Look toward the fingertip to compare the press-on's transverse curve with the natural nail. Then press lightly near the center and release. Watch whether one edge pops up or the piece seesaws. Do not squeeze the sides inward or flatten the tip with force while judging it.
A stable dry fit does not need to be vacuum-sealed to the nail with no microscopic space. The practical question is whether the surfaces can meet comfortably and predictably under the product's normal application method. Large hollows, springy side gaps, or strong rocking are warning signs.
Check the cuticle line and visual center
The base of the press-on should follow the visible nail base without sitting on skin. If the cuticle shape is noticeably different, a light adjustment may be possible on products that allow filing. Also look at the design centerline: a size that has to be rotated to cover both sidewalls will often look crooked after application.
Thumbs deserve extra attention because their base shape and curve frequently differ from the other fingers. Treat a thumb mismatch as a local problem rather than changing the whole set strategy.
Lock the layout before you prep
Once each finger has a winner, take a quick photo of both rows. That photo is useful if a piece gets knocked out of order. Only then move into the prep and adhesive steps required by the exact product.
If you plan to reuse the set, keep the same finger map after removal. A labelled fit profile makes the second wear faster and helps you notice whether residue, warping, or a finger mix-up changed the fit.
Diagnostic table
| What you see | What it suggests | Next check |
|---|---|---|
| Tip looks correct only when pressed hard | Fit is being forced | Compare another curve or size before adhesive |
| One edge lifts when center is pressed | Asymmetric width/curve or off-center placement | Recenter and compare from free edge |
| Tip rocks front-to-back | Longitudinal profile mismatch | Test neighboring profile/shape |
| Cuticle line overlaps skin | Base is too wide or wrong shape | Try another tip or permitted minor base adjustment |
| Both hands use same assumed numbers | Possible symmetry assumption | Dry-fit every finger independently |
A controlled test plan
- 1
Create separate left and right finger rows.
- 2
Dry-fit the expected size and one neighbor on every questionable finger.
- 3
Check width, skin contact, curve, rocking, and cuticle alignment in that order.
- 4
Photograph the final layout before prep.
- 5
Apply one nail at a time without changing the chosen order unless a new fit issue appears.
What not to do
- Opening glue before all ten tips are chosen.
- Assuming matching fingers on opposite hands must use the same size.
- Holding a tip flat with force during the curve test.
- Throwing all selected pieces into one pile before application.
Worked troubleshooting example
Example: your left thumb and right thumb usually use the same number, so you select them automatically. During dry fit, the right thumb tip rocks slightly while the left is stable.
You test the neighboring right-thumb candidate and find the width is similar but the contact is better after a tiny permitted side adjustment. The two thumbs end up with different brand-specific numbers.
Because this happened before glue, the change costs two minutes instead of a failed thumbnail later. You save the asymmetric thumb sizes in your fit profile.
Field notes
Dry-fitting is also a quality-control step for the set itself. If a single piece looks warped compared with its counterpart, you can identify that before blaming your nail or adhesive.
For troubleshooting, 'before glue' and 'after glue' are different evidence states. Preserving that distinction makes later diagnosis much more accurate.
Frequently asked questions
Do I need to dry-fit press-ons if the box has many sizes?
Yes. More sizes make it easier to find a match, but they do not guarantee the first number you choose has the best width and curve for every finger.
Should I prep my nails before dry-fitting?
You can compare clean, dry nails, but avoid starting adhesive-specific prep steps that make you feel rushed. The goal is to finish all sizing decisions before glue or tabs are active.
Can left and right hands use different press-on sizes?
Yes. Measure and dry-fit all ten fingers independently rather than assuming perfect symmetry.
Sources checked
Sources below are page-specific. We prioritize manufacturer directions for product-specific steps and use medical or dermatology guidance when a safety question requires it. Always follow the instructions for the exact adhesive or set you own.