How to Size Thumbs for Press-On Nails
Measure and fit press-on thumbnails separately when width, curve, cuticle shape, or left-right asymmetry makes the thumb the hardest nail in the set.
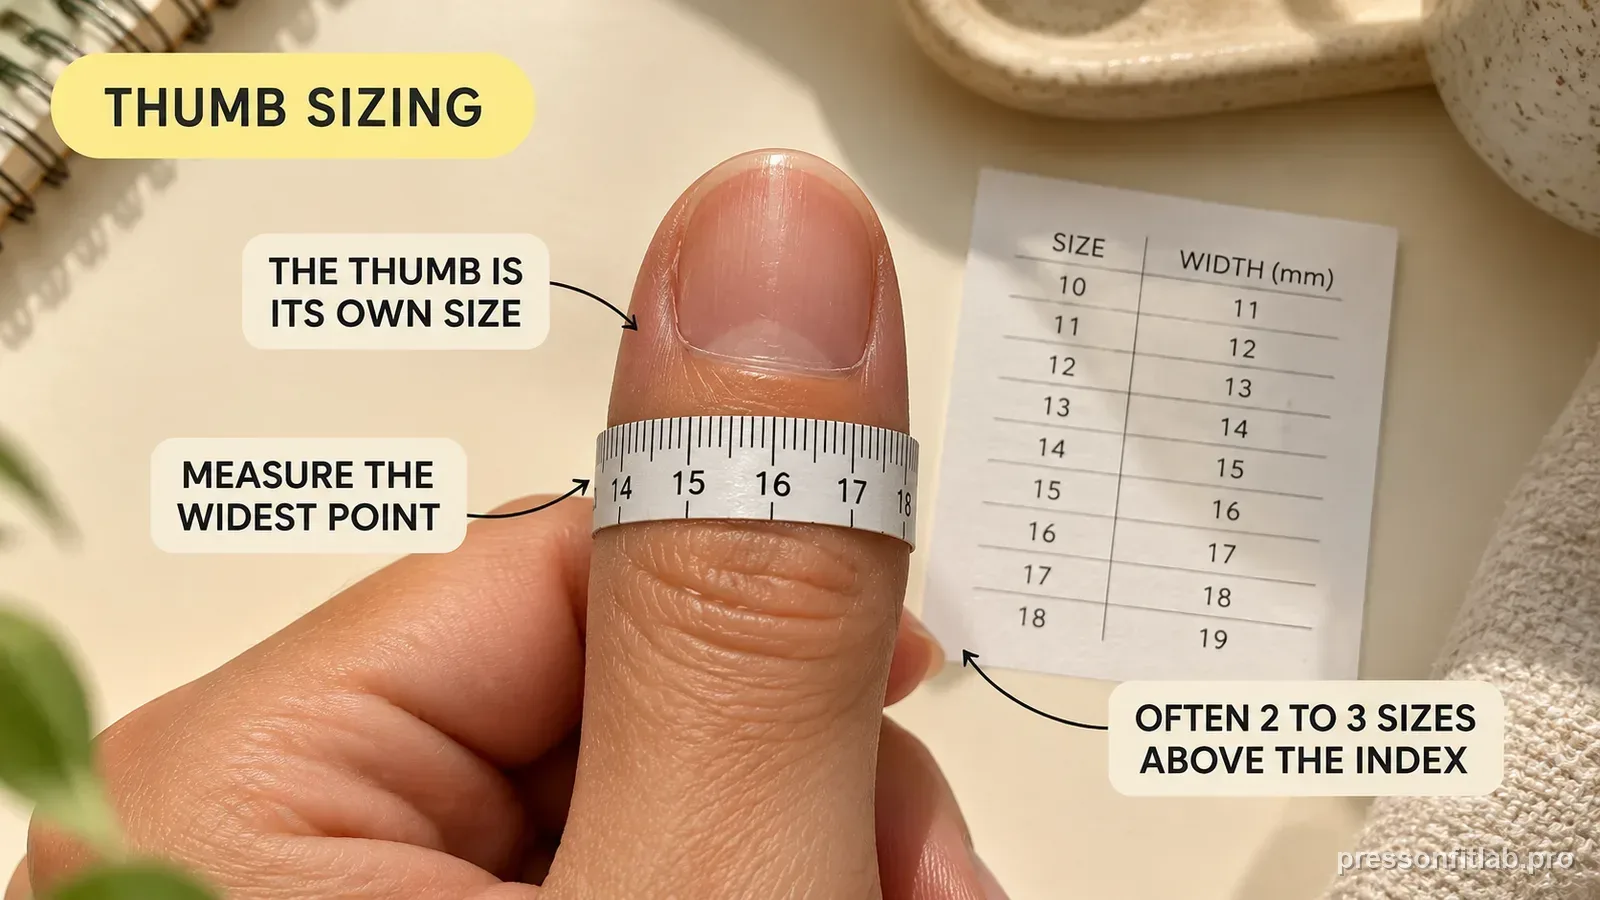
Treat each thumb as its own fit project. Measure both in millimeters, compare width and curve from multiple angles, and do not assume the largest nail in a set automatically fits. A thumbnail that is too narrow can expose sidewall; one that is wide enough but too curved can pinch or spring up. If you are between sizes, check the current brand or product rule and dry-fit both neighboring candidates; file only an artificial tip whose material and manufacturer directions allow that adjustment.
Check these first
- ✓ Are left and right thumbs actually the same width?
- ✓ Does the widest tip cover both sidewalls without touching skin?
- ✓ Does the underside curve sit flush across the broad thumb plate?
- ✓ Is the thumb failing because of fit or because it takes more daily leverage?
Measure both thumbs independently
Thumbs are often the widest nails, which makes small measurement errors more noticeable. They can also differ between hands. Record left and right values separately rather than using a single “thumb size.”
Use the same measurement method you will compare with the brand chart. If the chart uses straight width, do not substitute a tape-over-curve number without confirming compatibility.
The largest tip is not automatically the right tip
A kit may include a size 0 or another largest number, but size numbers are not universal and the largest included width may still be too small or too large for you. Judge the physical fit, not the printed number.
If the largest tip leaves natural nail visible at either side, the set does not cover that thumb. Filing cannot make a too-narrow tip wider.
Check curve because thumbs are broad
On a broad nail, a curve mismatch can create a large hollow area or side tension. View the thumbnail from the free edge and press lightly. It should not behave like a spring that needs constant force to stay flat.
A flatter wide thumb and a strongly curved wide thumb can have the same millimeter width but require different molds.
Distinguish fit failure from leverage failure
Thumbs open containers, grip phones, pull clothing, and take more direct impact than many other fingers. If the thumbnail is the only one that pops off, re-check fit first, then consider whether the chosen length creates excessive leverage for your routine.
Shortening the extension can be a useful controlled test after width and curve are confirmed.
Create a thumb-specific note
Because thumb problems repeat, save more than the width. Note curve, preferred length, and any sidewall adjustment. You can even keep left and right thumbnail references separate in a reusable set.
This turns “my thumb always pops off” into a profile you can compare across products.
Use a thumb-specific dry-fit routine
Set the thumb tip on the nail and inspect it from three angles: straight above for sidewall coverage, from the free edge for curve, and from the side for base contact. Thumbs can differ substantially from the other fingers in width, base shape, and curve, so a tip can pass the top-view width check but still rock or spring at the sides.
Rotate the thumb naturally rather than twisting the press-on to make it look straight to the hand. Center the artificial nail on the nail plate first. If one corner of the base sits on skin, compare the neighboring size; only make a small edge refinement when the tip material is designed to be filed instead of shifting the whole tip off-center.
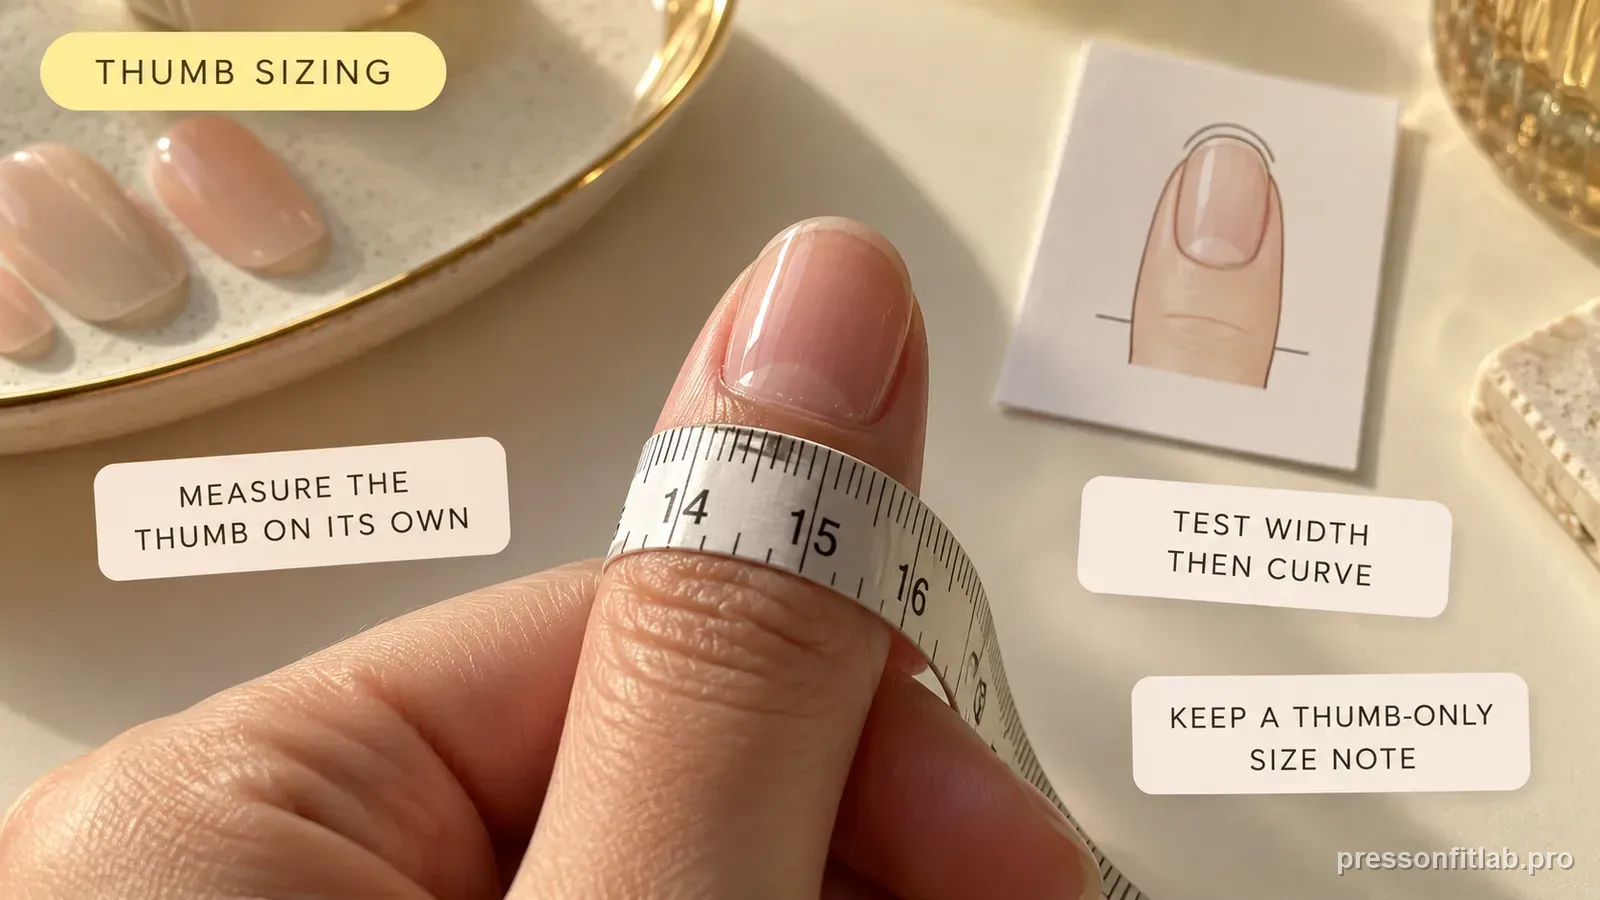
Save alternate thumb sizes by hand
Record left and right thumbs separately in millimeters and note the actual tip used for each set. If one brand needs its largest thumb with a small, manufacturer-supported filing adjustment while another fits with its second-largest tip, keep both records; that difference is evidence that the molds are not directly interchangeable.
For reusable sets, also note whether the thumb tip changes after cleaning or removal. A warped underside can make a previously good thumb fit start rocking on the second wear. Re-check the piece rather than assuming your original sizing was wrong.
Do not let the preset bundle force symmetry
Preset XS/S/M/L bundles are packaging shortcuts, not anatomical rules. If your thumbs fall outside the assumed combination, keep the individually fitted thumb sizes and build the rest of the hand around them. A set that needs one alternate thumb can still fit well overall.
When shopping, check whether the package includes enough large or intermediate thumb options before focusing on design. A beautiful set with no compatible thumb is not a complete fit solution, and repeatedly forcing the nearest size can create the same pop-off pattern every wear.
Diagnostic table
| What you see | What it suggests | Next check |
|---|---|---|
| Largest tip exposes sidewall | Set is not wide enough | Choose a range with a wider thumb option |
| Thumb pinches despite full coverage | Curve or width tension | Try a more compatible profile |
| Only one thumb differs | Left-right asymmetry | Size each thumb independently |
| Fit looks good but thumb fails first | Daily leverage/length | Test a shorter extension after confirming fit |
A controlled test plan
- 1
Measure left and right thumbs separately.
- 2
Dry-fit the two closest candidates on each thumb.
- 3
Reject any candidate that exposes nail or sits on skin.
- 4
Check the free-edge curve with light pressure.
- 5
If fit is good but wear is poor, test a shorter thumbnail while keeping adhesive method constant.
What not to do
- Assuming size 0 means a universal millimeter width.
- Forcing the widest included tip when it is still too narrow.
- Using more glue before checking thumb curve.
- Treating a leverage problem as proof that the whole set needs stronger adhesive.
Worked troubleshooting example
Example: your left thumb measures slightly wider than the right. The right fits the second-largest tip, while the left shows a sliver of nail at the side with that same tip. The largest tip covers the left thumb but its corners overlap skin.
First check whether the physically wider candidate has a comfortable curve and whether the overlap is small enough for the kind of edge refinement that product permits. If the material is not designed to be filed, or the correction would be substantial, the set does not have the right left-thumb mold. Do not force the physically narrower candidate simply because it matches the right hand.
Save separate left/right thumb notes. That small step prevents repeated pop-offs caused by treating asymmetrical thumbs as identical.
Field notes
Thumbs are a frequent sizing outlier because they can differ substantially in width, curve, and base shape from the other fingers. A set can fit nine nails and still be incomplete for you if its available thumb range does not include a comfortable match.
Thumbs are also where wider-candidate-and-file advice needs the most caution: only consider the physically wider tip if its curve is comfortable and the correction is minor, and only file when the tip material and manufacturer instructions support it.
Frequently asked questions
Should both thumbs use the same press-on size?
Only if they actually fit the same. Measure and dry-fit both thumbs separately.
What if the largest press-on is too small for my thumb?
Choose a set or sizing system with a wider thumb option. A too-small tip cannot be filed wider.
Why does my thumbnail pop off before the others?
It may be a fit issue, but thumbs also take more leverage. Check width and curve first, then test length and daily stress.
Sources checked
Sources below are page-specific. We prioritize manufacturer directions for product-specific steps and use medical or dermatology guidance when a safety question requires it. Always follow the instructions for the exact adhesive or set you own.