Thumb Press-On Nail Keeps Popping Off? Diagnose It First
Why thumbs fail earlier than other press-ons and how to check thumb width, curvature, glue contact, length, and leverage.
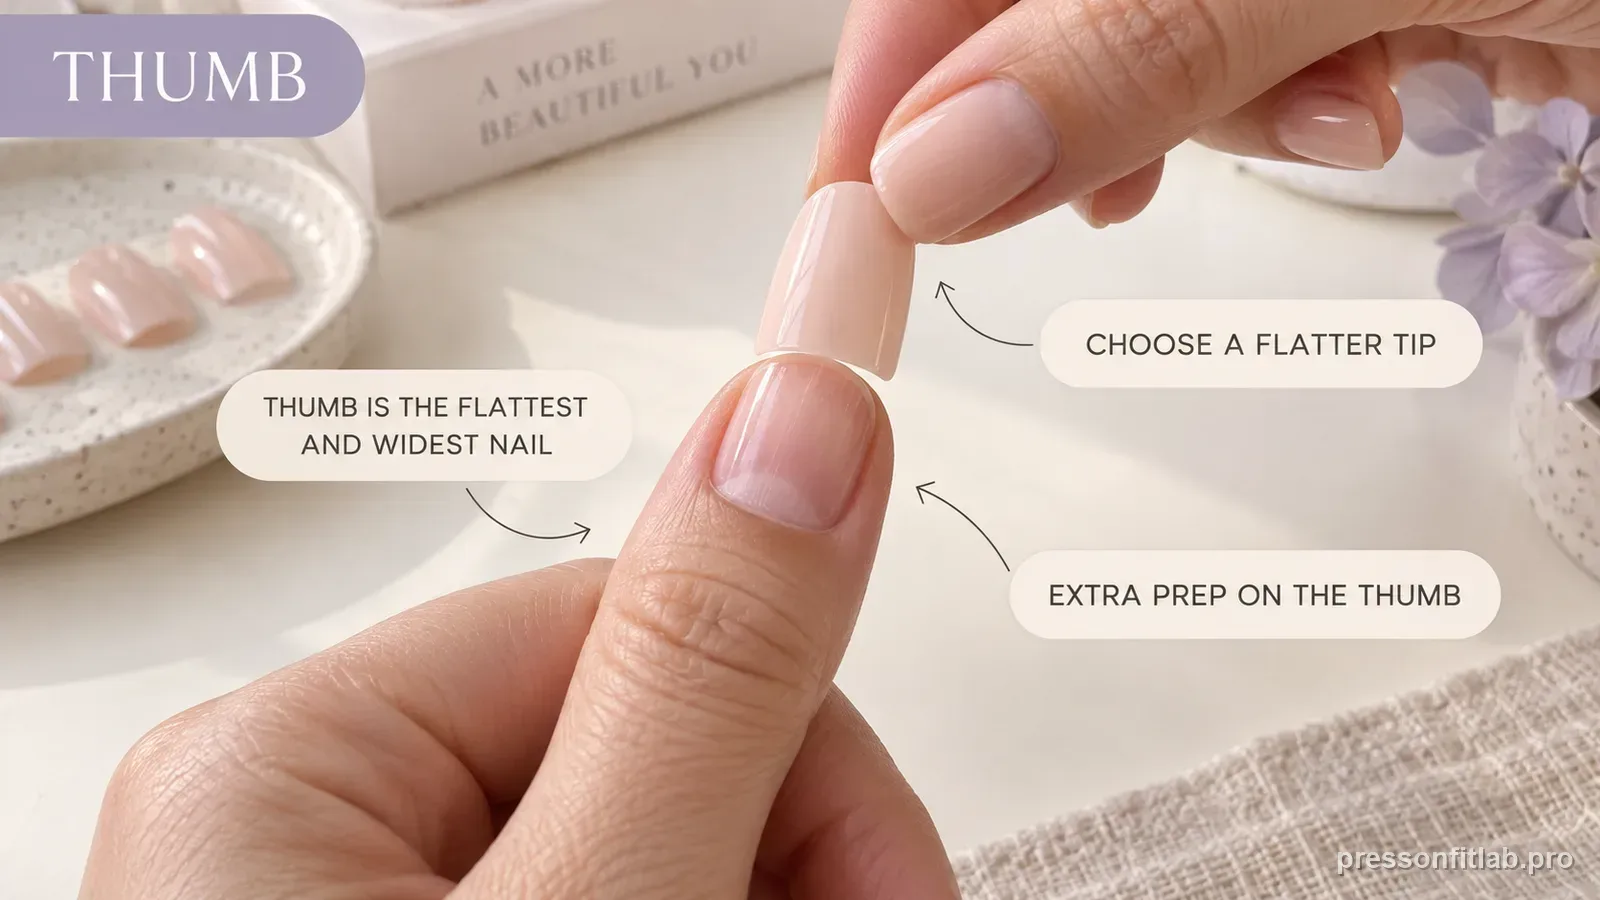
Thumb press-ons fail often because thumbs are wider, can have a different curve, and take more leverage than other fingers. Re-measure the thumb, verify the underside sits flush, and consider a shorter shape before assuming the glue is weak.
Check these first
- ✓ Thumb width in millimeters.
- ✓ Curve seen from free edge.
- ✓ No side gaps.
- ✓ Length does not create excessive leverage.
Thumbs are not just bigger versions of other nails
The thumbnail often has its own width and curve profile. Many kits provide fewer truly large options, which can push people toward a tip that is slightly too narrow or too curved.
That marginal fit may seem fine during application but fail when the thumb is used to open lids, pull clothing, or grip objects.
Check for a center hollow or side spring
View the dry-fitted tip from the front. A hollow area, side spring, or rocking shows that contact is incomplete, but the gap position alone does not prove whether the artificial tip needs more or less curve. Compare the natural nail and candidate arcs directly, then test a similarly wide alternative profile.
A compatible tip should settle with light pressure and broad surface contact.
Shorter can be stronger
The longer the tip extends beyond the natural nail, the more leverage daily tasks create at the bond line. Testing a shorter thumb tip is a useful diagnostic step.
If the shorter version stays on with the same prep and adhesive, leverage was likely part of the problem.
Reapply deliberately
After fit is confirmed, clean and dry the nail according to the adhesive instructions. Apply the correct amount, place the tip without skin contact, and hold full pressure for the required time.
Avoid immediately testing the bond by prying or flexing the tip. Let the adhesive system set as directed.
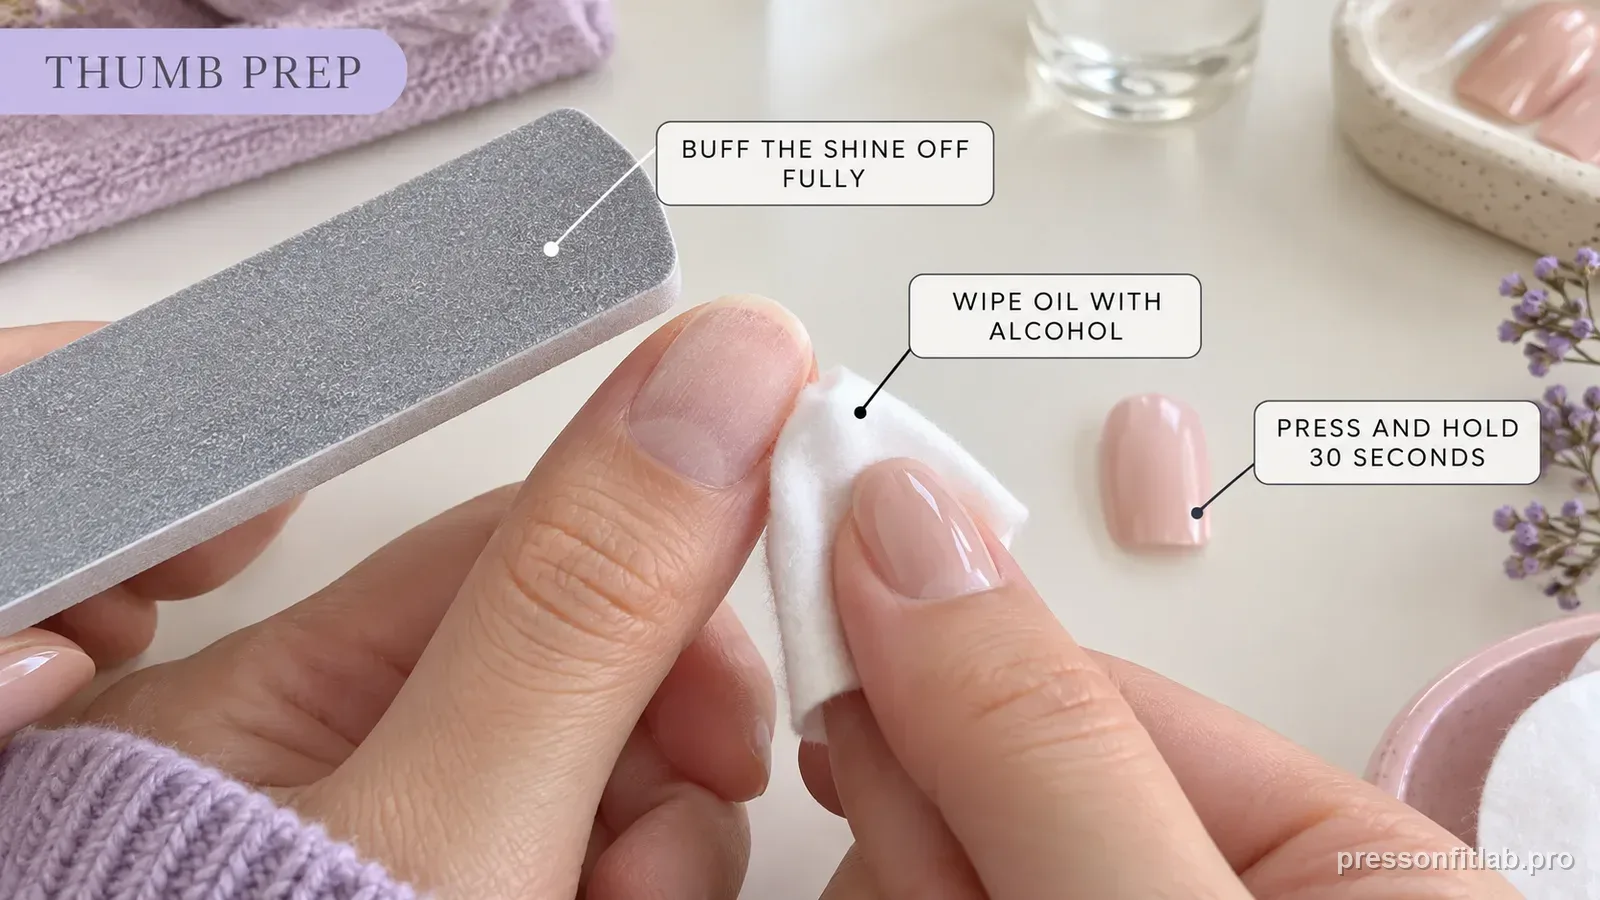
Separate thumb fit from thumb workload
A well-fitted thumb can still fail earlier if it is used to open containers, press stiff buttons, or scrape labels. First confirm the dry fit is stable; then look at how the thumb is used during the day. If the fit is good but the free edge repeatedly takes impact, shortening only the thumb may be a cleaner experiment than changing adhesive on every finger.
If the thumb pops without obvious leverage and the same edge opens first each time, return to width, curve, and base shape. Fit and workload can both matter, but they are easier to test separately.
Save a spare-thumb plan for high-use days
If your set includes duplicate large sizes, label one compatible thumb spare before leaving home for an event or trip. The spare does not replace good fit, but it avoids improvising with an obviously wrong size after a high-use thumb failure. For reusable systems, keep the spare’s size and curve note beside the primary thumb so the replacement remains intentional.
Diagnostic table
| What you see | What it suggests | Next check |
|---|---|---|
| Thumb is wider than available tip | Coverage limit | Use extended sizing or a custom-size set. |
| Thumb tip rocks despite correct width | Thumb curve differs from set | Compare a different profile for thumbs. |
| Dominant thumb fails first | High daily leverage | Shorten it slightly or protect it from prying tasks. |
| Both thumbs fail, other nails hold | Thumb-specific fit or application | Fit thumbs separately and apply them deliberately. |
| One thumb side lifts | Asymmetry or off-center placement | Check that sidewall and base corner before changing adhesive. |
A controlled test plan
- 1
Measure both thumbnails independently in millimeters.
- 2
Dry-fit from the top and free-edge views; thumbs often reveal curve mismatch clearly.
- 3
Choose the tip that sits without pressure and refine a slightly larger one only if the material is intended to be filed.
- 4
Apply thumbs when you are not rushing and follow the exact product hold or set instructions.
- 5
During normal use, notice any prying, scraping, or gripping motion that repeatedly loads the free edge.
What not to do
- Assuming the largest tip in the box must fit every thumb.
- Using the thumbnail to open cans, scrape labels, or pry packaging.
- Forcing a curved thumb tip flat because the width is correct.
- Making all ten nails longer just because the thumb design looks better that way.
Worked troubleshooting example
Example: both hands use the same set, but the left thumbnail fails early every time. Measuring shows the left thumb is wider, and the largest available tip only covers it when you press the sides inward.
You try a set with a wider thumb option and dry-fit it without adhesive. The new tip reaches both sidewalls and sits with less spring tension, so you keep the same application routine and test only the new thumb fit. The early pop-off stops repeating.
That result tells you the old set’s thumb range was the limiting factor. More glue might have delayed the failure, but it would not have changed the fact that the original tip had to be forced into contact.
Field notes
Thumbs are mechanically different from the other fingers. They often have the widest nail plate, a different curve, and the heaviest tool-like use during the day. Treating them as a separate fitting problem is more effective than repeating the same fix across the whole set.
If a set fits nine nails beautifully but never fits the thumb, that can be a size-range problem rather than an application skill problem. Recording your thumb widths makes it easier to screen sets before buying.
Frequently asked questions
Why does my thumb nail always pop off first?
Thumbs often combine a harder-to-fit shape with more daily leverage, so a marginal fit shows up sooner.
Should I use a shorter press-on on my thumb?
It can be a useful test because shorter length reduces leverage.
What if the biggest thumb tip is too narrow?
Look for extended sizing or individual/custom sizes rather than forcing the included tip.
Sources checked
Sources below are page-specific. We prioritize manufacturer directions for product-specific steps and use medical or dermatology guidance when a safety question requires it. Always follow the instructions for the exact adhesive or set you own.