How to Remove Press-On Nails Without Prying
A patient removal approach that follows your adhesive system, avoids forcing the tip, and helps preserve reusable press-ons when possible.
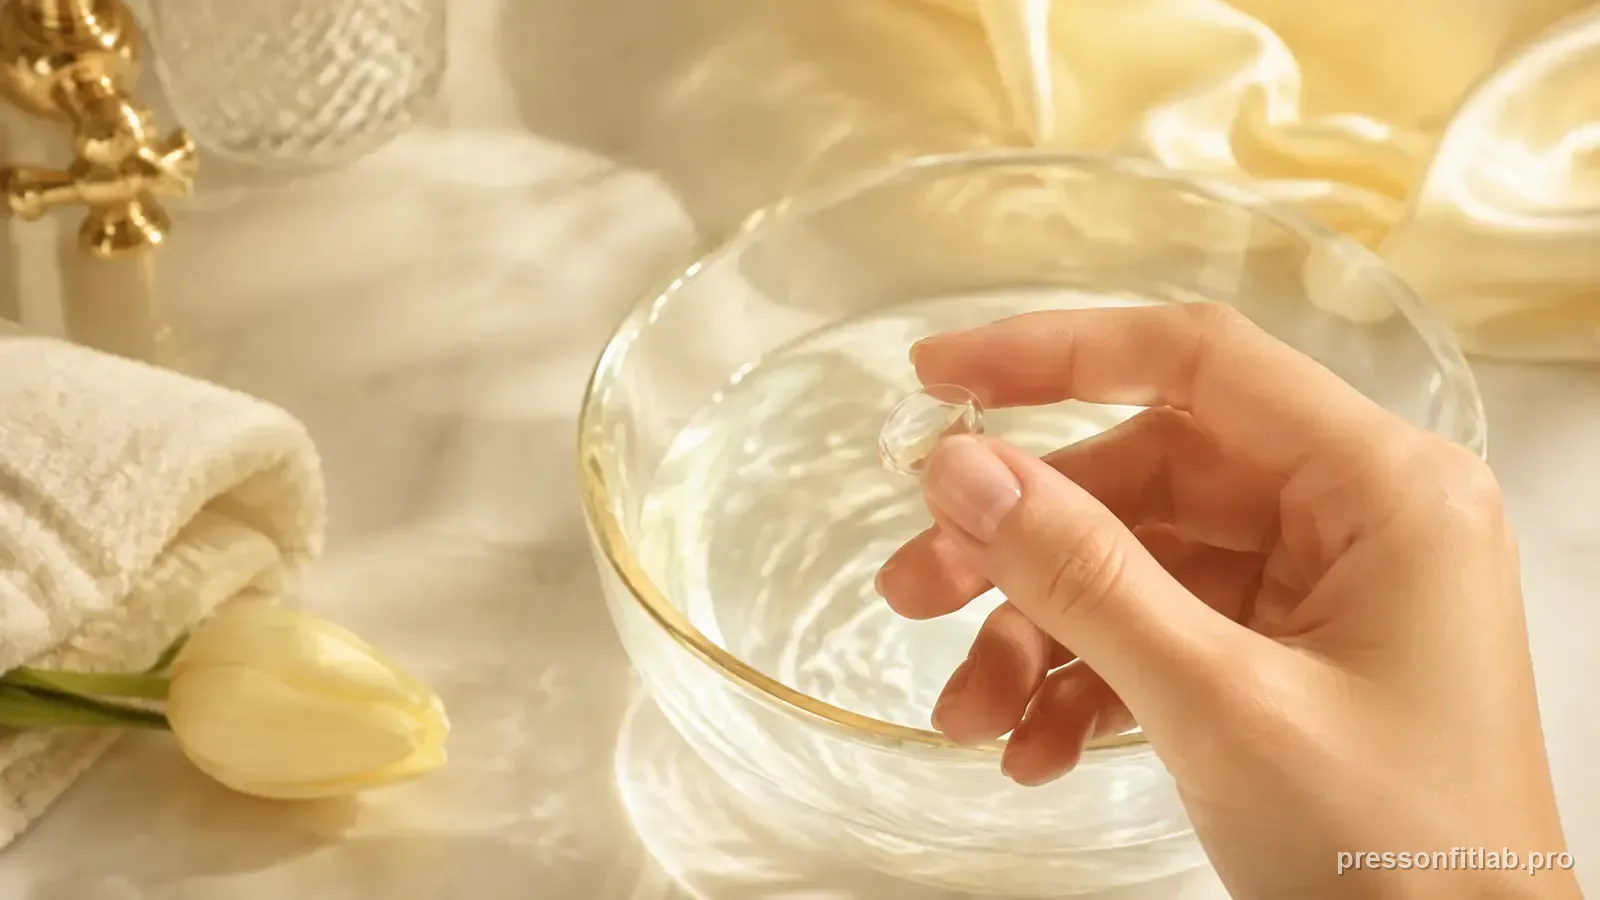
Do not pry off a firmly bonded press-on. Use the removal method specified for your glue or adhesive tabs, give the product enough time to release, and work gradually from an already-loose edge rather than forcing the nail away from the natural plate.
Check these first
- ✓ Know whether you used glue or tabs.
- ✓ Use the matching removal directions.
- ✓ Never force a firmly attached tip.
- ✓ Clean reusable tips only with a compatible method.
Start with the adhesive you actually used
Removal is not one-size-fits-all. Adhesive tabs, brush-on glues, and other press-on systems may recommend different removers or soaking methods. The product instructions should be your first reference.
Do not switch to a harsh removal method simply because it is faster in a social-media clip.
Give the bond time to release
A common mistake is testing the nail every few seconds and turning the process into prying. If the method calls for soaking or a remover, allow it to work for the stated period.
The press-on should become progressively easier to move. If it remains firmly attached, continue the approved removal process rather than forcing it.
Work from a genuinely loose edge
When an edge has released, work gently and gradually. Do not wedge a sharp object deep under a bonded area.
If you feel strong resistance, stop and return to the release step. The goal is separation because the adhesive has softened, not because leverage overpowered it.
Preserve reusable press-ons
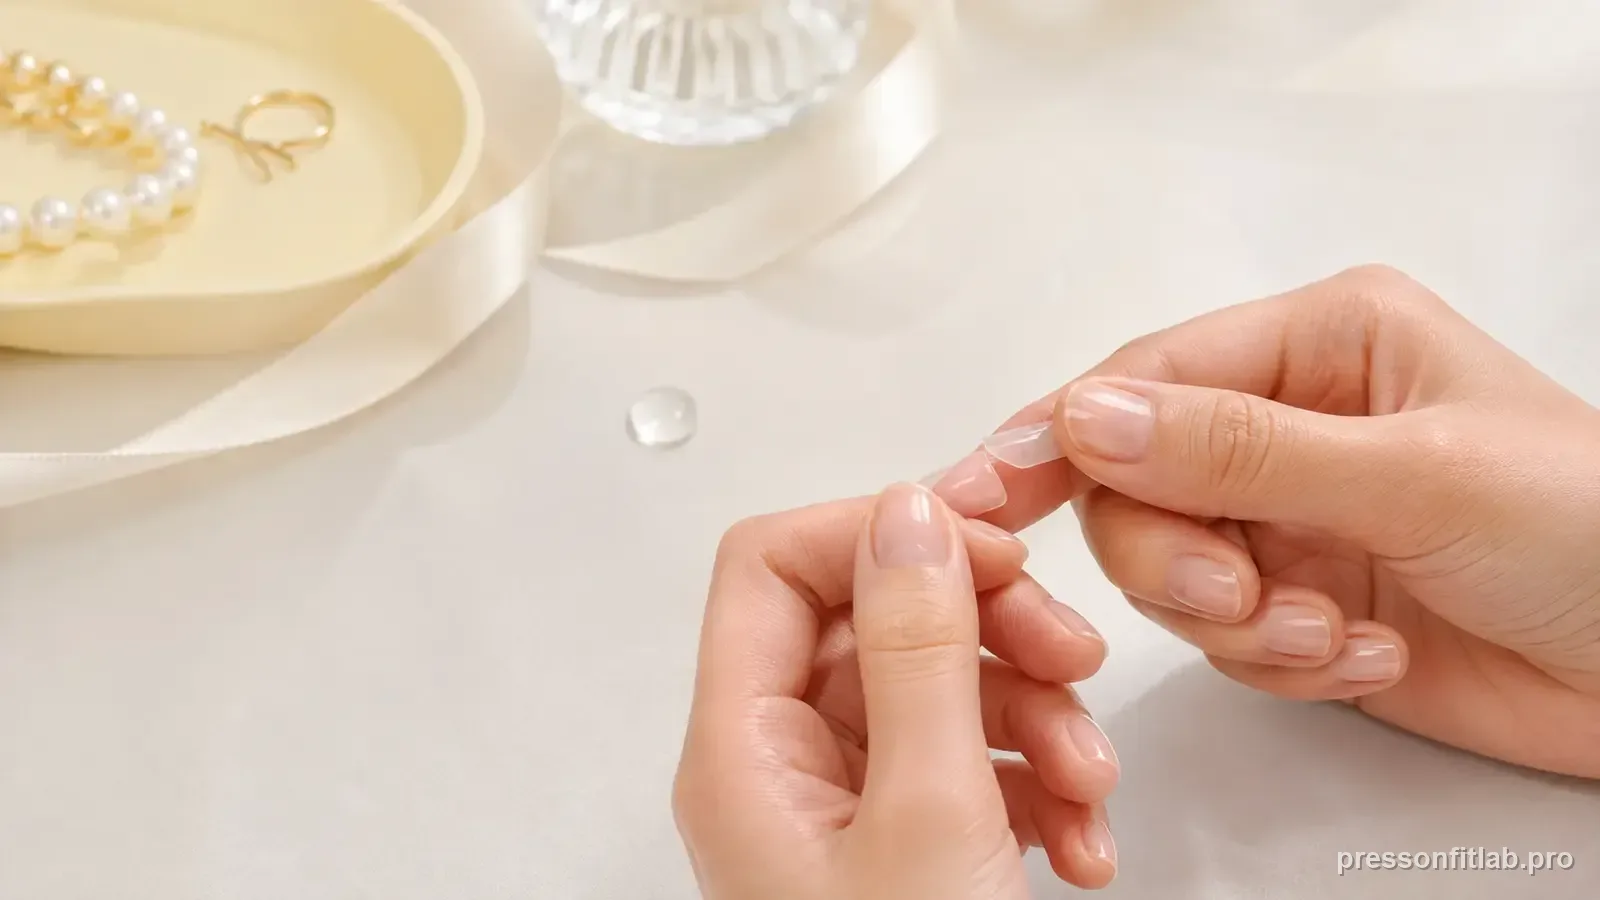
After removal, inspect the underside. If the press-on is designed for reuse, clean residual adhesive using a method compatible with that product. Aggressive scraping can thin or distort the tip.
Store each set in finger order or in its original tray so the customized sizes are easy to use next time.
Let different fingers release at different times
Adhesive coverage, leverage, and wear vary by finger, so one nail may release sooner than another. Follow the removal method for each nail’s actual bond instead of using the easiest finger as a timer for the whole hand. Resistance is a reason to continue the approved process, not to apply more force.
For reusable sets, slower removal can also protect the underside from cracking or warping. A tip preserved in its original shape is more likely to reproduce the first-wear fit.
Plan removal time before you apply the set
If you know the nails must be off Sunday night or before work, choose a product-supported wear method with enough time for patient removal. A rushed deadline encourages prying and aggressive shortcuts. Planning the exit at application time is part of the wear strategy, especially for reusable sets where preserving the underside matters for the next fit.
Diagnostic table
| What you see | What it suggests | Next check |
|---|---|---|
| Nail resists gentle lifting | Bond is not ready | Continue the manufacturer removal method; do not pry. |
| Tabs were used | Removal may differ from glue | Follow the tab system directions and remove residue gently. |
| Glue was used | Often requires a remover/soak method | Use the exact product instructions and allow enough time. |
| Tip is being saved for reuse | Avoid bending or aggressive scraping | Work slowly and clean the underside only as the system recommends. |
| Natural nail feels painful | Stop forceful removal | Do not continue prying; seek professional help if injury is suspected. |
A controlled test plan
- 1
Identify whether the set was applied with tabs, glue, built-in adhesive, or a manufacturer-approved hybrid.
- 2
Read the removal directions for that exact system before you start.
- 3
Work on a nail only after the bond has softened enough to release without force.
- 4
If resistance returns, re-soak or reapply remover instead of increasing leverage.
- 5
After removal, inspect the natural nail and give it a break if it is thin, irritated, or uncomfortable.
What not to do
- Popping the nail off because one corner has started lifting.
- Sliding a tool under a firmly bonded press-on and levering upward.
- Using a removal method intended for a different adhesive chemistry.
- Aggressively filing the natural nail to chase leftover glue.
Worked troubleshooting example
Example: two nails release easily with the product’s removal method, but the middle finger still feels firmly bonded. Instead of prying harder because the other fingers are already off, you continue the approved removal process on that nail and give it more time.
When the edge finally begins to release, you work gradually from the loosened area rather than using the artificial nail as a lever. The natural nail underneath stays comfortable, and the press-on is less likely to crack from forced bending.
The uneven timing is not unusual because adhesive coverage and daily wear differ by finger. A removal routine should respond to the bond that is actually present, not force every nail to come off on the same schedule.
Field notes
Removal is part of the manicure, not cleanup after the manicure. Planning the removal method when you choose glue versus tabs prevents the common mistake of using a strong hold and then improvising a fast exit.
The American Academy of Dermatology advises caution with artificial nails because repeated filing and removal can leave natural nails thinner or more brittle. That is one reason patient release is safer than prying or forcing the artificial nail off.
Frequently asked questions
Can I just pop press-ons off when they start lifting?
It is better to follow the adhesive removal method and avoid prying, especially where part of the nail is still firmly bonded.
Does soaking always remove press-on nails?
Removal methods vary by adhesive, so use the instructions for the specific glue or tabs you applied.
Can press-ons be reused after glue?
Many reusable tips can be worn again if they are removed and cleaned without damage, but follow the maker’s guidance.
Sources checked
Sources below are page-specific. We prioritize manufacturer directions for product-specific steps and use medical or dermatology guidance when a safety question requires it. Always follow the instructions for the exact adhesive or set you own.