Press-On Nails Lifting on the Sides: Fit vs. Adhesive
How to tell whether side lifting comes from width, C-curve mismatch, missed adhesive coverage, or daily leverage.
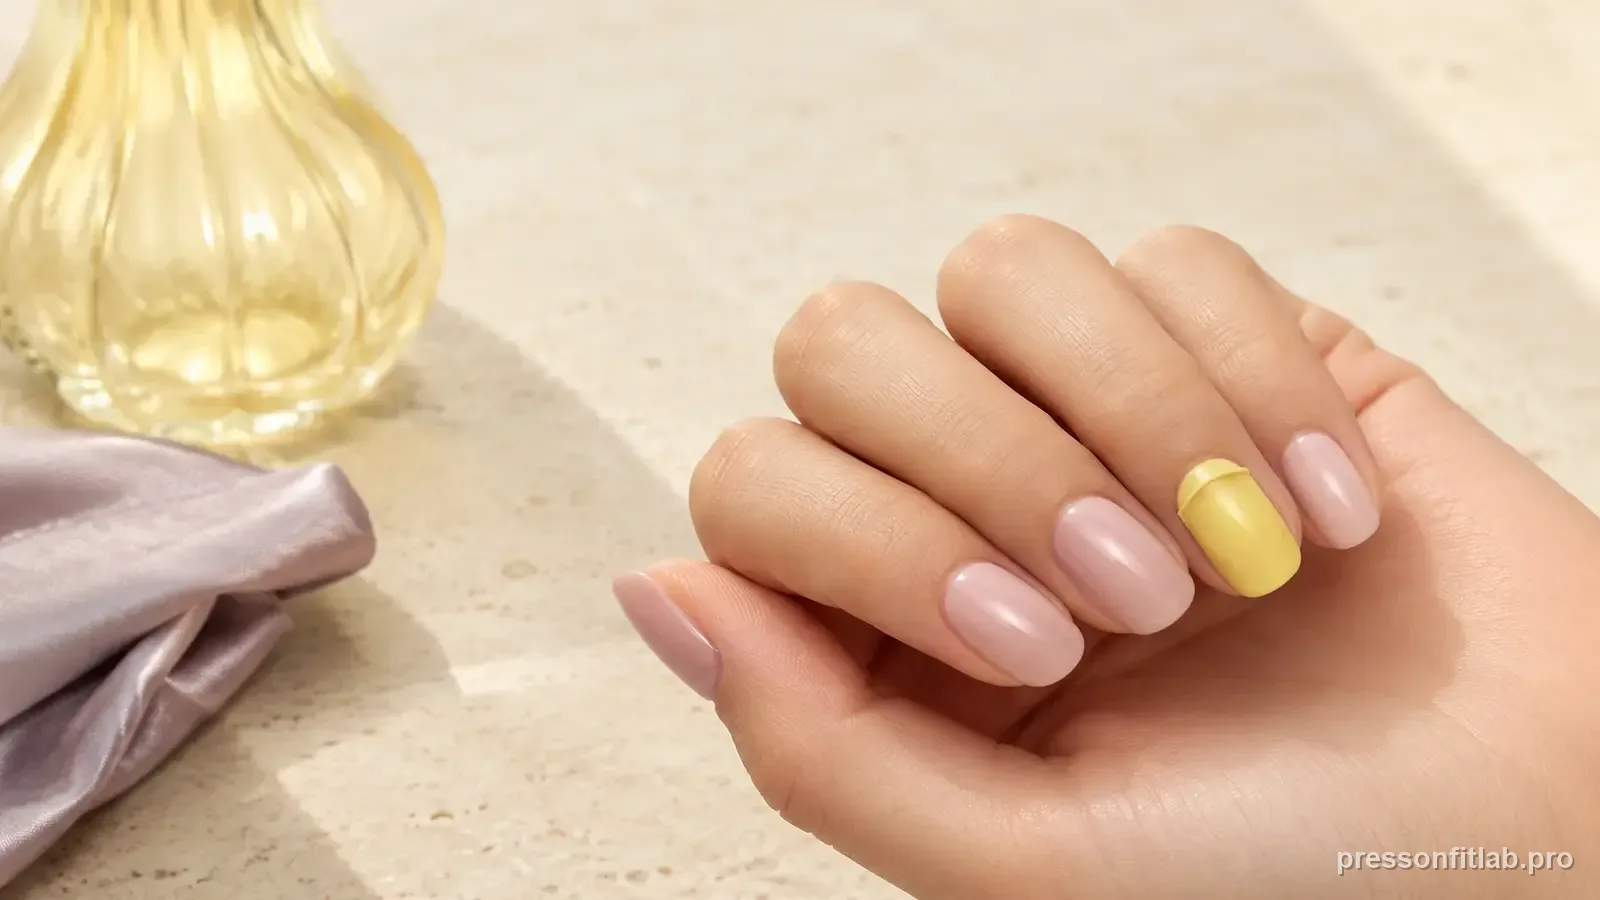
Side lifting can come from a tip that is too narrow, a transverse-curve/profile mismatch, incomplete sidewall adhesive contact, off-center placement, or daily leverage. Dry-fit first and compare the natural nail and tip arcs directly before changing adhesive volume.
Check these first
- ✓ Natural nail is fully covered.
- ✓ Edges sit down without squeezing.
- ✓ No hollow side gaps when viewed from the tip.
- ✓ Adhesive coverage reaches both side zones.
Separate width from curve
A narrow tip leaves the side of the natural nail uncovered. A too-curved tip may cover the width from above but spring upward at both sides when viewed from the front. These failures look similar after a day of wear but need different fixes.
Dry fitting is the fastest way to separate them.
Check for rocking
Place the tip on the nail and press gently at one side. If the opposite side pops up noticeably, the underside curve may not match. A good tip should make broad contact without see-saw movement.
For flatter nails, a lower-curve or more flexible base can reduce this problem.
Apply adhesive to the full contact zone
Once fit is correct, follow your glue or tab instructions so the side areas actually receive adhesive. A perfect center bond with dry edges still allows water, hair, and leverage to work under the tip.
Avoid flooding onto skin; complete nail-to-tip contact is the target.
Reduce leverage while troubleshooting
Longer tips amplify force at the sidewalls. If you are testing a new fit or adhesive system, a shorter length can make the cause easier to diagnose.
After you find a fit that stays flush, you can experiment with longer shapes with fewer variables changing at once.
Compare bilateral and one-sided lift
When both side edges rise in a similar way while the center remains down, curve tension becomes a stronger hypothesis because the shell may be trying to return to a deeper molded C-curve. When only one side opens, off-center placement, asymmetric nail shape, or a local width mismatch deserves more attention.
Photograph the nail from the free edge before removing it. The symmetry of the gap is useful evidence for choosing the next profile or placement test.
Check whether side lift begins during dry fit
If the side edges already float before adhesive, the fit is telling you there is incomplete contact before bonding. Compare width, centering, and the two curves directly. If the edges sit flush when dry and only open later, look at placement, prep, wear, and local leverage as well.
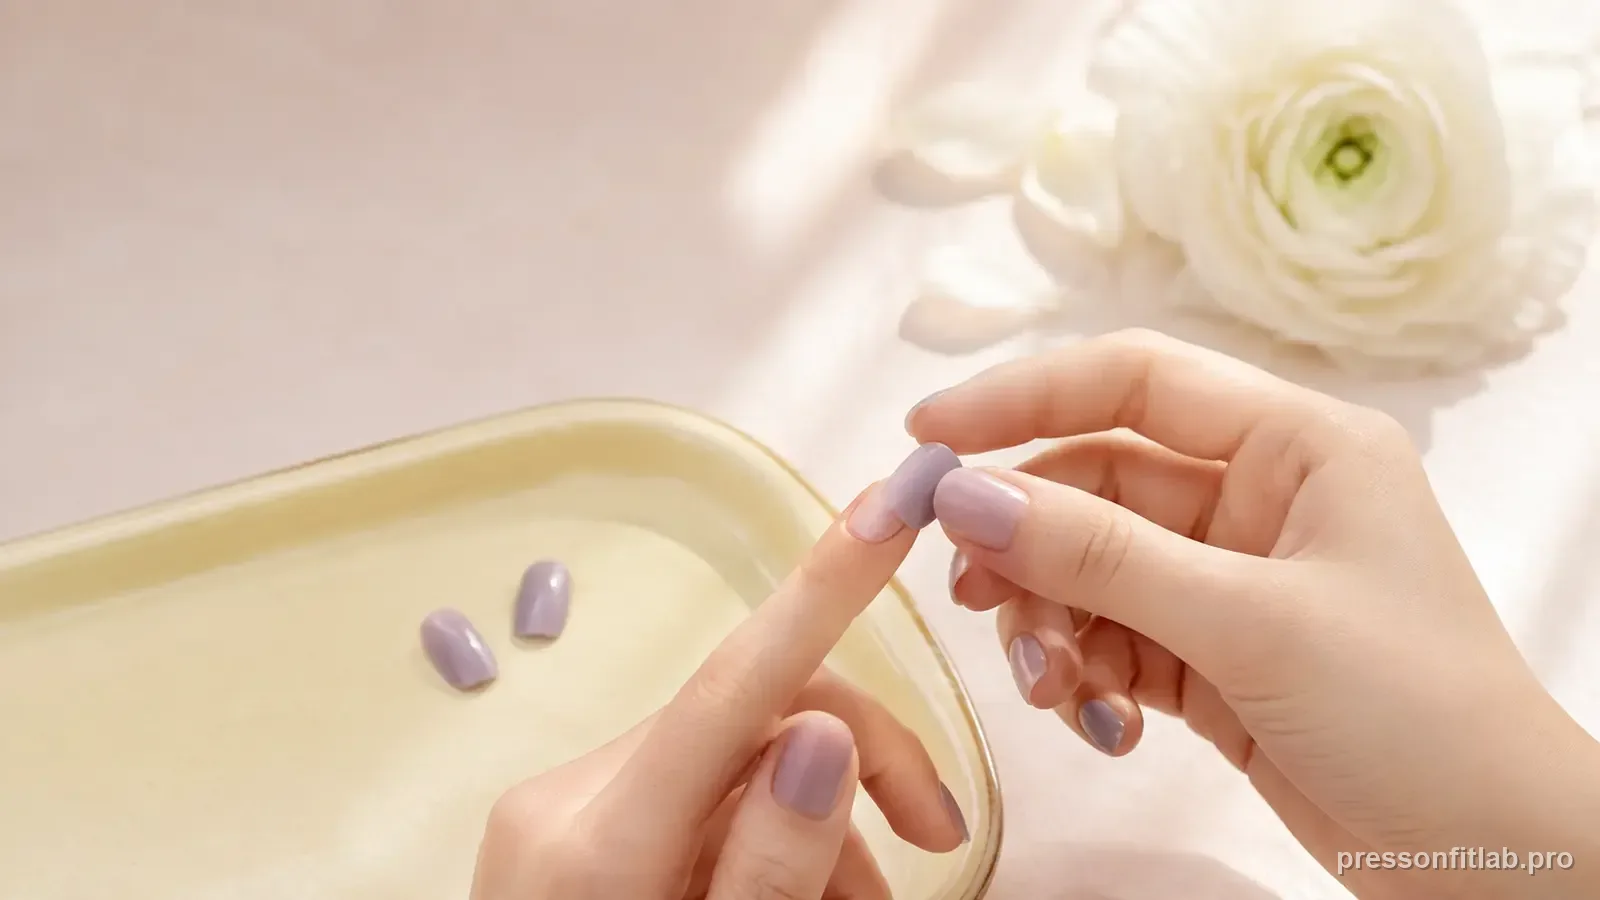
Diagnostic table
| What you see | What it suggests | Next check |
|---|---|---|
| Both sides lift while center holds | Incomplete side contact / possible width or profile mismatch | Compare width and the two arcs directly; test a closer profile before changing adhesive. |
| One side lifts only | Off-center placement or local shape mismatch | Re-center and check that specific sidewall. |
| Side edge sits on skin | Tip is too wide at that point | If fit is otherwise correct and the product allows filing, refine the artificial edge until it stays inside the nail boundary |
| Natural nail shows beside tip | Tip is too narrow | Try a physically wider candidate; sidewall coverage cannot be added with glue. |
| Rough filed edge catches fibers | Finish problem, not bond failure | Smooth the edge and distinguish snagging from true lift. |
A controlled test plan
- 1
Look straight down to judge width, then from the free edge to judge curve.
- 2
Press the dry tip lightly in the center and watch whether either side springs upward.
- 3
Check whether the side edge is on nail plate or skin.
- 4
Change the single variable that explains the pattern—width, curve, or centering.
- 5
Only after fit is clean should you repeat the adhesive routine.
What not to do
- Calling every side gap “not enough glue.”
- Choosing a narrow tip only to prevent skin overlap when a larger near-fit could be refined safely under the product’s filing guidance.
- Forcing a high C-curve onto a flat nail for the entire wear period.
- Confusing a rough edge with an adhesive lift.
Worked troubleshooting example
Example: both side edges of your middle-finger press-on begin to open while the center remains firmly attached. During the next dry fit, the tip looks wide enough from above but its C-curve is visibly deeper than the natural nail.
You compare a lower-curve tip at nearly the same width. It rests across the center and sidewalls without needing to be squeezed flat, so you use the same prep and adhesive method for a controlled retry. The side edges no longer spring upward during the first wear period.
If only one side had lifted, you would also check off-center placement or a one-sided shape difference. Bilateral side lift is a stronger reason to examine curve tension before blaming the adhesive itself.
Field notes
Side lifting is one of the clearest reasons to use two viewing angles. From above, you see coverage. From the free edge, you see whether the press-on wants to spring away from the nail. A correct width with a wrong curve is still a wrong fit.
If only the dominant-hand index or thumb lifts at the side, daily leverage may be amplifying a marginal fit. Solve the marginal fit first, then consider a shorter length for that finger if it continues to take repeated impact.
Frequently asked questions
Why are my press-ons lifting on both sides?
Side lifting can come from width, centering, curve/profile mismatch, application, or leverage. Use the free-edge dry fit to compare the natural and artificial arcs directly rather than treating side-lift location as proof that the tip needs more or less curve.
Does side lifting mean I need stronger glue?
Not always. Fix tip width and curve first, then evaluate adhesive technique.
Can long press-ons cause more side lifting?
Longer nails create more leverage, which can expose a marginal fit or bond sooner.
Sources checked
Sources below are page-specific. We prioritize manufacturer directions for product-specific steps and use medical or dermatology guidance when a safety question requires it. Always follow the instructions for the exact adhesive or set you own.