Press-On Nails Lifting at the Cuticle: What to Check
A cuticle-lifting troubleshooting checklist covering placement, base shape, adhesive coverage, skin contact, and prep.
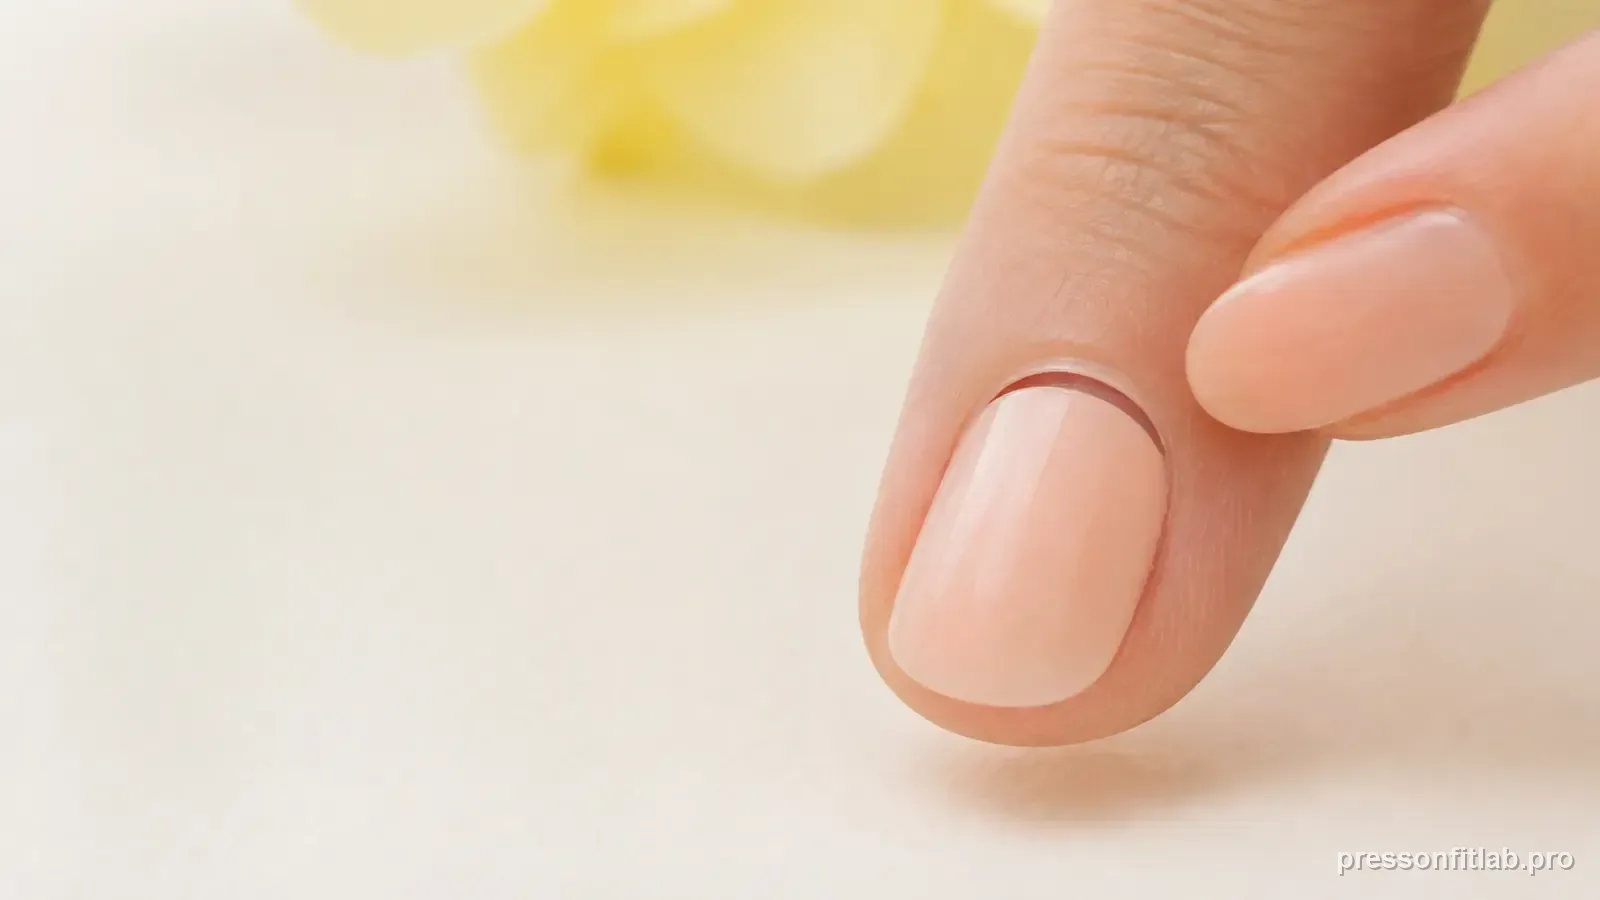
Cuticle-edge lifting often comes from placing the tip too far onto skin, using a base shape that does not match your cuticle line, leaving an adhesive gap near the base, or leaving residual dead cuticle tissue on the nail plate before application.
Check these first
- ✓ Press-on edge stays on nail plate.
- ✓ Base curve matches the cuticle line.
- ✓ Loose cuticle is cleared from nail plate.
- ✓ Adhesive reaches near the base without flooding skin.
Look at exactly where the gap starts
A small gap at one cuticle corner usually points to shape mismatch or uneven placement. A gap across the entire base can mean the tip was positioned too far forward or the underside curve does not meet the nail near the cuticle.
Do not push the press-on under the natural cuticle. The goal is a close visual line while the product remains on the nail plate.
Match the base shape
Press-on bases vary from square to rounded to tapered. If your cuticle line is round but the tip base is very square, the corners may overlap skin before the center sits close enough.
A small artificial-base adjustment can improve a near-match only when the tip material and manufacturer directions support filing. If major reshaping would be needed, choose a better base style for your hands.
Clear the nail plate before application
Residue on the nail plate can interrupt adhesion at the base. Follow the exact product prep directions and keep any cuticle work gentle; do not cut or injure living skin. The intended bonding area should be clean and dry, and lotion or oil should be avoided immediately beforehand unless the product says otherwise.
Place the tip without trapping the base edge
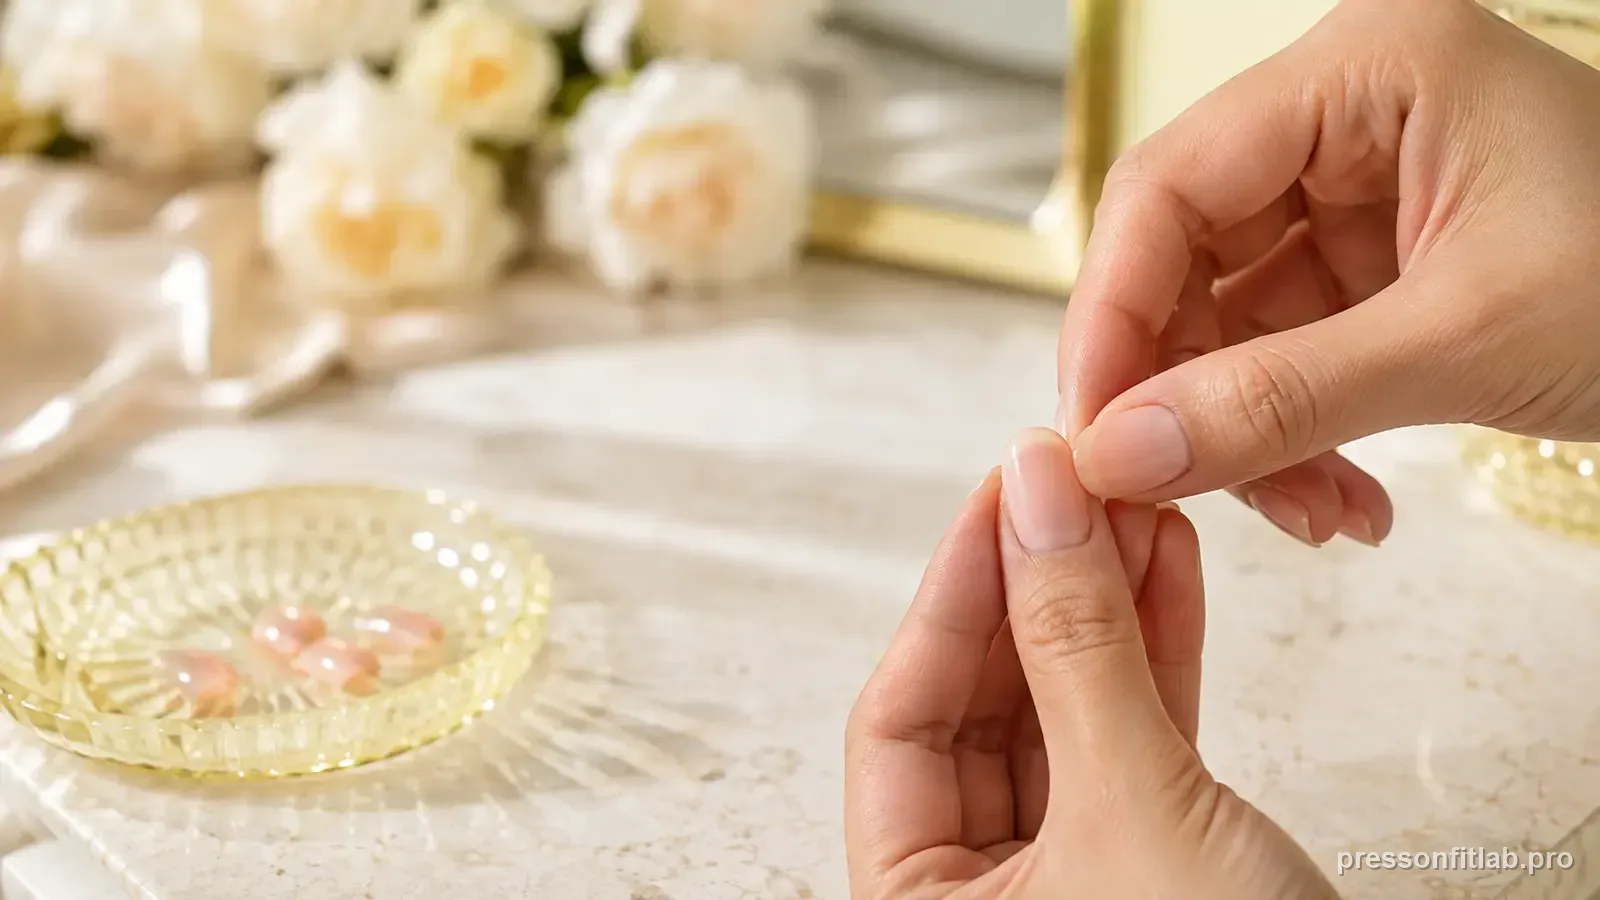
Follow the placement angle and pressure method for the exact press-on or adhesive system. Keep the artificial base on nail plate rather than surrounding skin, maintain the alignment you established during dry fit, and apply pressure where the manufacturer directs instead of relying on a generic placement angle for every product.
Separate base-arc mismatch from placement error
Dry-fit the base without adhesive and see whether the artificial cuticle edge can sit on nail plate while staying clear of skin. If one corner touches skin before the center settles, the base shape may need refinement. If the dry fit is clean but the applied tip sits too high, placement is the stronger clue.
Keeping those causes separate matters because filing cannot correct a tip that was simply placed onto skin, and repositioning cannot fully correct a base that physically collides with the side of the cuticle area.
Diagnostic table
| What you see | What it suggests | Next check |
|---|---|---|
| Gap appears immediately at base | Cuticle arc or placement mismatch | Dry-fit the base shape and keep the press-on on nail plate, not skin. |
| Hair catches after a day or two | Small cuticle lift has developed | Remove/reapply a significant lift rather than repeatedly pressing debris back in. |
| Only one base corner lifts | Asymmetric base shape or off-center placement | Re-center first; if a close-fit artificial corner still collides and the product permits filing, make only a small edge refinement. |
| All ten lift near cuticle | Prep/application pattern | Review cuticle residue, oil removal, and even pressure. |
| Base looks flush but center rocks | Curve mismatch upstream | Check full underside profile, not just the cuticle edge. |
A controlled test plan
- 1
Follow the product’s prep directions so the nail-plate boundary is visible and the bonding area is clean without cutting or injuring living skin.
- 2
Dry-fit the base and check whether its arc follows your cuticle line without sitting on skin.
- 3
Use the placement angle and hold method given for the exact product, keeping the artificial base on nail plate rather than skin.
- 4
After application, inspect under bright light before the set is used heavily.
- 5
If the same corner lifts repeatedly, adjust the shape or tip rather than changing glue alone.
What not to do
- Placing the press-on on top of cuticle or surrounding skin.
- Filing away the entire base when only one corner is mismatched.
- Treating every base lift as an oily-nail problem.
- Stuffing fresh glue under an edge that has already collected water, hair, or product.
Worked troubleshooting example
Example: hair begins catching under the base of the right ring press-on two days after application while the sidewalls still feel secure. When you inspect the edge closely, a small cuticle-side gap is visible and the artificial base sits slightly higher on one corner.
On the next application you dry-fit that finger and see the base corner touches skin before the rest of the edge settles onto nail plate. You refine only the artificial corner, keep the same adhesive system, and place the tip so the base stays on nail plate rather than riding onto the cuticle area.
Because the failure moved from an early cuticle lift to normal wear, the base-shape and placement change was informative. Repeatedly pressing the old lifted edge back down would have hidden the clue without correcting the geometry.
Field notes
Cuticle-area lifting is visually obvious because the raised edge catches light and hair. It is also highly diagnostic: a single corner often points to shape or centering, while similar lifting across many nails makes a repeated prep or placement issue more plausible.
The natural nail grows forward, so leaving a tiny intentional margin on the nail plate is different from leaving a raised pocket. The base should sit close and flat without resting on skin.
Frequently asked questions
Why does my press-on lift only near the cuticle?
Common causes include skin contact, a mismatched base shape, loose cuticle on the nail plate, or incomplete adhesive near the base.
Should press-ons touch the cuticle?
They should sit close to the cuticle line but remain on the nail plate rather than adhering to skin.
Can I file the cuticle edge of a press-on?
A small artificial-base adjustment can help a close fit only when the tip material and manufacturer directions permit filing. Keep the adjustment conservative; major reshaping means the base shape is a poor match.
Sources checked
Sources below are page-specific. We prioritize manufacturer directions for product-specific steps and use medical or dermatology guidance when a safety question requires it. Always follow the instructions for the exact adhesive or set you own.