Why Do My Press-On Nails Keep Popping Off?
Diagnose repeated press-on nail pop-offs by checking fit, curve, prep, adhesive coverage, placement, and daily stress in the right order.
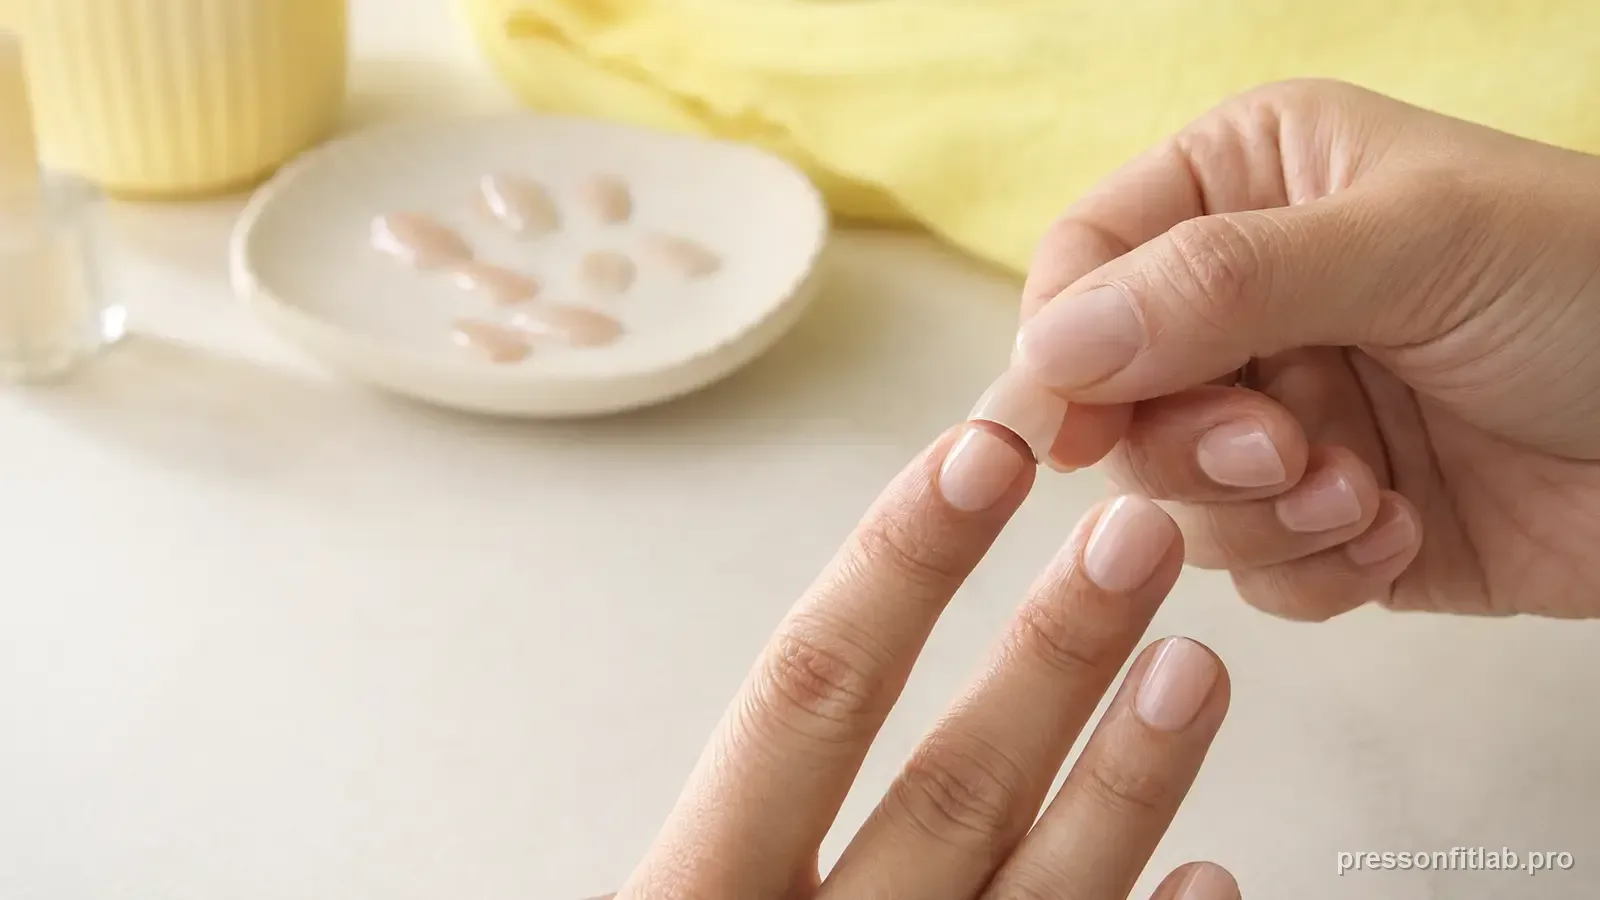
Repeated pop-offs usually come from one of four things: the press-on does not match your nail width or curve, the natural nail was not fully cleaned and dried, adhesive contact is incomplete, or the nail is taking more leverage than the bond can handle. Fix fit first; adding more glue to a bad fit rarely solves the real problem.
Check these first
- ✓ Does the press-on cover sidewall to sidewall without pinching?
- ✓ Does the underside curve sit flush instead of rocking?
- ✓ Was the nail plate dry and free of lotion or oil?
- ✓ Where does lifting start: cuticle, sides, center, or free edge?
Start with the failure pattern, not the glue bottle
The place where the nail begins to lift is useful evidence, but the gap location alone does not prove one exact curve direction. Side lifting, a hollow-looking center, or rocking can all point to incomplete contact from width, curve, placement, or adhesive coverage. Lifting near the cuticle can also come from placing the tip too high, leaving an air pocket, or getting adhesive on skin instead of nail plate.
If every nail fails at roughly the same time, review prep and adhesive technique. If the same one or two nails fail repeatedly, investigate those nails individually. Thumbs and index fingers often need their own fit, length, and product-directed application check because they take more daily stress.
Check width before anything else
A press-on should cover the natural nail from sidewall to sidewall without squeezing the skin. If you can see a strip of natural nail at either side, the tip is too narrow. If the side edges press into skin or feel tight, it may be too wide, too curved, or both.
When you are between sizes, a physically wider candidate can be easier to customize than a tip that is already too narrow—but only when its material and manufacturer directions allow side filing. Do the fit check before glue is opened so you can swap sizes calmly.
- Dry-fit all ten nails first.
- Label or lay them out in finger order.
- Check thumbs separately; they often need more adjustment.
Match the curve
Width can look perfect from above while the underside still rocks on the nail. Look at both the natural nail and the press-on from the free edge and compare their arcs directly. A strong profile mismatch can show up as side spring, a center hollow, or rocking; the exact gap pattern also changes with width, flexibility, and where pressure is applied.
Adhesive is meant to bond surfaces that already have reasonably compatible contact; it should not be used as structural filler for an obvious shape mismatch. If the natural nail is visibly flatter than the tip, compare a lower-curve or more flexible profile before changing adhesive volume.
Prep for contact, not for roughness
The goal of prep is a clean, dry bonding surface. Wash and dry hands well, then follow the exact prep directions for the adhesive or press-on system. If those directions call for cuticle prep, keep it gentle and limited to the nail-plate area; do not cut or injure living skin. Avoid lotion or oil immediately before application unless the product directions say otherwise.
Light buffing may be recommended by some systems, but aggressive thinning is unnecessary for routine press-ons and can damage the natural nail. Use only the amount of surface prep the product calls for and stop if the nail becomes sore or irritated.
Apply for even contact
Once the fit is stable, follow the placement method for the exact glue, tab, or press-on system you are using. Keep adhesive on the intended nail-to-tip contact area rather than surrounding skin, and maintain even contact for the product’s stated hold or set time.
More adhesive is not automatically better. Too little can leave unbonded zones; too much can overflow onto skin or make alignment harder. The useful target is controlled coverage on a compatible fit, not a large blob used to compensate for rocking or pinching.
When the same nail keeps failing
Treat that finger as its own fitting problem. Recheck its width in millimeters, compare the curve, and look at how you use that finger during the day. A thumbnail used for opening cans or an index finger used for picking labels may experience much more leverage than the others.
A one-nail repair is also a good chance to test one variable at a time. Change the tip size first, then the adhesive technique if needed. That tells you what actually improved wear instead of changing five things at once.
Diagnostic table
| What you see | What it suggests | Next check |
|---|---|---|
| Many nails loosen early | A shared prep, application, product, or fit variable may be involved | Review the exact product directions and the common steps used across the set before reapplying clean, compatible tips. |
| Only the same 1–2 nails fail | Finger-specific fit or daily leverage | Re-measure those fingers and shorten or resize only the repeat offenders. |
| Sides spring up | Curve or width mismatch | Dry-fit from the free edge and look for sidewall tension before using more adhesive. |
| Cuticle edge opens first | Base shape, placement, or incomplete contact | Check that the press-on starts on nail plate, not skin, and follows the cuticle arc. |
| Center feels hollow or rocks | The underside profile does not match the natural nail | Try a different tip profile instead of asking glue to bridge a large gap. |
A controlled test plan
- 1
Dry-fit all ten tips and mark any nail that rocks, pinches, or exposes a sidewall.
- 2
Choose one or two representative nails for a controlled retry rather than changing the entire set at once.
- 3
Repeat the exact manufacturer prep and application directions while changing only the suspected fit variable—size, curve, or length.
- 4
Photograph the first lift point if a nail fails; the location is more useful than the day count alone.
- 5
Keep the change only if it improves contact or changes the repeat failure pattern without causing pressure, skin overlap, or discomfort.
What not to do
- Adding a large blob of glue to a tip that visibly rocks.
- Forcing a narrow or highly curved tip flat because it matches the printed size number.
- Re-gluing a dirty lifted edge over and over without removing the failed nail.
- Judging every finger by the thumb; each nail can need its own size and profile.
Worked troubleshooting example
Example: nine nails feel secure, but the right index pops off on the first day for three sets in a row. Instead of changing the glue on every finger, you dry-fit only that index again and notice the tip rocks slightly from side to side even though its top-view width looks correct.
You compare the neighboring size and a lower-curve tip while keeping the same prep and adhesive routine. The lower-curve option sits flat without pressure, so you apply that one finger and leave the other nine unchanged. The index now fails later and from a different point, which is useful evidence that profile mismatch was part of the original problem.
On the next set, you save the right index as a separate fit note rather than treating the hand as one sizing pattern. If several nails later begin loosening together, that would be the time to investigate a shared prep or adhesive variable instead.
Field notes
A useful troubleshooting habit is to separate bond strength from fit. If a correctly fitted nail loosens across many fingers at once, the application routine deserves attention. If one specific finger fails while the others stay secure, the better question is what is different about that finger: width, curve, length, placement, or daily use.
Do not use wear time as the only score. A set that survives longer by pinching the natural nail or sitting partly on skin is not a successful fit. Comfort, full nail-plate coverage, and predictable removal are part of the result too.
Frequently asked questions
Why do press-on nails pop off after one day?
The most common reasons are poor fit, incomplete oil removal, a curve mismatch, or gaps in adhesive contact. Check fit before simply adding more glue.
Should I use more glue if my press-ons pop off?
Not necessarily. Extra glue cannot reliably fix a tip that is too narrow or too curved. Correct fit and full contact come first.
Why does only my thumb press-on pop off?
Thumbs often have a different width or curve and also take more leverage in daily tasks. Refit the thumb separately rather than assuming the same method should work for all ten nails.
Sources checked
Sources below are page-specific. We prioritize manufacturer directions for product-specific steps and use medical or dermatology guidance when a safety question requires it. Always follow the instructions for the exact adhesive or set you own.