How to Size Press-On Toenails: A Fit-First Guide for Every Toe
Learn how to dry-fit press-on toenails by coverage, curve and toe-specific shape before choosing adhesive or filing a tip.
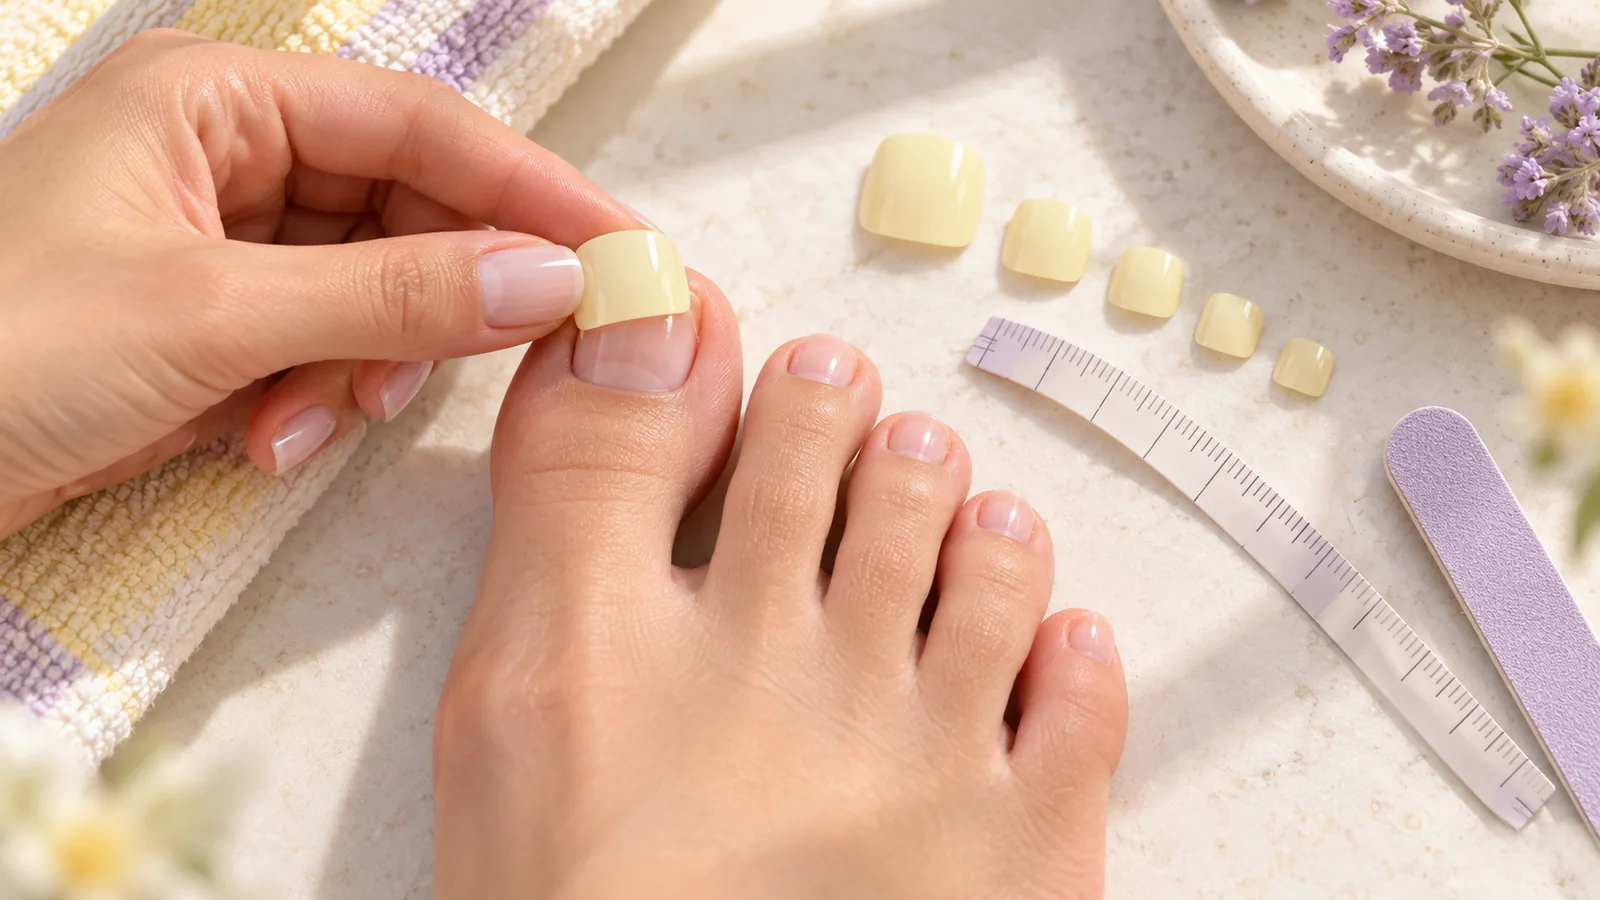
Choose a press-on toenail that covers the natural nail plate without riding onto the surrounding skin, pinching either side, or rocking across the curve. Test every toe separately before adhesive; toe sizes and shapes can differ, and a kit’s number system only makes sense within that brand. If no tip gives a comfortable plate-only fit, skip that nail or choose another shape rather than forcing it.
Check these first
- ✓ Does the loose tip cover the nail plate from side to side without touching skin?
- ✓ Does its curve sit calmly, without rocking, pinching, or a visible side gap?
- ✓ Have you dry-fitted all ten toes independently, including both big toes?
- ✓ Does the product allow edge filing, and can you file the artificial tip without damaging its finish?
- ✓ Is the natural nail intact and comfortable, with no sore, inflamed, or suspicious area being covered?
Why a toenail set is not just a small fingernail set
Toenail plates differ from finger to finger in width, sidewall shape, curve, and length. The big toe usually needs a very different tip from the smallest toe, but even the two big toes may not match exactly. A set made for pedicures may include short profiles and a size spread shaped for toes. A general fingernail set may not have the right curve, width steps, or tiny pieces for the little toes. Do not assume a finger size number transfers to a toe, or that left and right feet use mirrored sizes.
A size number is a label used by one maker, not a universal measurement. The same number can represent a different width in another brand or even another product line. Start with the maker’s sizing chart or kit instructions, then use a dry-fit on your own nail plate to confirm. For a custom set, record the product, shape, and the specific tip that passed each toe’s fit check. That record is more useful than saying a toe is a size four without naming the set.
Measure the nail plate, not the surrounding toe
If a brand publishes tip widths in millimeters, measure the widest part of the natural nail plate from one side edge to the other. Keep the measuring strip or caliper across the plate, not around the toe. A toe’s skin pad and the shape of the toe can make the whole toe much wider than the nail itself. Use a gentle touch; measuring is a sizing aid, not a reason to press a tool into the skin or scrape away the side edges to make a tip appear to fit.
Take the measurement on a clean, dry nail at a consistent point near the widest part. Follow the brand’s own chart because its number may describe a specific shape or product family. A flat tip and a strongly curved tip can share a width on paper but behave differently on a curved nail. If your measurement falls between published values, use the brand’s stated rule and inspect actual coverage. A chart narrows the choices; the dry-fit decides whether that candidate works on this toe.
Dry-fit each toe and judge three separate things
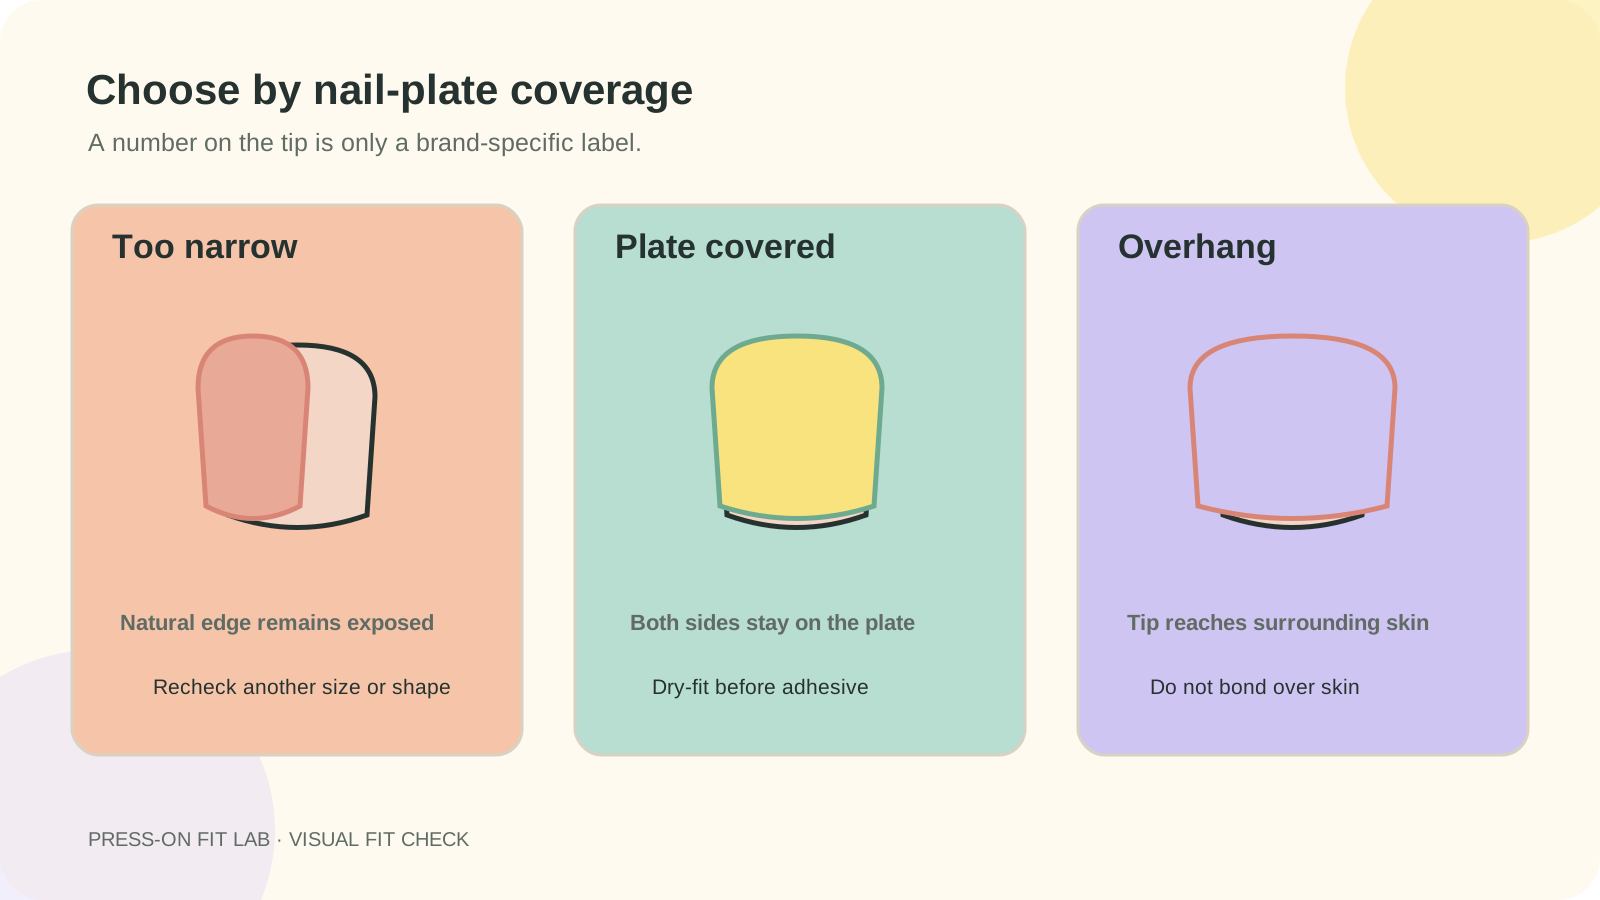
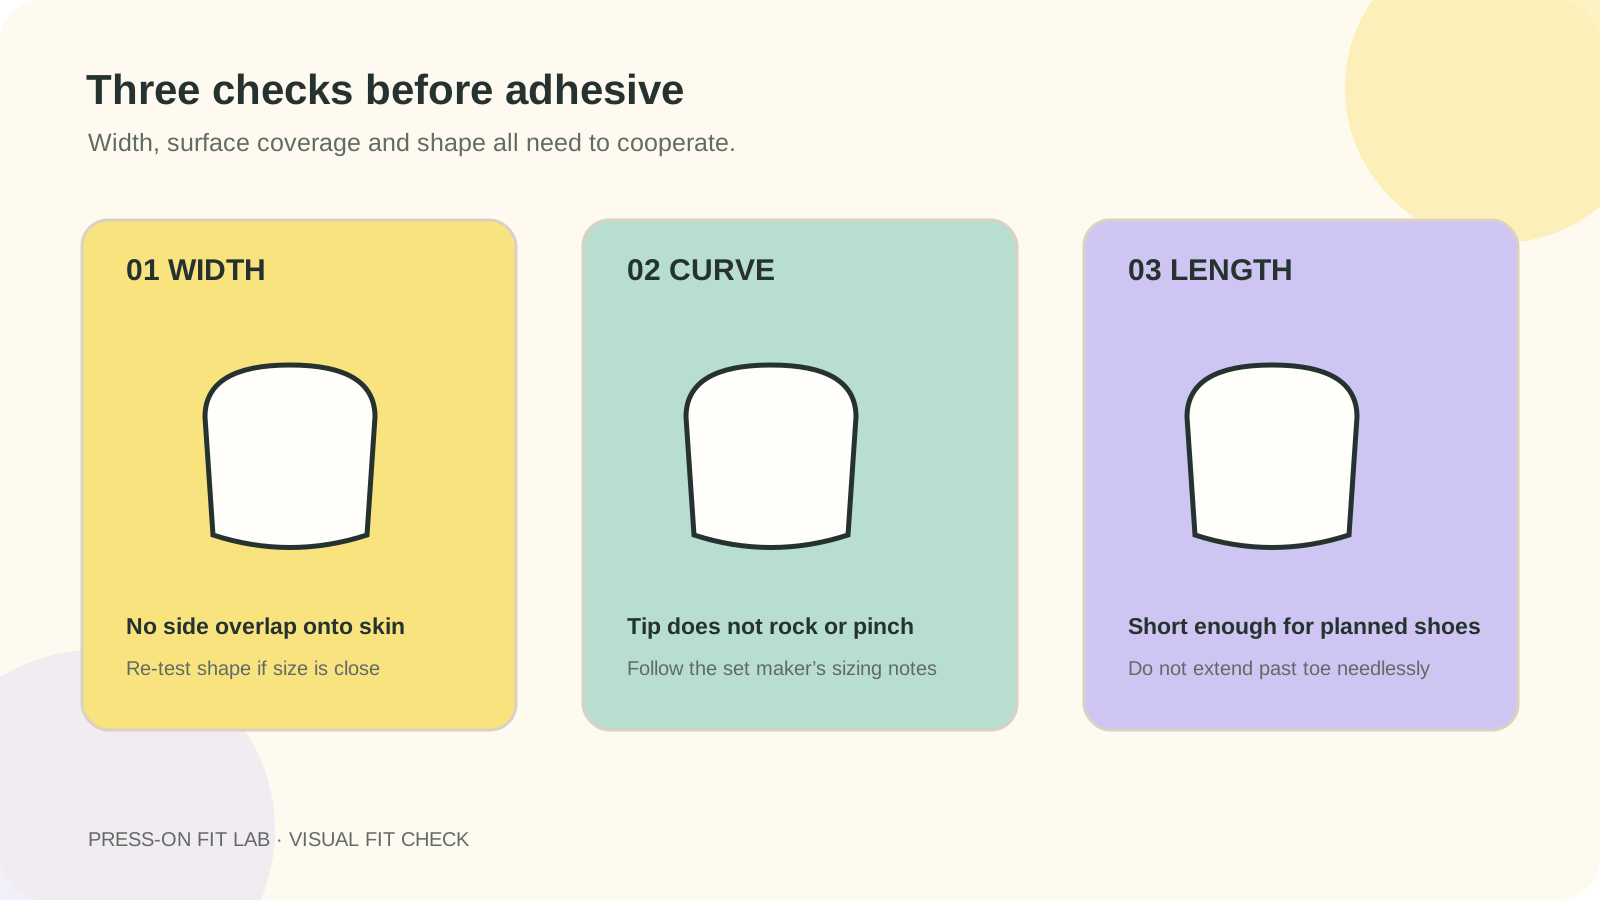
Set the loose artificial tip over the nail without adhesive. First check width: the artificial edge should stay over the natural nail plate rather than hanging onto the surrounding skin. Next look at the curve from the side and front. A tip that bridges over a flatter nail, rocks when lightly seated, or squeezes a more curved nail is not a good match simply because its width looks right. Finally check length and direction. The tip should sit in the orientation shown in the product directions and should not push painfully against the toe end.
A good visual match is not proof that every surface is perfectly bonded, and an adhesive cannot correct a poor fit. If a larger tip overhangs the plate while a smaller one leaves a side gap, try another shape or manufacturer rather than choosing the lesser discomfort. Some manufacturers permit careful filing of the artificial tip’s side edge; that is not permission to file the natural nail or remove skin. Before filing a decorated tip, check that altering it will not expose layers or damage the finish.
Build a toe-by-toe size map before opening the glue
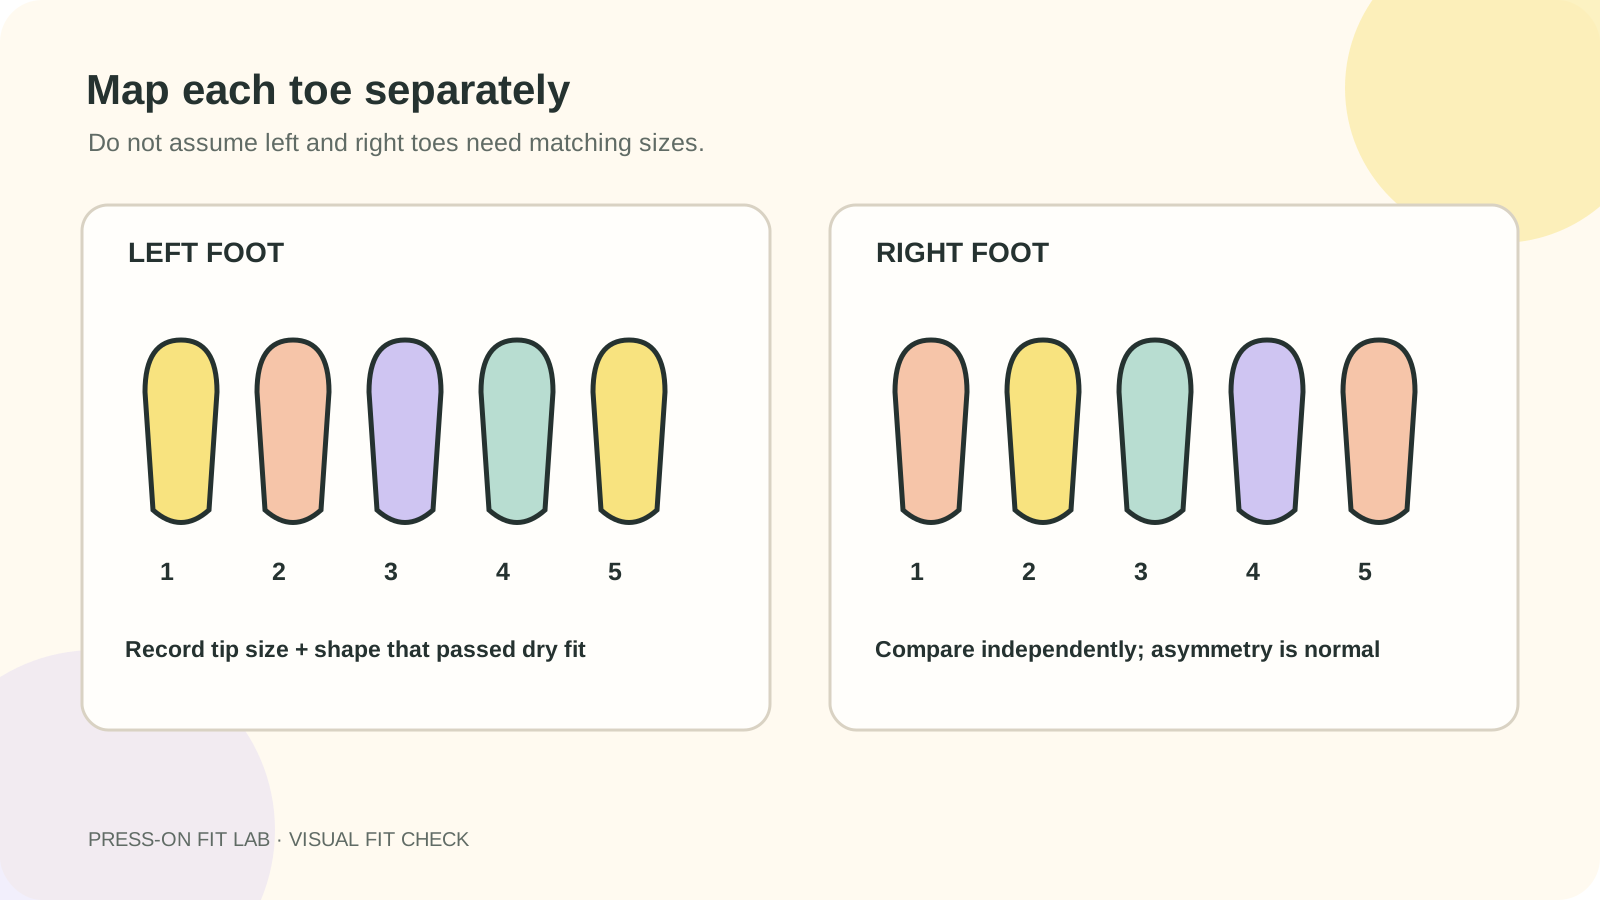
Lay out ten tips and label their intended positions from left big toe through left little toe, then right big toe through right little toe. Write the brand and style on the note as well as each tip number. If you are testing a kit with no printed numbers, mark the inside in a way the maker permits, or take a clear photo of the arrangement. Keep each candidate with its toe rather than relying on memory after several dry fits. This simple setup prevents mixing near-identical pieces when the smallest sizes are difficult to distinguish.
Do not force a symmetrical map for appearance. A person may have slightly different plate widths on the two feet, or different curves across adjacent toes. The map is a practical record, not a diagnosis or permanent measurement. Recheck if the product shape changes, the natural nail grows, or the previous fit starts to feel different. If a toe has changed shape or becomes sore, pause and reassess instead of reaching for a larger tip to hide the change.
Prep and choose an adhesive method from the exact product directions
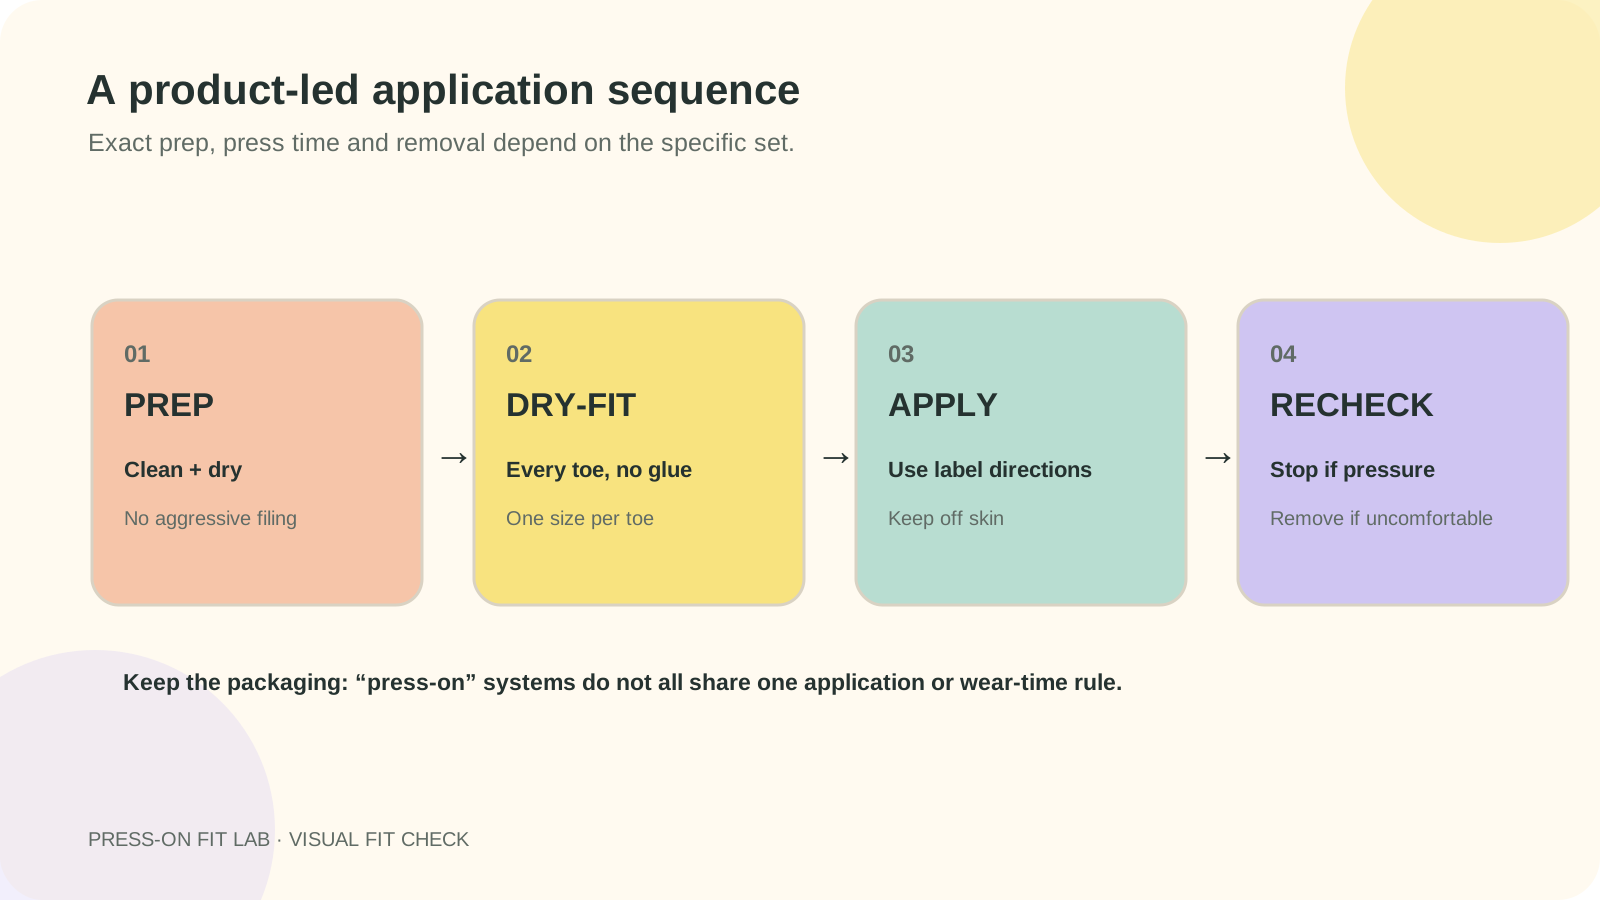
Only begin application after every candidate passes a dry-fit. Read the package for that specific set: press-on pedicures can use adhesive stickers, glue, or a product-specific system, and their press time, water exposure, reuse, and removal steps can differ. A manufacturer’s instructions for one soft-gel pedicure set do not automatically apply to another brand’s glue-on tips. Keep adhesive on the intended bonding surfaces, not the cuticle or surrounding skin, and stop if the directions cannot be followed without discomfort.
Use gentle, label-consistent preparation. The American Academy of Dermatology cautions against cutting or forcefully pushing back cuticles because they help protect the nail area. Do not aggressively thin, scrape, or buff a natural toenail just to improve wear time. FDA recommends following nail-product labels and warning statements, using products safely, and seeking care for a reaction. If glue, remover, or another cosmetic causes a rash or irritation, stop using it and speak with a health professional; do not cover the reaction with a tip.
Troubleshoot a tip that lifts, pinches, or will not stay centered
When an edge lifts during dry-fit, note where it happens before changing adhesive. A side edge that rests on skin points to width or alignment; a tip that rocks can indicate a curve mismatch; a front edge that feels crowded can mean the tip is too long or the toe is being pressed. These are fit observations, not proof of one cause. Remove the loose candidate and compare another shape. Adding extra glue to fill a gap may create squeeze-out without creating a stable, comfortable fit.
If a tip looks centered but slides while you position it, pause and reset according to the label rather than repeatedly pressing it into place. Adhesive residue, oil, water, and the product’s own handling instructions can matter, but no prep trick makes an unsuitable tip safe. Do not use household superglue or mix unrelated products. If the natural nail is brittle, has a known fungal problem, or is injured, the AAD advises against using artificial nails to cover nail problems; ask a clinician instead of masking the area.
Remove slowly and keep the record useful for next time
Removal is part of the fit decision because a product that cannot be removed as directed is a poor match for your routine. Follow the exact set’s removal steps and do not pry, snap, or pull a stuck tip off. Doonails, for example, distinguishes adhesive stickers from glue in its pedicure directions and notes that reuse depends on which method was used. That rule belongs to its own system; another package may differ. Keep the original instructions until the set is removed.
After removal, note what happened: which toe had edge lift, whether the tip rocked before adhesive, and whether the shoe or sock changed how it felt. The next attempt can use that evidence to test a different size or shape. Do not write down a wear-time promise as though every person, product, and activity will perform the same. If removal exposes pain, redness, a damaged nail, or another health concern, leave artificial nails off and obtain appropriate professional advice.
Diagnostic table
| What you see | What it suggests | Next check |
|---|---|---|
| Natural nail shows along one side | Tip may be too narrow, rotated, or shaped differently | Re-center once; compare another tip without adhesive |
| Artificial edge sits on surrounding skin | Tip may be too wide or placed off-center | Choose a smaller or different shape; do not bond over skin |
| Tip rocks when gently seated | Curve may not match even if width seems close | Test another curve/profile; do not fill the gap with glue |
| Both nearby sizes seem wrong | That product range may not fit this toe | Skip that toe or try a compatible product; do not force either |
| Tip fits at home but feels different later | Growth, pressure, moisture, or activity may have changed wear | Remove per label if uncomfortable and reassess before reuse |
A controlled test plan
- 1
Read the sizing and application directions for the exact pedicure product.
- 2
Clean and dry the nail gently, without cutting cuticles or filing the natural plate thin.
- 3
Lay out all ten tips and dry-fit one toe at a time, left and right independently.
- 4
Check plate coverage, side contact, curve, orientation, and length before adhesive.
- 5
Record the product and candidate size for each toe; replace any candidate that pinches or overlaps skin.
- 6
Apply only if each fit is comfortable and the label method can be followed exactly.
What not to do
- Do not treat a manufacturer’s size number as universal across brands or product lines.
- Do not choose a tip that overhangs onto skin, pinches, or rocks just to avoid a visible gap.
- Do not aggressively file the natural nail, cut the cuticle, or use extra adhesive to bridge a mismatch.
- Do not cover a nail problem, injury, rash, or suspected infection with an artificial tip.
Worked troubleshooting example
Maya is testing a press-on pedicure set. The first candidate covers her left big toenail but reaches the skin along one side. She tries the next smaller tip and sees a strip of natural plate on the other side. Rather than add glue, she compares a different shape from a second set and finds one that stays on the plate and sits without rocking. Her right big toe needs a neighboring size, so she records both instead of copying the left foot’s number.
She dry-fits the remaining toes separately, checks the box’s application and removal instructions, and leaves one tiny toe uncovered because neither included tip fits comfortably. That is a successful fit decision: she has not damaged the natural nail to force the set, and she has clear notes for choosing a better size range next time.
Field notes
A toe map records a product fit at one point in time; it is not a medical assessment or a permanent size guarantee.
The site cannot verify every kit’s materials, fit, or removal directions. Package-specific instructions take priority for product handling, subject to basic skin and nail safety.
Frequently asked questions
Can I use fingernail press-ons on my toes?
Only if the tip’s width, curve, length, and product instructions make it suitable. A finger size number does not predict toe fit; dry-fit it over the nail plate and never bond a tip that overlaps skin or pinches.
Should the press-on toenail be slightly smaller than my natural nail?
There is no universal rule across brands. One manufacturer may say to cover the nail plate without extending over its sides; follow the exact product chart and confirm that the dry fit is comfortable and stays on the plate.
Do both big toes usually need the same press-on size?
Not necessarily. Measure and dry-fit each toe independently, then record the brand and tip number because numbering differs between products.
Can I file a press-on toenail to make it fit?
Only when the product maker allows it, and only on the artificial tip. Do not file the natural nail or surrounding skin to force a mismatch.
Sources checked
Sources below are page-specific. We prioritize manufacturer directions for product-specific steps and use medical or dermatology guidance when a safety question requires it. Always follow the instructions for the exact adhesive or set you own.