Hair Catching Under Press-On Nails? Find the Lift Point
Hair snagging under press-ons is usually a sign of a lifted edge. Locate the gap, diagnose fit or bond issues, and avoid repeatedly sealing over a failing edge.
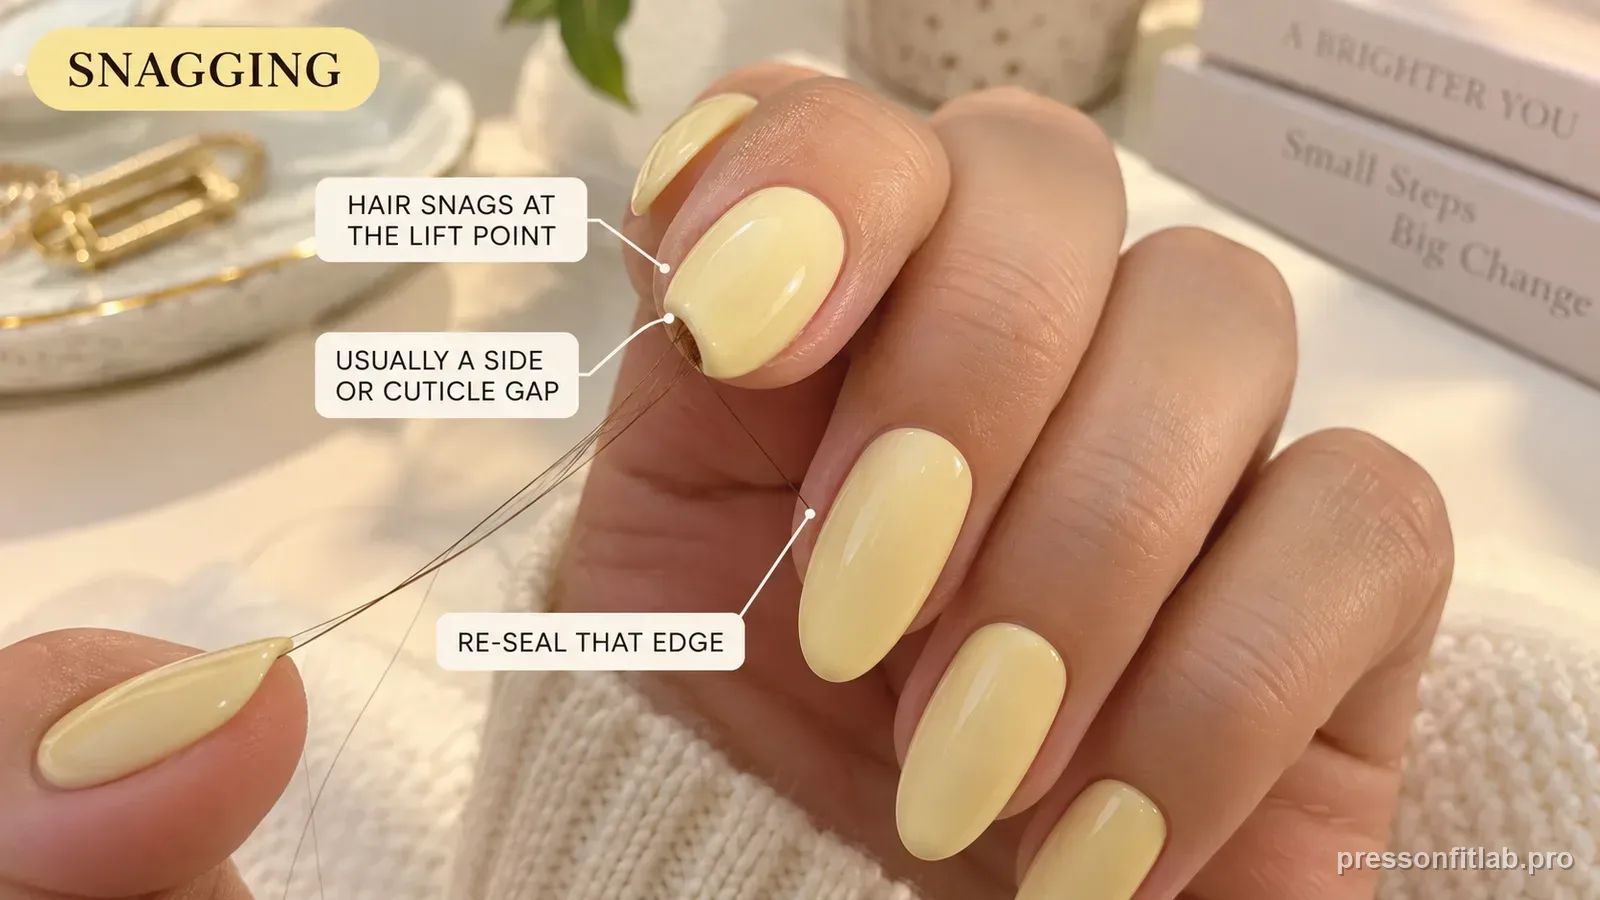
If hair slides under a press-on, an edge has lifted enough to create a hook. Find whether the gap begins at the cuticle or sidewall, then fix the underlying fit or adhesion problem instead of repeatedly pressing the lifted edge back down.
Check these first
- ✓ Cuticle edge smooth and flush.
- ✓ Sidewalls fully bonded.
- ✓ No rough filed corners.
- ✓ No repeated contamination under a lifted edge.
Find the exact snag point
Run a fingertip around the perimeter and look closely under bright light. A cuticle gap often catches hair during washing or styling, while a sharp side corner can snag fibers even before the bond fully lifts.
Once you know the location, you can connect it to the correct troubleshooting path.
Cuticle snagging points to placement or base shape
If the press-on sits too far forward, the base edge may remain raised. A base-shape mismatch can also leave one corner sitting above the nail. If the tip material is designed to be filed, a small artificial-edge refinement can help a close match; otherwise compare another base shape. Do not try to hide a raised edge with more adhesive.
Side snagging points to width, curve, or finish
A too-curved tip on a flatter nail can lift along both sides. A tip that was filed but left rough can catch hair even when bonded.
Check both contact and edge smoothness. These are different problems but can feel the same in daily use.
Do not keep pushing a contaminated lift back down
Once hair, product, or water repeatedly enters a lifted edge, the original bond is no longer clean. Remove and reapply according to the adhesive instructions if the lift is significant.
That produces a more predictable result than repeatedly adding pressure to a failing edge.
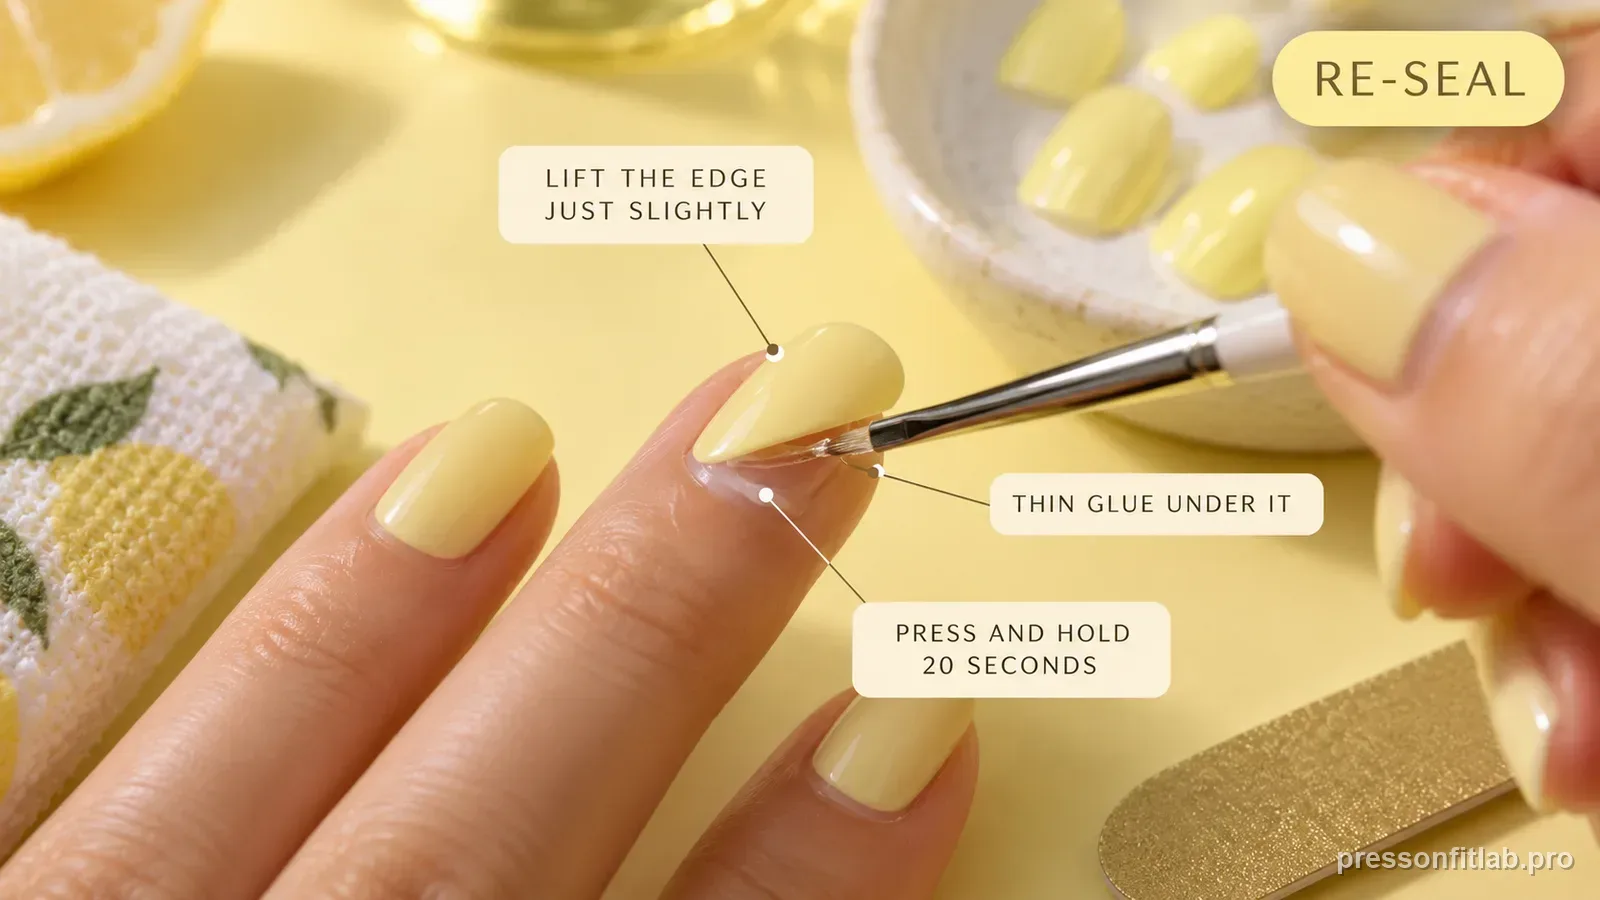
Distinguish a rough edge from a lifted edge
Hair can catch on a press-on that is still fully bonded if filing left a rough artificial corner. Run a fingertip around the perimeter: a rough but flush edge feels different from a gap where hair can slide underneath. The first calls for smoothing the removable artificial edge; the second calls for lift diagnosis and, when appropriate, removal and reapplication.
Do not seal debris or moisture under a lifted area simply to stop snagging. A clean mechanical edge and a fully bonded perimeter are different goals, and the fix should match the actual condition.
Treat repeated snagging as an early warning
A small snag can be the first noticeable sign that an edge has begun to lift. If the same finger repeatedly catches hair before it pops off, record that sequence. The snagging is then useful diagnostic timing, not just an annoyance. Fixing the underlying sidewall or cuticle-edge fit can prevent the later failure rather than only smoothing the symptom.
Diagnostic table
| What you see | What it suggests | Next check |
|---|---|---|
| Hair catches at cuticle edge | Base is raised or mismatched | Inspect placement and cuticle arc. |
| Hair catches along one side | Side lift or rough filed edge | Distinguish a gap from simple edge roughness. |
| Hair catches only after several days | Bond has started to open | Remove/reapply a significant lift rather than pushing debris underneath. |
| Hair catches immediately on all nails | Application or base fit pattern | Review alignment and full-edge pressure. |
| No visible lift but fabric snags | Edge finish may be sharp | Smooth the artificial edge carefully. |
A controlled test plan
- 1
Use bright side lighting and run a clean fingertip around the perimeter to locate the snag.
- 2
Check whether the snag is a true gap, a sharp filed corner, or dried adhesive on the edge.
- 3
If it is a fit gap, identify whether width, curve, or base shape caused it.
- 4
If the edge is significantly lifted or contaminated, remove/reapply according to directions.
- 5
On the next set, inspect that exact spot immediately after application so you catch the cause earlier.
What not to do
- Adding glue blindly under every snag.
- Filing a bonded edge close to skin without understanding what is catching.
- Ignoring a widening lift because the nail has not popped off yet.
- Pressing hair/product back under the edge while trying to reseal it.
Worked troubleshooting example
Example: hair catches only under the left side of your ring-finger press-on while shampooing. The cuticle edge looks smooth, but a thin gap is visible along that sidewall when you inspect from an angle.
You remove the lifted nail according to the product directions rather than trying to seal hair and moisture under the edge. During the dry-fit retry, you discover the tip is slightly off-center and the left side does not make full contact unless you rotate it.
A neighboring size centers more cleanly after a small sidewall refinement. The snagging stops because the raised edge is gone; filing the free edge or using more glue would not have addressed where hair was actually entering.
Field notes
Hair-catching is a tactile early-warning system. You may feel a tiny perimeter problem in the shower before it becomes obvious in a mirror. Recording the location makes the next fix much more specific.
A rough artificial edge and a lifting bond can feel almost identical when hair slides past them, but they need different solutions. One is a finish problem; the other is a contact problem.
Frequently asked questions
Why does my hair get stuck under press-on nails?
An edge is usually lifted or rough enough to act like a small hook.
Can I add more glue under a lifted edge?
Follow the adhesive maker’s repair directions. A contaminated or poorly fitted edge may be better removed and reapplied.
Why does hair catch only near the cuticle?
The base may be sitting too far forward, mismatched to your cuticle shape, or incompletely bonded.
Sources checked
Sources below are page-specific. We prioritize manufacturer directions for product-specific steps and use medical or dermatology guidance when a safety question requires it. Always follow the instructions for the exact adhesive or set you own.