How to Shorten Press-On Nails After You've Already Applied Them
Filing length down after application is possible on most press-ons, but the wrong order of steps can crack the tip or weaken the bond at the free edge.
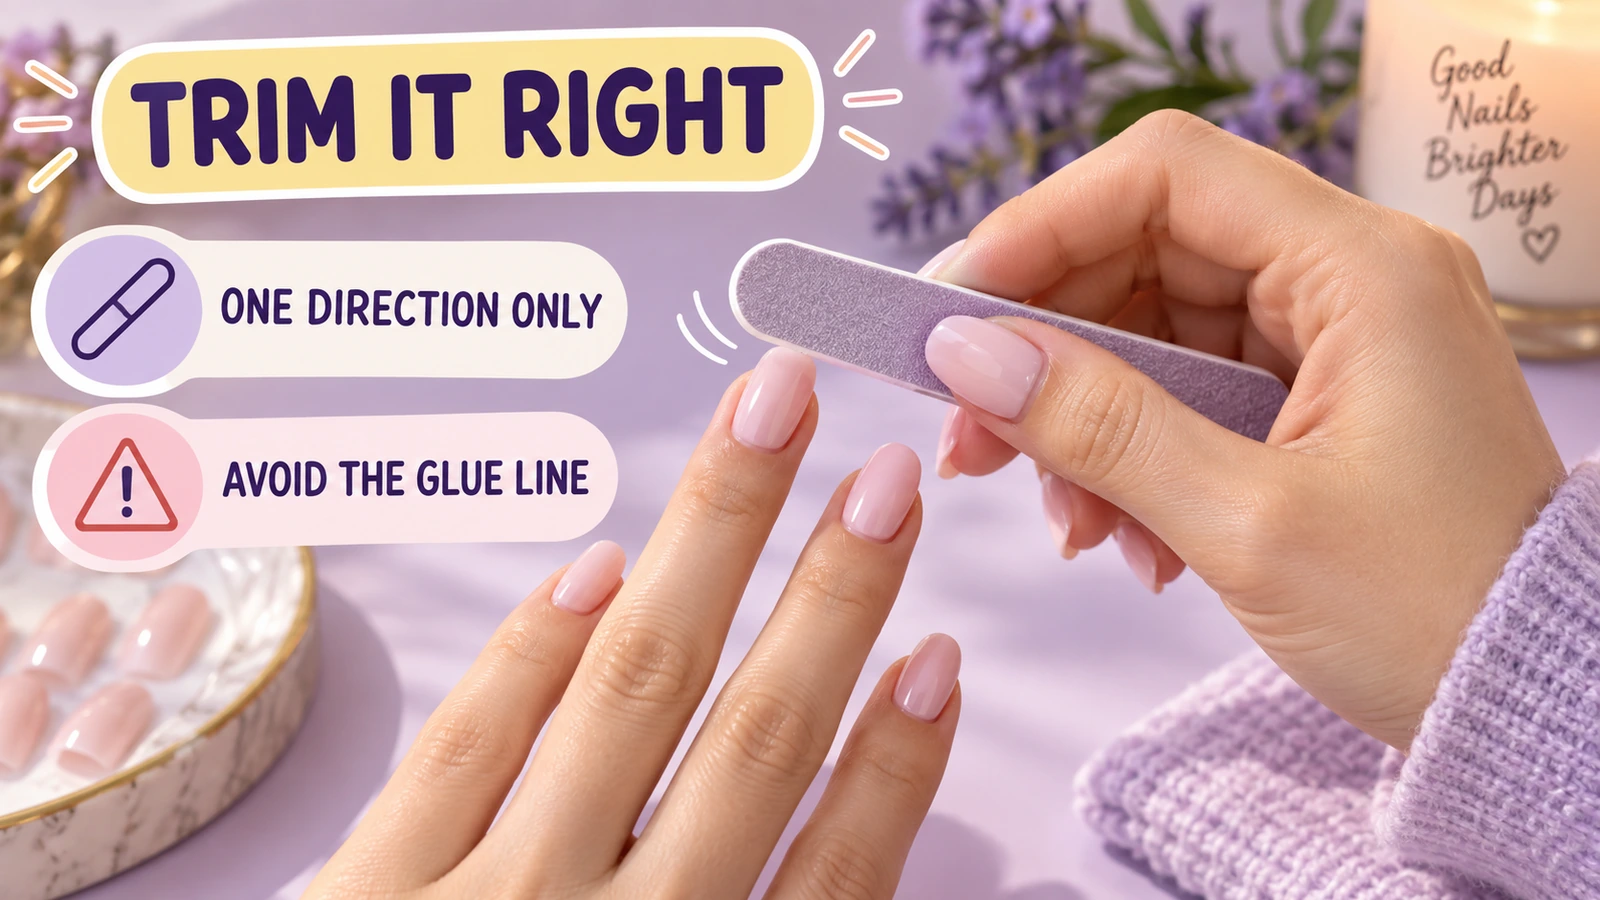
Most press-on materials can be shortened after application with a fine-grit file, filing from the underside edge inward in one direction rather than sawing back and forth. The main risks are cracking a hard acrylic tip from side-to-side sawing and over-thinning the free edge near the adhesive line, which can invite lifting later.
Check these first
- ✓ Is the press-on made of a harder acrylic-style material or a softer flexible material? They file differently.
- ✓ Do you have a fine-grit file (180–240 grit or finer) rather than a coarse one meant for natural nails?
- ✓ Are you filing in one direction, not sawing back and forth?
- ✓ How close to the adhesive line are you filing — is there still enough length left to keep a stable bond?
Why filing after application is riskier than filing before
Before application, a press-on can be filed on a flat surface with even pressure and no concern about the natural nail underneath. After application, the tip is curved to match your nail bed, harder to hold steady, and any slip of the file can catch skin or apply uneven pressure that cracks a brittle tip material.
This does not mean it is a bad idea to shorten after application — sometimes it is the only option when a set already applied looks or feels too long — but it means going slower and checking your angle more often than you would filing a loose press-on in your hand.
Match your filing technique to the material
Harder acrylic-style press-ons are prone to cracking or chipping if you saw back and forth across the free edge, especially near the corners. A one-direction filing motion, always moving the file the same way rather than dragging it back and forth, keeps the pressure more even and reduces the chance of a stress crack starting at a corner.
Softer, more flexible press-on materials tolerate a wider range of filing techniques but can gum up a file faster, since the material is more prone to heat-softening slightly under friction. If your file starts to feel like it is dragging instead of cutting cleanly, switch to a fresh section of file or a new file rather than pressing harder, which is more likely to cause unevenness than a clean result.
Stay clear of the adhesive line at the free edge
The strip of press-on nearest the adhesive bond is doing real structural work holding the free edge in place. Filing too aggressively right at that line, especially on a soft material, can thin it enough that the free edge flexes more than it should under normal use, which shows up later as premature lifting near the tip rather than an immediate problem.
A reasonable rule of thumb is to leave a small margin of untouched material closest to where the tip curves back toward the adhesive area, and do the bulk of your shortening further out toward the actual free edge where structural thinning matters less.
When shortening after application is not the right fix
If a press-on already feels uncomfortably long on every finger, filing down each one individually after application is slow and easy to get uneven results from finger to finger. In that situation, it is usually faster and more consistent to remove the set, pre-file each piece to the intended length on a flat surface, and reapply, rather than trying to freehand-match ten fingers one at a time while already applied.
Post-application filing is best reserved for small touch-ups — a corner that catches on fabric, one nail that is slightly longer than its neighbors, or trimming down after a break — rather than as your standard method for setting overall length.
Diagnostic table
| What you see | What it suggests | Next check | |
|---|---|---|---|
| Situation | Recommended approach | Main risk if done wrong | Why |
| Whole set feels too long | Remove, pre-file flat, reapply | Uneven length finger to finger | Freehand filing ten applied nails rarely matches as evenly as pre-filing on a flat surface |
| One nail longer than its neighbors | File in place, one direction, small amount at a time | Overshooting and now it's too short | Small in-place corrections are easier to control gradually than large ones |
| Corner catching on fabric or hair | Light rounding of just that corner | Cracking the corner if you saw back and forth | Corners concentrate stress; a single smooth stroke reduces crack risk |
| Filing near the adhesive line | Leave a small untouched margin near the base | Thinning the structural free edge | Over-thinned free edges flex more and lift sooner |
A controlled test plan
- 1
Identify the material type (rigid acrylic-style vs. flexible) before choosing a filing motion.
- 2
File a small amount in one direction, then stop and check the length and edge shape before continuing.
- 3
Avoid filing directly at the adhesive line; leave a small untouched margin near the base.
- 4
After shortening, run a fingertip gently along the new edge to check for any rough or sharp spot before normal use.
What not to do
- Sawing the file back and forth across a hard acrylic-style tip.
- Filing all the way down to the adhesive line in pursuit of a shorter length.
- Trying to match ten fingers freehand instead of removing and pre-filing when a large length change is needed across the whole set.
- Using a coarse natural-nail file that removes material unevenly in a few strokes.
Worked troubleshooting example
A full set is applied and looks noticeably longer than intended once seen under normal lighting rather than in a mirror close-up. Rather than filing all ten nails freehand, the set is removed while the adhesive is still fresh enough to lift cleanly, each piece is laid flat and filed to a consistent shorter length in one direction, and the set is reapplied using the same prep routine as the first application.
On a different day, only the pinky nail on one hand is slightly longer than the rest after application. That single nail is filed in place, a small amount at a time in one direction, checking length after every few strokes, until it matches its neighbors — a much faster and more controllable fix than removing the whole set for one nail.
Field notes
A single corner crack from sawing motion often starts small enough to go unnoticed until the tip catches on something and the crack runs further across the nail.
Rounding corners slightly before shortening the overall length can reduce the chance of a stress crack starting at that corner during the main filing pass.
Frequently asked questions
Can you file press-on nails after they're already glued on?
Yes, on most materials, using a fine-grit file and a one-direction filing motion rather than sawing back and forth. Go slowly and check length often, since it's harder to correct an overshoot after application than before.
Will filing after application weaken the bond?
It can, if you file too close to the adhesive line near the base and thin the structural free edge. Leaving a small untouched margin near the base and doing most of the shortening further out toward the tip avoids this.
Is it better to remove and re-file, or file in place?
For a large length change across the whole set, removing and pre-filing flat gives more even results. For a small touch-up on one or two nails, filing in place is faster and easier to control.
Why did my press-on crack while I was filing it shorter?
Sawing the file back and forth, especially on a harder acrylic-style material, concentrates stress at the corners and can start a crack. A single-direction filing motion reduces this risk.
Sources checked
Sources below are page-specific. We prioritize manufacturer directions for product-specific steps and use medical or dermatology guidance when a safety question requires it. Always follow the instructions for the exact adhesive or set you own.