Nail Glue Drying Before Press-On Placement: Fix the Timing
Prevent press-on glue from setting before placement by staging sizes, working one nail at a time, controlling glue amount, and following adhesive directions.
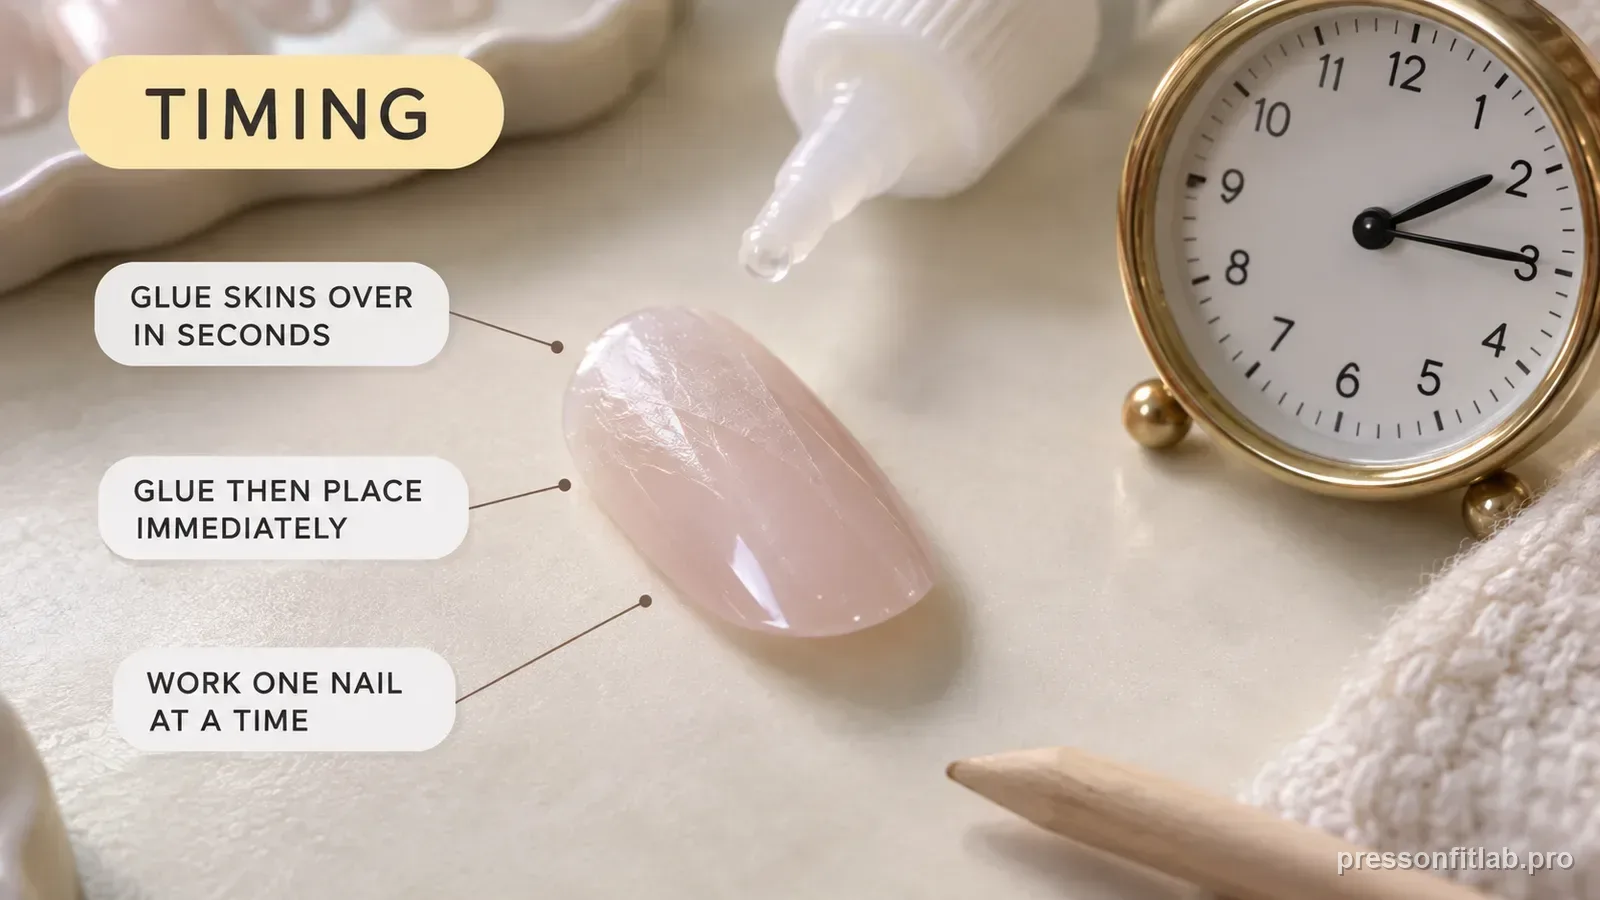
If nail glue begins to set before the press-on reaches its final position, reduce the time between dispensing and placement rather than adding more glue. Lay out the exact tip first, work one nail at a time, and follow the adhesive’s application pattern. A thin, controlled layer is easier to place than a large puddle, and the press-on should already be correctly sized before the bottle is opened.
Check these first
- ✓ Are all ten tips sized and laid out before glue starts?
- ✓ Are you applying glue to several nails at once?
- ✓ Is too much glue making the tip slide while too little leaves dry zones?
- ✓ Does the adhesive have product-specific timing or storage directions?
Stage the fit before the adhesive stage
The fastest way to lose placement time is to decide size while glue is already on the nail. Dry-fit all ten press-ons and place them in finger order. Make any edge adjustment beforehand, and only when the tip material and manufacturer instructions support filing.
When you begin application, the remaining decisions should follow the adhesive instructions: coverage, product-specific placement method, and final alignment.
Work one nail at a time
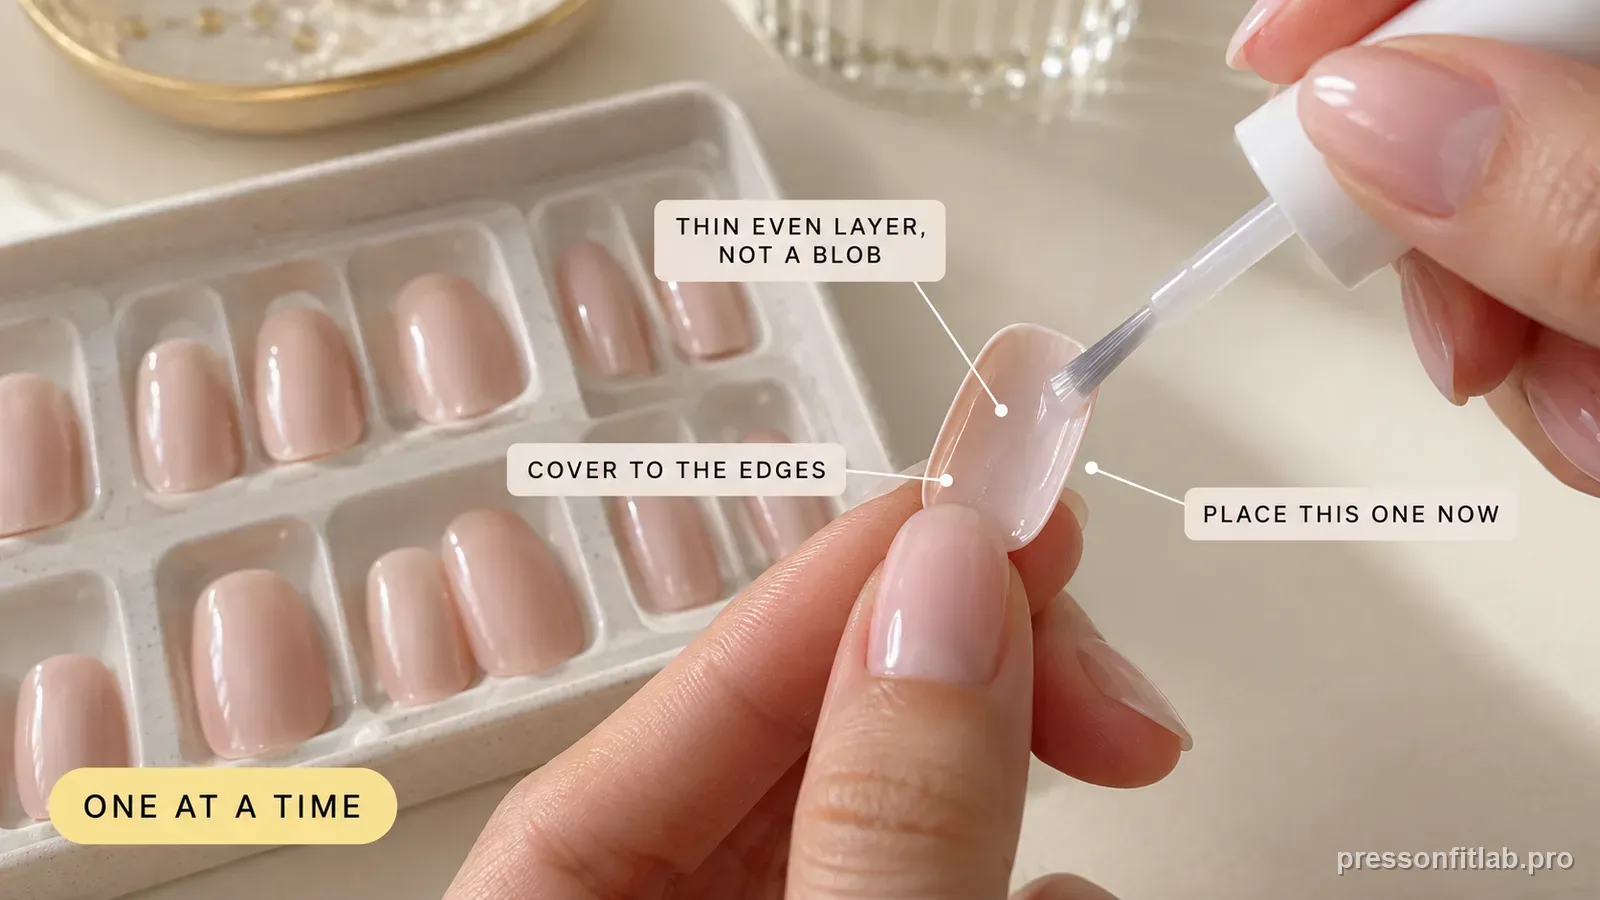
Fast-setting nail glues are designed to bond quickly. Applying glue across several natural nails before placing the corresponding tips creates unnecessary delay. Finish one nail according to the product directions before moving to the next.
This also makes cleanup easier if a placement goes wrong; you have not committed the rest of the hand.
Use controlled coverage instead of a large blob
Excess glue can make a press-on skate out of alignment and spill onto skin, while too little can leave dry contact zones. Follow the quantity and placement instructions for the exact adhesive. Some systems direct glue to both natural and artificial nail surfaces.
If you notice glue becoming stringy, thick, or difficult to spread compared with its normal state, check the product’s storage and replacement guidance rather than trying to dilute it.
Place with a rehearsed motion
Before glue, rehearse the placement once. Know where the base will align and how your exact product directs you to seat the nail. That removes hesitation without turning one brand’s angle into a universal rule.
Glamnetic’s current instructions, for example, specify aligning near the cuticle and pressing firmly after placement. Use the method for your own product rather than inventing an extra delay.
If placement repeatedly fails, change the workflow
A glue that works on other fingers but sets too early on one difficult thumb may not be the core problem. The thumb may require more alignment time because the size or curve is marginal. Solve that dry-fit first.
If the glue itself is old, clogged, or behaving abnormally, replace it according to the manufacturer’s shelf-life and storage guidance. Do not heat, thin, or mix nail glue with other chemicals.
Recognize when the adhesive stage has already failed
If the glue becomes stringy, skins over, or changes in a way the product directions do not expect before the press-on is seated, do not try to rescue the placement by adding random extra layers. A rushed second coat can create uneven thickness and make alignment harder. Follow the adhesive maker’s cleanup or reset directions, then restart with the nail already fitted and ready.
The same rule applies if you place the wrong size and pull it away immediately. Adhesive that has already contacted surfaces may no longer behave like a fresh application. Treat the retry as a new application according to the product rather than stacking more glue over a failed attempt.
Finish the prep before the glue stage
You can measure, arrange, and label all ten tips before application, and you can make filing adjustments in advance when the product is designed for them. Once adhesive is involved, working one nail at a time reduces the chance that sizing decisions or dropped tools consume the product’s working time.
If timing problems persist even with a staged workflow, verify the storage and use directions for the exact glue. Product condition and applicator type vary, so one universal number of seconds before placement is not appropriate across glues.
Build a placement station before opening the adhesive
Keep the fitted tip, applicator, cleanup materials specified by the product, and a stable hand position ready for the current finger. The point is not speed for its own sake; it is removing avoidable decisions after the adhesive stage begins. If you must search for a file, compare two sizes, or re-read a step while glue is exposed, the workflow was not fully staged.
A small tray labeled left and right can make this easier for all ten fingers. The tray solves organization, while one-at-a-time adhesive application preserves the product-specific working sequence.
Diagnostic table
| What you see | What it suggests | Next check |
|---|---|---|
| Glue sets while choosing tip | Workflow delay | Pre-size and lay out all tips |
| Tip slides before bond | Too much glue or excess movement | Use product-directed amount and controlled placement |
| Only difficult thumb takes too long | Fit is unresolved | Rehearse dry fit before adhesive |
| Glue behaves thick/stringy in bottle | Product condition/storage issue | Check manufacturer guidance; replace if needed |
A controlled test plan
- 1
Size and arrange all ten press-ons before opening glue.
- 2
Practice placement once on the dry nail.
- 3
Apply glue only to the current nail as directed.
- 4
Place immediately using the placement and hold method specified for that adhesive system.
- 5
If timing remains abnormal, test a fresh adhesive product rather than changing multiple fit variables.
What not to do
- Applying glue to the whole hand at once.
- Adding a large blob to buy more working time.
- Trying to thin nail glue with another liquid.
- Ignoring unresolved fit because fast glue makes placement harder.
Worked troubleshooting example
Example: you have five press-ons on the table but are still deciding between two index sizes. You apply glue to the natural nail first, then spend time comparing tips; by the time you choose, the surface has already changed.
Reset the process. Remove the failed application safely according to the product instructions, fit the index completely, and lay it in position. On the next attempt, glue only after the tip is decided.
If the same adhesive now places normally, the failure was timing workflow rather than a need for more glue. Save the chosen index size so the delay does not return on the next set.
Field notes
The practical fix here is workflow design. Sizing, filing, and cuticle-shape decisions belong before the adhesive stage so the bond stage can be short and repeatable.
When a glue application method specifies contact on both surfaces, follow that exact sequence. Do not impose one universal glue pattern across products; follow the exact adhesive directions.
Frequently asked questions
Should I glue all ten nails before applying press-ons?
No. Work one nail at a time unless your exact product instructions explicitly say otherwise.
Can I add more glue so it stays wet longer?
Use the amount directed by the adhesive maker. Excess glue can cause sliding and skin contact.
What if my nail glue has become thick or stringy?
Check the product’s storage and replacement directions. Do not dilute or mix nail glue with other liquids.
Sources checked
Sources below are page-specific. We prioritize manufacturer directions for product-specific steps and use medical or dermatology guidance when a safety question requires it. Always follow the instructions for the exact adhesive or set you own.