Press-On Nails for One-Day Wear: Plan for Easy Removal
Need press-ons for one event or one day? Choose fit, adhesive, water timing, backup nails, and removal around a short commitment instead of max wear.
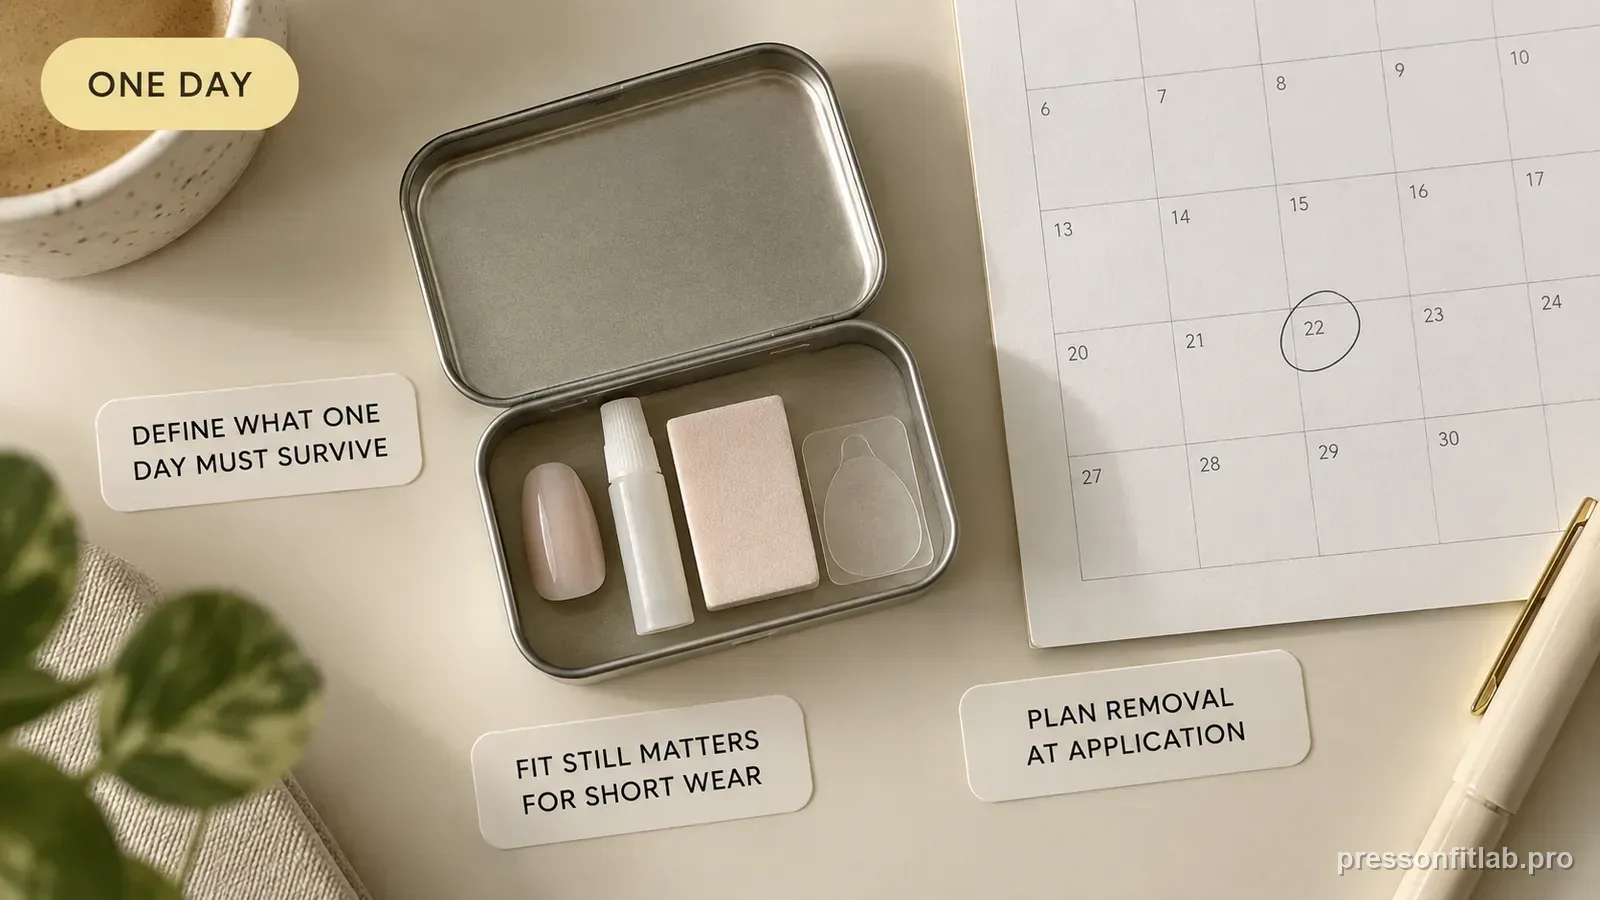
For one-day wear, optimize for secure fit and predictable removal rather than the longest possible bond. Dry-fit first, then use the adhesive method your exact set supports for short wear. If reusability and easy removal matter, adhesive tabs are often the logical starting point when the manufacturer offers them. If the set only specifies glue, follow its directions rather than improvising a weaker glue pattern.
Check these first
- ✓ Does the exact set support tabs, glue, or both?
- ✓ Is easy removal more important than maximum wear?
- ✓ Will you shower, swim, clean, or travel soon after application?
- ✓ Do you have spare sizes and a backup adhesive plan?
Define what “one day” actually needs to survive
A wedding, dinner, photo shoot, work event, or night out can all be 'one day,' but the hand use is different. A quiet dinner may involve little water or lifting. Travel can mean bags, zippers, bathrooms, and hand sanitizer. A party can run from afternoon until the next morning. List the stresses before choosing an adhesive strategy.
The goal is not to make a one-day manicure intentionally weak. It is to avoid building a removal problem you did not need. Use the shortest-commitment method that the exact nail system supports while still matching the day's demands.
Fit still matters more than short wear makes it seem
A poorly fitted tip can fail in an hour, so one-day wear does not excuse sizing. Dry-fit every finger, especially thumbs and index fingers. Check width, curve, and cuticle contact before deciding that a stronger adhesive is necessary.
Tabs have a fixed thickness and neither tabs nor glue should be used to rescue a tip that rocks, pinches, or has a visible profile gap. Correct the fit first, then use the adhesive method exactly as the product directs.
Choose adhesive from the product directions and removal goal
If your set includes adhesive tabs and the maker presents them as a reusable or shorter-wear option, they are a strong starting point when easy removal is a priority. KISS, for example, gives separate tab and glue directions on specific reusable lines. Glamnetic also publishes both tab and glue workflows for many current sets.
Do not invent a universal 'one-day amount' of glue. Glue formulas and brand instructions vary. Some product systems define their own short-term application pattern; others simply give one glue method. Follow the exact instructions instead of deliberately under-applying a glue product and hoping it releases on schedule.
Plan water and hand-heavy tasks before application
Do the water-heavy part of your routine before applying when practical: shower, wash hair, deep-clean, or swim earlier. Manufacturer water-avoidance instructions differ by product, which is another reason not to use a universal waiting period.
Pack with your manicure in mind. Open cans, peel labels, and force tight clasps with tools or finger pads rather than the artificial nail edge. For one event, preventing one avoidable snag can matter more than chasing an extra week of theoretical wear.
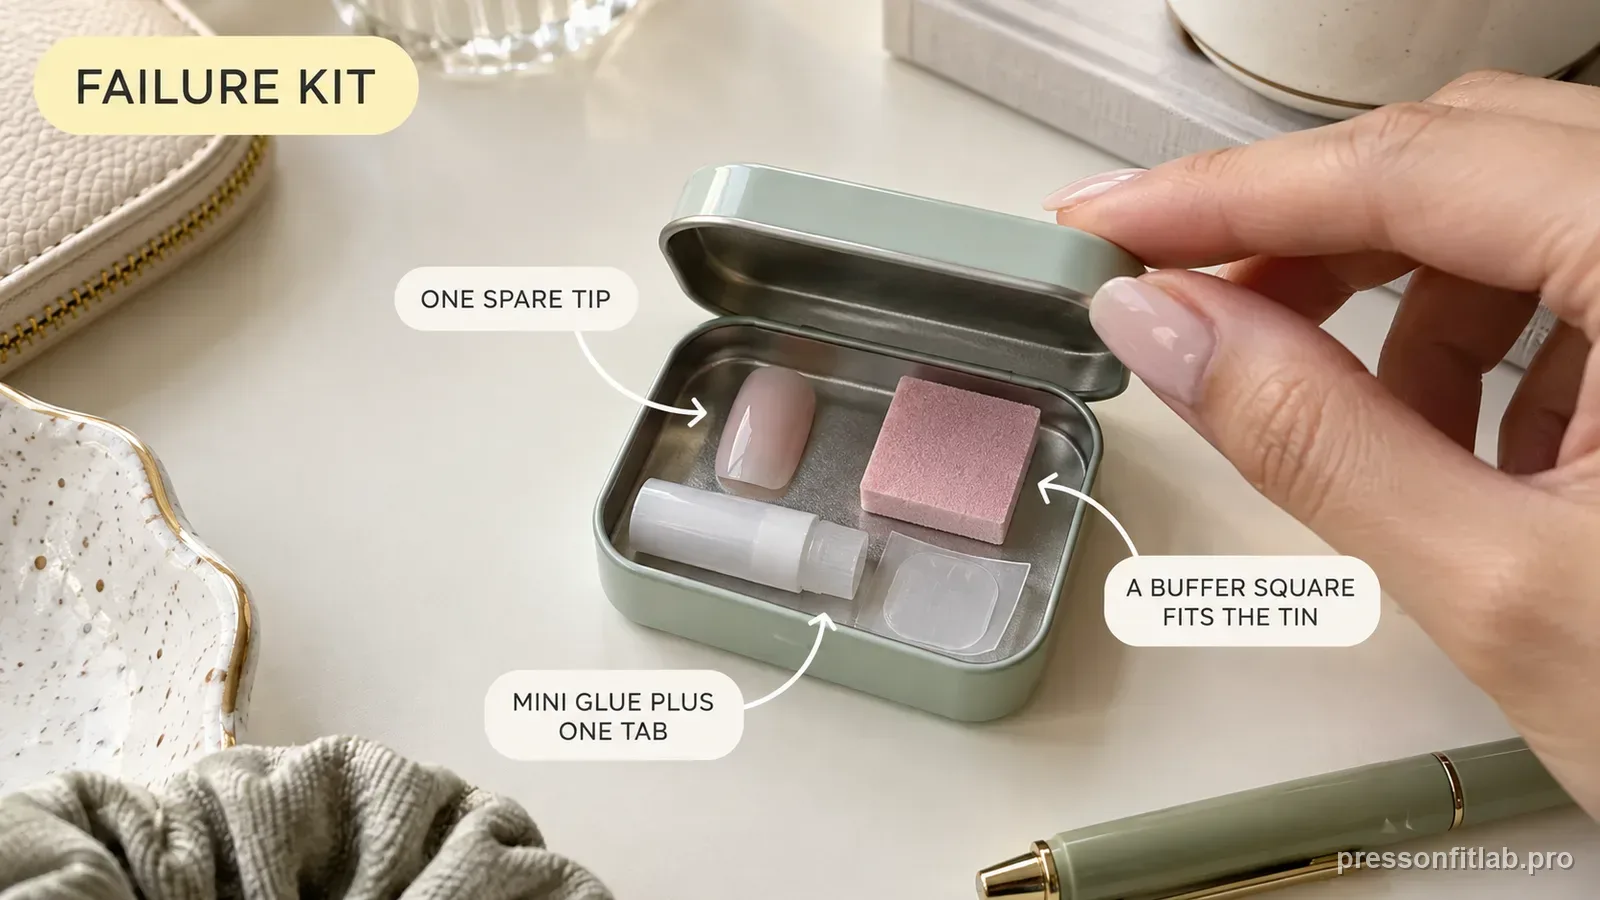
Carry a tiny failure kit
Keep one or two spare nails for the fingers most likely to fail, plus the product-approved adhesive and a small file if the set includes or permits one. A labelled thumb/index spare is more useful than a bag of random leftovers.
If a nail pops off during the event, do not glue over moisture, debris, or old failed adhesive without checking the surfaces. Clean and dry according to the product method. Reapply the same tip only if the system permits reuse/reapplication and the piece remains intact; otherwise use the labeled fresh spare.
Removal begins with the decision you made at application
When the event is over, use the removal method designed for the adhesive you used. Do not pry a nail off just because you only wore it for hours. If it resists, give the remover or soak more time according to the product directions.
If you want to reuse the set, keep pieces in finger order, remove residue only with methods the set tolerates, dry fully, and store them protected from pressure so their molded curve is not distorted. The best one-day workflow is the one that ends with intact natural nails and, when intended, an intact reusable set.
Diagnostic table
| What you see | What it suggests | Next check |
|---|---|---|
| Event is dry/low-hand-use and reuse matters | Short commitment | Use maker-supported tab method if available |
| Event includes water/heavy hand use | Higher failure stress | Apply earlier around product set-time directions and choose supported hold strategy |
| One nail repeatedly fails in tests | Local fit issue | Resize/profile that finger before event day |
| Nail resists removal after event | Bond is still active | Do not pry; continue the approved removal method |
| You need a backup | Single-finger failure risk | Carry labeled spare plus approved adhesive |
A controlled test plan
- 1
Dry-fit the full set at least once before the event day.
- 2
Choose the adhesive method from the exact product instructions based on removal/reuse priority.
- 3
Schedule water-heavy grooming before application when practical.
- 4
Pack labeled spares for thumb/index plus the approved reapplication supplies.
- 5
Remove with the matching method; stop and continue soaking/removal if there is resistance.
What not to do
- Deliberately using too little glue when the product does not provide a short-wear method.
- Skipping sizing because the manicure only needs to last hours.
- Applying immediately before a shower or swim against product directions.
- Prying the set off at night because the commitment was only one day.
Worked troubleshooting example
Example: you want a reusable set for a Saturday wedding and plan to remove it Sunday morning. The nails fit well, the set includes tabs, and you mostly need dinner, photos, and dancing rather than pool time.
You shower and do your hair first, apply with the maker-supported tab workflow, keep a spare right index nail in your bag, and avoid using nail tips to open packaging. The spare is never needed.
After the event you follow the tab-removal directions, label the pieces, and store the set. The short-wear strategy met the actual goal without pretending the manicure needed maximum-duration glue.
Field notes
One-day wear is a planning problem more than a wear-time prediction problem. The exact number of hours an adhesive holds depends on the product, fit, prep, and activity, so avoid promising a fixed clock that the manufacturer does not support.
If a product only supports one adhesive method, do not invent another just to fit a short schedule. Choose a different system designed for the commitment you want.
Frequently asked questions
Are adhesive tabs better for one-day press-on nails?
They can be when the exact set supports tabs and easy removal or reuse is the priority. They are not automatically better if the fit is poor or the product is designed for a different adhesive.
Can I use less nail glue so press-ons come off that night?
Do not under-apply unless the product instructions explicitly provide a short-wear glue method. Incomplete coverage can create unpredictable failures and air gaps.
Should I bring nail glue to an event?
Bring the adhesive approved for your chosen method and a labeled spare nail if a single-finger failure would be disruptive. Use the same popped-off tip again only when the product system explicitly supports that reapplication.
Sources checked
Sources below are page-specific. We prioritize manufacturer directions for product-specific steps and use medical or dermatology guidance when a safety question requires it. Always follow the instructions for the exact adhesive or set you own.