Press-On Nails for Typing: Length, Shape, and Leverage
Choose a press-on setup that is easier to type with by managing length, contact angle, shape, and finger-specific leverage.
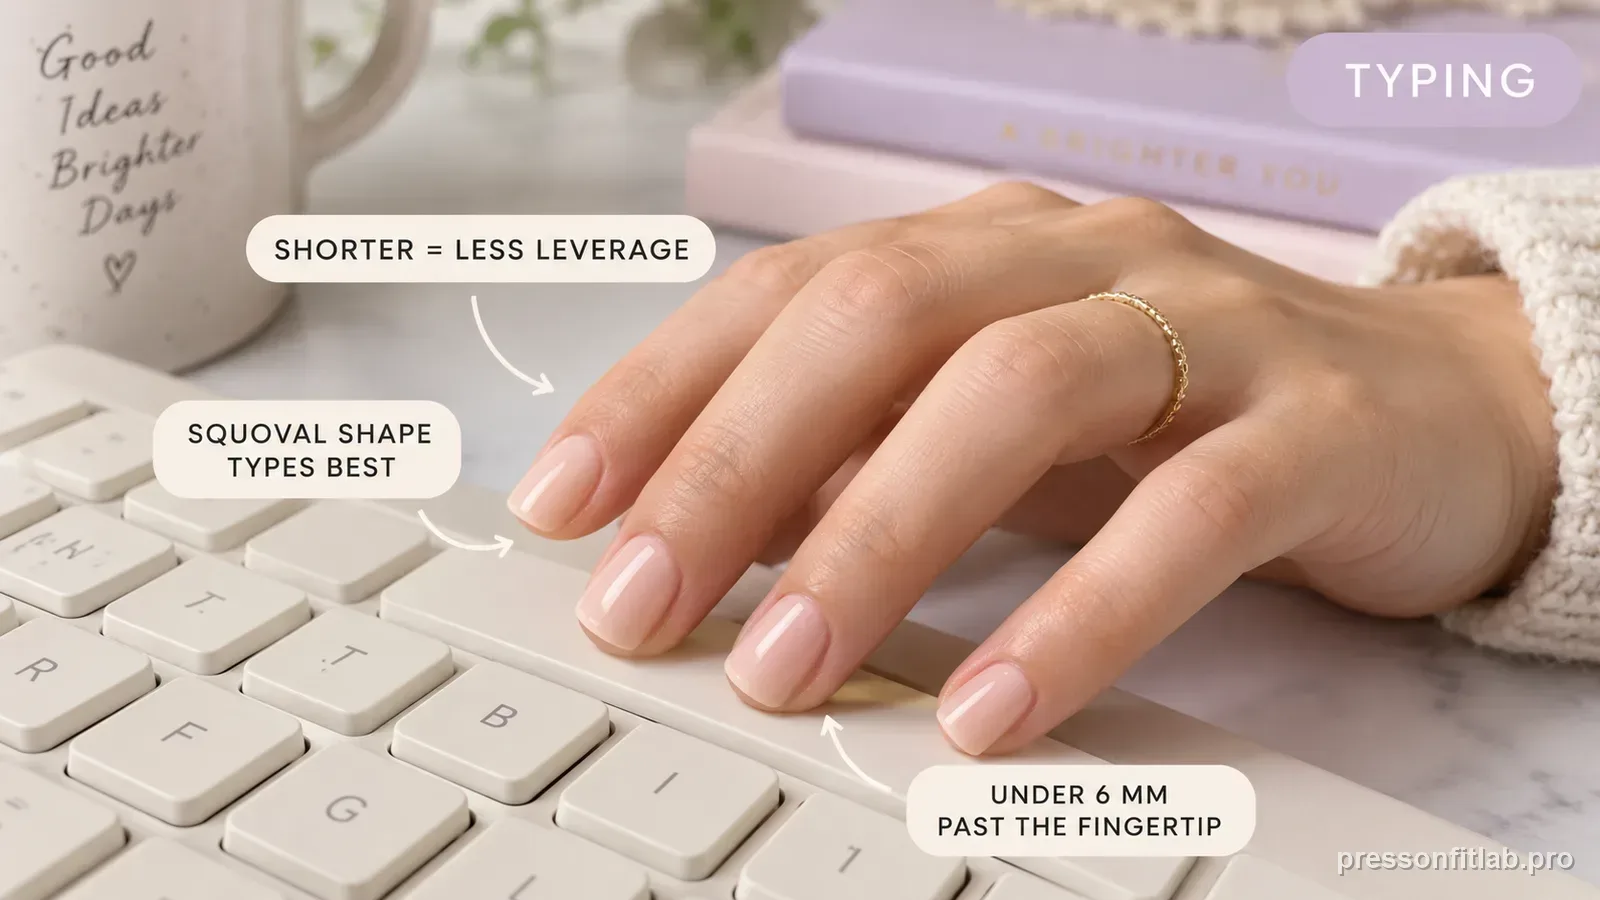
For frequent typing, start shorter than you think you need and choose a shape that lets the finger pad approach the key without forcing the nail tip to strike first. A secure fit matters because repeated key impact can expose marginal side or cuticle bonds.
Check these first
- ✓ Shorter free edge for heavy typing.
- ✓ Finger pad can reach keys comfortably.
- ✓ Index nails fit especially well.
- ✓ No use of tips as tools.
Typing changes the mechanical load
A long press-on acts like a lever. When the tip repeatedly hits keys, force travels back toward the adhesive bond. A manicure that survives light weekend wear may fail faster during an eight-hour keyboard day.
That is not necessarily a glue problem; it can be a length-and-leverage problem.
Start with short or medium
If you type heavily, test a shorter set first. The goal is to keep normal hand posture rather than curling fingers unnaturally to protect the nails.
Once you know what length works, you can experiment with shape without changing everything at once.
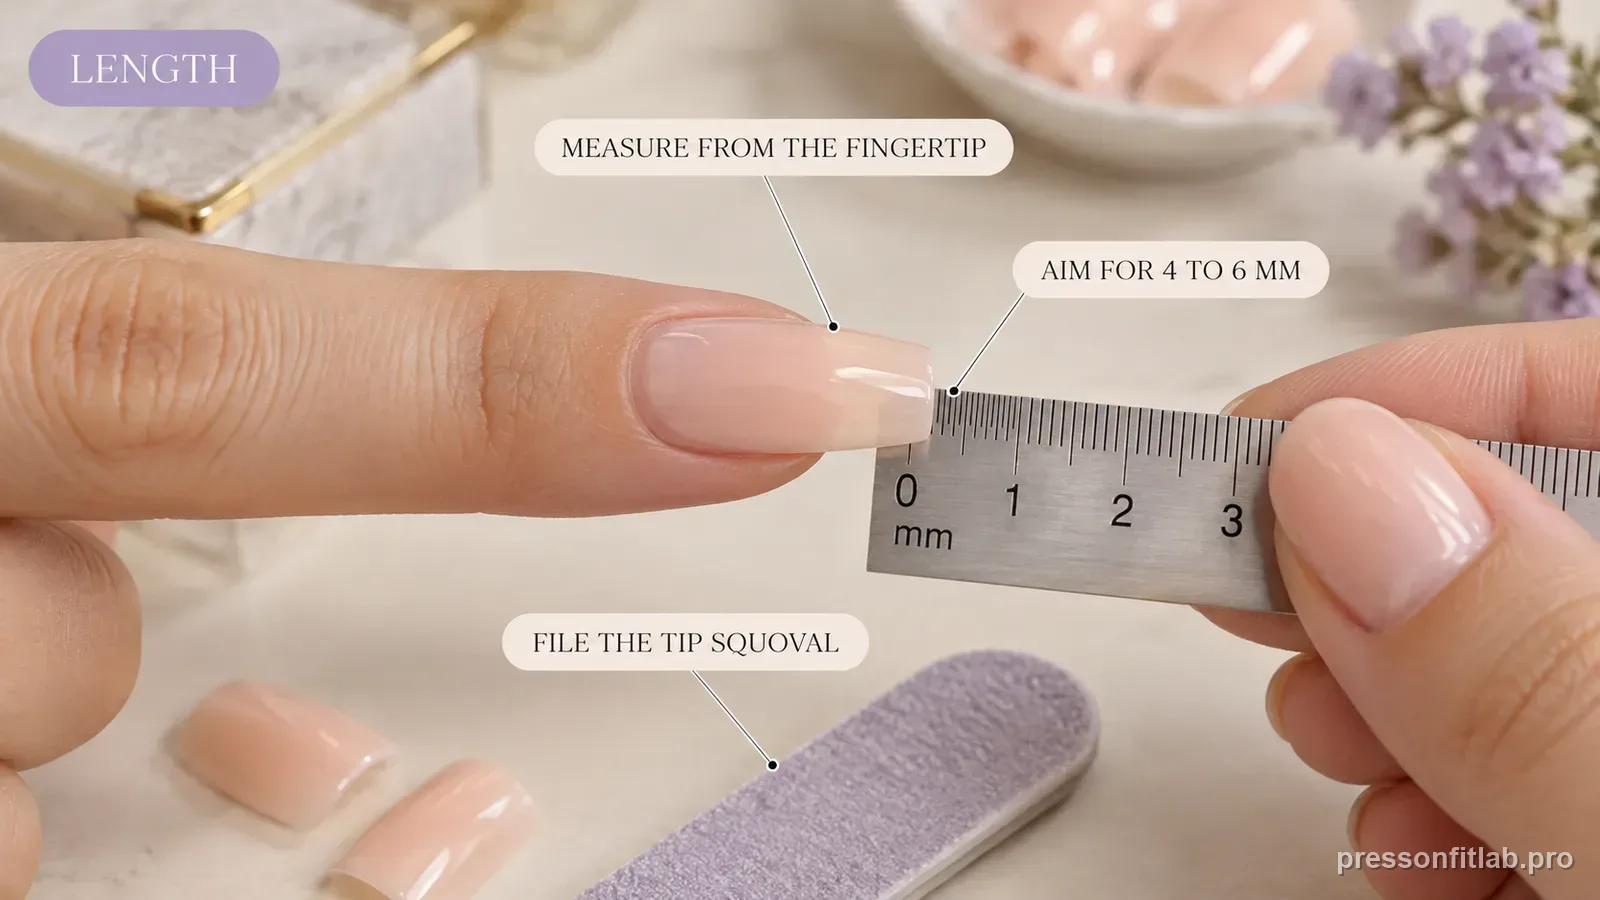
Shape affects where keys are struck
Rounded and soft-square shapes often provide a predictable edge for daily tasks, while very long tapered shapes change the point of contact. Personal technique matters more than a universal “best” shape.
Use a short trial session before committing to a full workday.
Protect the high-use fingers
Index fingers and thumbs do more than type: they hit space bars, touch screens, open packaging, and pick at labels. Give these nails extra attention during dry fitting and consider slightly shorter lengths if they are repeat failures.
A manicure that fits your routine is more useful than one optimized only for appearance.
Test the two index fingers independently
Typing stress is not always equal across the hand. Index fingers often strike keys or trackpad surfaces more aggressively, while thumbs may be used for a space bar or phone typing. If those fingers loosen first, try a shorter length only on them and keep the rest of the set unchanged.
A mixed-length functional set can be a better fit for work than forcing all ten nails to share one decorative length. Save the alternate work-week sizes and lengths in your fit profile so the compromise is repeatable.
Separate typing comfort from bond survival
A nail can stay attached and still be a poor typing fit if it forces awkward finger posture or repeated tip-first key strikes. Evaluate comfort, accuracy, and leverage together. If a shorter index nail improves typing without changing bond quality, that is still a successful adjustment even though the original longer tip technically stayed on.
Diagnostic table
| What you see | What it suggests | Next check |
|---|---|---|
| Tips strike keys before finger pads | Length is changing hand posture | Try a shorter free edge. |
| Index nails loosen first | High repetitive leverage | Refit and consider shortening only the high-use fingers. |
| Spacebar hits thumbnail edge | Thumb length/angle is interfering | Shorten or reshape the thumb independently. |
| Typing feels accurate but nails snag | Side/cuticle fit issue | Fix the perimeter rather than changing keyboard technique. |
| Long nails are required for style | Expect an adaptation period | Use lower-force keystrokes and test before a full workday. |
A controlled test plan
- 1
Dry-fit a candidate and lightly simulate your normal key reach without striking keys with an unsecured tip; then confirm the chosen length during a normal applied wear test.
- 2
Choose the shortest length that still gives the look you want for heavy desk days.
- 3
Dry-fit index fingers and thumbs especially carefully.
- 4
After application, start with a low-stakes typing session before an eight-hour work block.
- 5
If one nail repeatedly takes impact, modify that finger rather than abandoning the whole shape.
What not to do
- Using the nail tip as the primary key contact when that causes repeated hard impacts.
- Keeping identical length on every finger when one finger is the clear failure point.
- Blaming glue when a very long tip is acting as a lever all day.
- Changing to an uncomfortable hand posture just to protect the manicure.
Worked troubleshooting example
Example: your new medium-length set looks comfortable at rest, but the index tips strike laptop keys before your finger pads do. After an hour, the two index nails feel more stressed than the rest of the set even though none are visibly loose yet.
You test a shorter pair on the index fingers while keeping the same width, curve, and adhesive. Your typing posture returns closer to normal and the repeated key collisions drop substantially. The other fingers can remain longer because they are not taking the same leverage.
That result gives you a personal working-length limit rather than a universal 'best' nail length. You save the shorter index preference in your fit profile for weeks when you expect heavy keyboard use.
Field notes
Typing creates thousands of small, repeated loads rather than one dramatic impact. That is why a marginally fitted index nail may survive casual wear but fail at a desk. Length and leverage are part of fit in real life.
You do not need a universal “best shape for typing.” The better test is whether your finger pad can approach the key naturally and whether the chosen shape keeps high-use edges from repeatedly striking the keyboard.
Frequently asked questions
What press-on nail length is easiest for typing?
Shorter lengths generally create less leverage and make it easier to use the finger pad, but comfort depends on your keyboard and technique.
Why do my index press-ons pop off when I type?
Index fingers take high repetitive load. Check fit first, then consider reducing length.
Should I type with my nails or fingertips?
A setup that allows the finger pad to contact the keys usually reduces direct impact on the nail tip.
Sources checked
Sources below are page-specific. We prioritize manufacturer directions for product-specific steps and use medical or dermatology guidance when a safety question requires it. Always follow the instructions for the exact adhesive or set you own.