Press-On Nails Too Curved? Check the Fit Before You Force Them
Learn how to recognize a press-on that is too curved for your natural nail, separate curve mismatch from width problems, and choose a better-fitting tip.
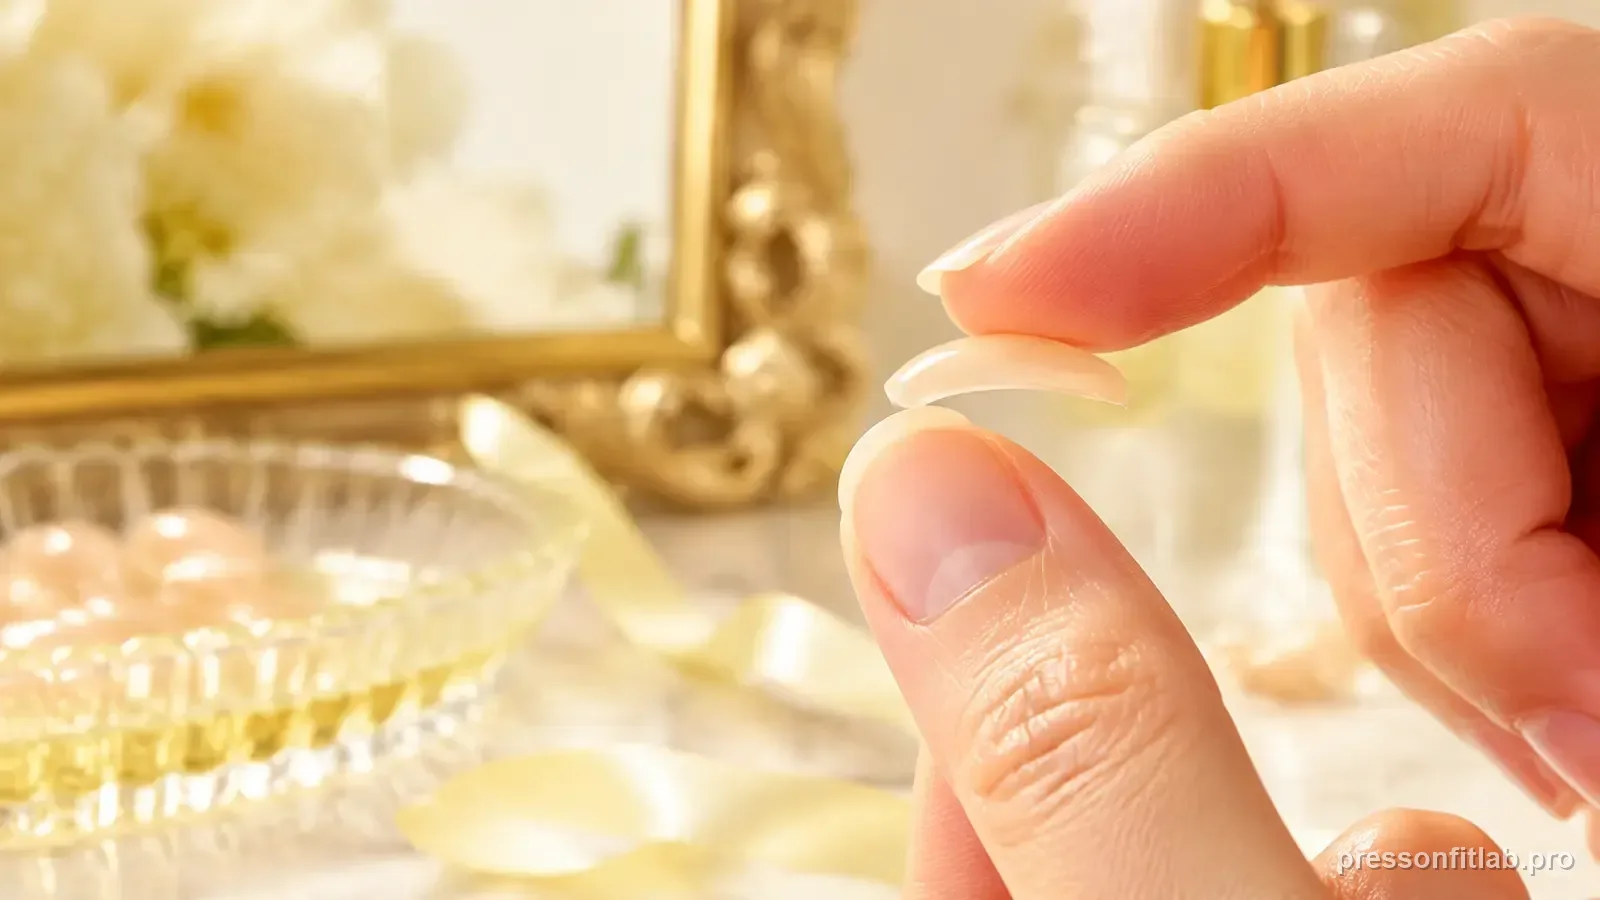
A press-on is meaningfully 'too curved' when its transverse arc is visibly deeper than the natural nail and it will not rest comfortably without force. It may pinch, spring, rock, or show incomplete contact, but no single gap location proves the diagnosis. Compare a lower-curve or more flexible tip at a similar width before changing adhesive.
Check these first
- ✓ Does the tip rock before adhesive?
- ✓ Do the sides spring up when the center touches?
- ✓ Does the nail feel pinchy with no glue?
- ✓ Would a different tip profile sit flush with less force?
What “too curved” actually means
Press-on curvature is the side-to-side arch you can see when you look at the tip from the free edge. Your natural nail has its own arch. When the artificial nail has a deeper arch, the center can touch first while the sides remain under tension.
This is separate from width. A tip can be the correct millimeter width and still be a poor profile match. That is why switching to a physically wider or narrower candidate without checking the free-edge view can leave the same springy fit.
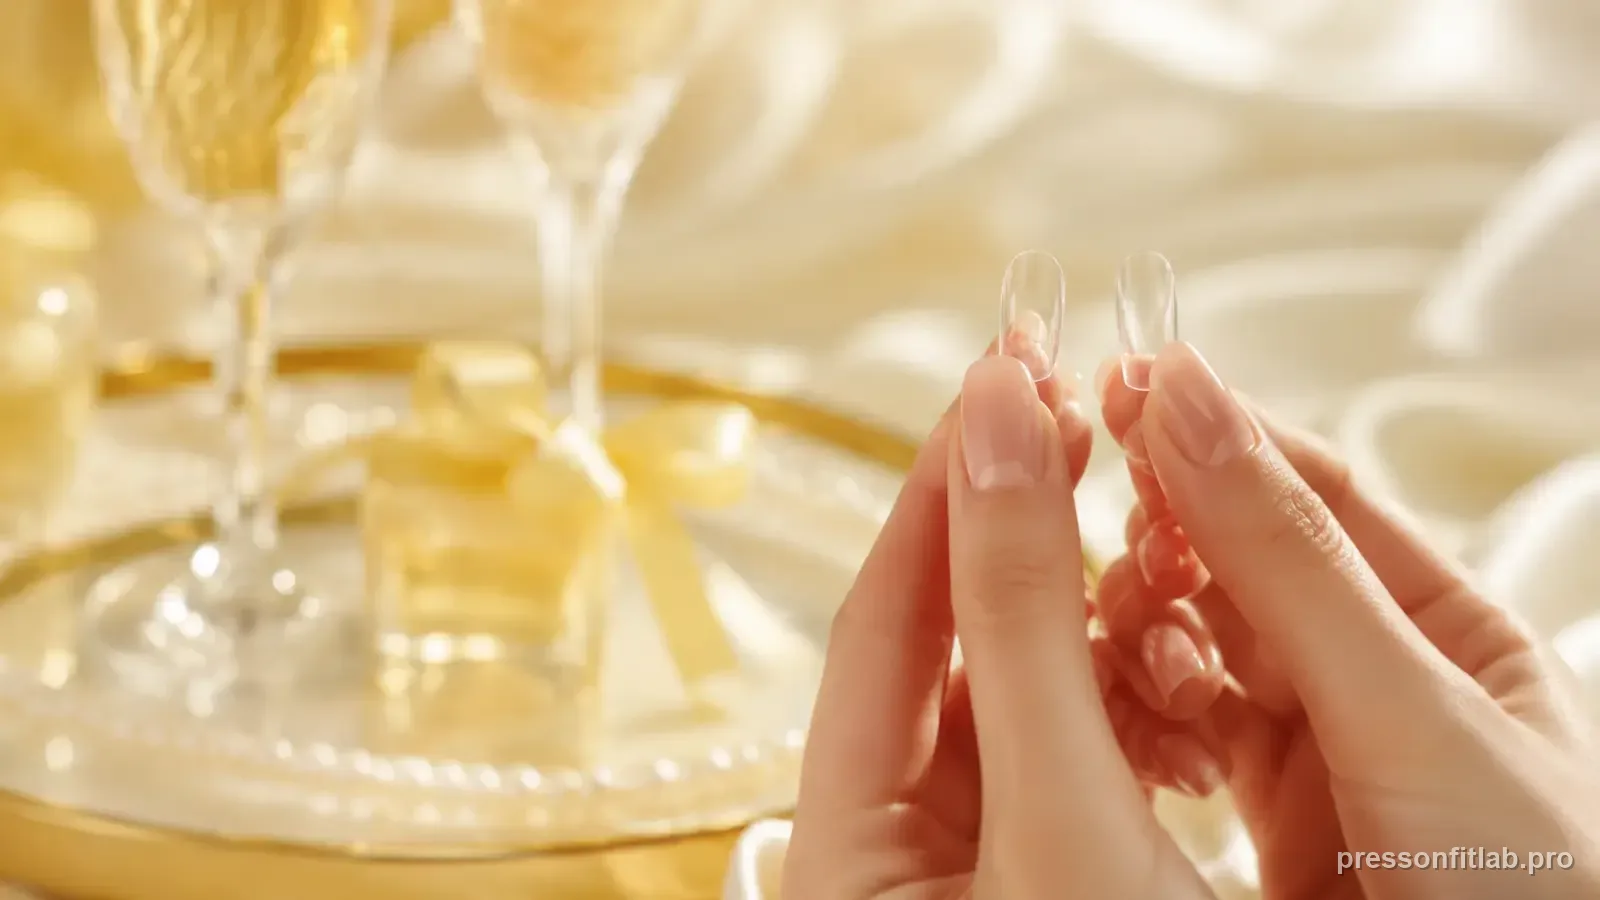
Do the dry-fit rocking test
Place the tip on a clean, dry nail with no adhesive and use only light pressure. A compatible tip should settle predictably instead of pivoting around a high point. If the nail visibly rocks or springs upward when you release it, note where contact is missing.
A neighboring size can sit differently on the same nail because width, base shape, and molded profile change together. Dry-fit it and compare comfort, but reject any option that overlaps skin.
Separate a curve problem from a width problem
Look straight down first. If natural nail is exposed at the sidewalls, the tip is too narrow regardless of curve. If the tip sits on skin, it is too wide or needs careful sidewall refinement. Only after width is reasonable should you judge the underside profile.
A too-curved nail often produces symmetrical side tension. A width or centering issue is more likely to produce one-sided overlap or an exposed strip. The pattern is not perfect proof, but it tells you which variable to test next.
Choose a lower-tension solution
The cleanest solution is a press-on mold that naturally sits closer to your nail. Some product lines are more flexible or use a shallower curve than others. Manufacturer fit guides are more useful when they publish actual dimensions and profile information.
Avoid unsourced heat-shaping hacks on unknown materials. Artificial nails can be made from different plastics or soft-gel materials, and a method that works for one product may warp, weaken, or damage another. Use reshaping only when the manufacturer supports it.
Why more glue is not the first fix
Adhesive can bond close-contact surfaces, but a large hollow area or spring-loaded edge asks it to hold the tip against constant mechanical tension. That is a harder job than bonding two surfaces that already meet cleanly.
A better profile usually creates more compatible contact because the adhesive is not being asked to bridge a large dry-fit gap.
Diagnostic table
| What you see | What it suggests | Next check |
|---|---|---|
| Sides lift during dry fit | Possible profile mismatch | Compare the arcs directly and test a closer profile. |
| Tip pinches when flattened | Mechanical tension | Remove it; do not force the shape. |
| Correct width still rocks | Profile, not size number | Try another mold family. |
| Only one finger has issue | Local nail profile differs | Fit that finger separately. |
A controlled test plan
- 1
Measure width first.
- 2
Look from the free edge.
- 3
Dry-fit with light pressure.
- 4
Compare a nearby size and another profile.
- 5
Apply only after the tip sits relaxed.
What not to do
- Forcing rigid tips flat.
- Using a glue puddle as a structural spacer.
- Heat-reshaping unknown materials without manufacturer support.
Worked troubleshooting example
Example: a tip matches your natural nail width from above, but both side edges spring up during a dry fit. Pressing the tip flat makes the sidewalls pinch, and the nail immediately returns to its deeper curve when pressure is released.
You compare a lower-curve tip of similar width. It rests against the nail with much less force and keeps contact along the sidewalls, so you choose that profile before considering any adhesive change.
The important observation is spring tension before glue. If the sides only began lifting after application while the dry fit was flush, you would investigate placement, prep, or wear instead of assuming the molded curve was the main cause.
Field notes
Curve mismatch is one of the reasons a “perfect” millimeter size can still fail. Width says how far the tip spans; profile says whether the underside can meet the nail across that span.
If changing to a different profile fixes several failure symptoms at once—side lifting, pinching, and a domed look—that is stronger evidence than simply getting a longer wear time from more adhesive.
Frequently asked questions
How can I tell if my press-ons are too curved?
Compare the natural nail and press-on from the free edge. If the artificial arc is visibly deeper and the tip needs force to rest comfortably, it is a poor curve match. Rocking, spring-back, pinching, or gaps are supporting clues, not a one-location rule.
Can I just use more glue on a curved press-on?
Extra adhesive is not a reliable fix for a visible profile mismatch or a tip held under mechanical tension. Correct the fit first and follow the exact adhesive directions.
Should I heat press-on nails to flatten them?
Only if the manufacturer specifically says the material can be reshaped that way. Different press-on materials respond differently to heat.
Sources checked
Sources below are page-specific. We prioritize manufacturer directions for product-specific steps and use medical or dermatology guidance when a safety question requires it. Always follow the instructions for the exact adhesive or set you own.